Durango 2WD V6-3.7L (2009)

Engine Mount: Service and Repair
Engine Mount Insulator - Installation
Rear
INSTALLATION
NOTE: Thread locking compound must be applied to the bolts before installation.
1. Install the two bolts that attach the transmission mount to the transmission bracket.
2. Tighten the bolts to 61 Nm (45 ft.lbs.).
3. Lower the transmission so the transmission mount rests on the crossmember, and the studs of the transmission mount are aligned in the slots in the
crossmember.
4. Install the nuts onto the transmission mount studs through the crossmember access slot.
5. Tighten the nuts to 54 Nm (40 ft. lbs.).
Front
INSTALLATION
2WD
NOTE: For mount to engine block and left engine bracket to front axle bolts, apply Mopar(R) Lock & Seal Adhesive.
1. Install the right and left side engine mounts to the engine block bolts. Tighten bolts to 54 Nm (40 ft. lbs.).
2. Insert the through bolts into the right and left side engine mounts and loose assemble the two nuts onto the through bolts.
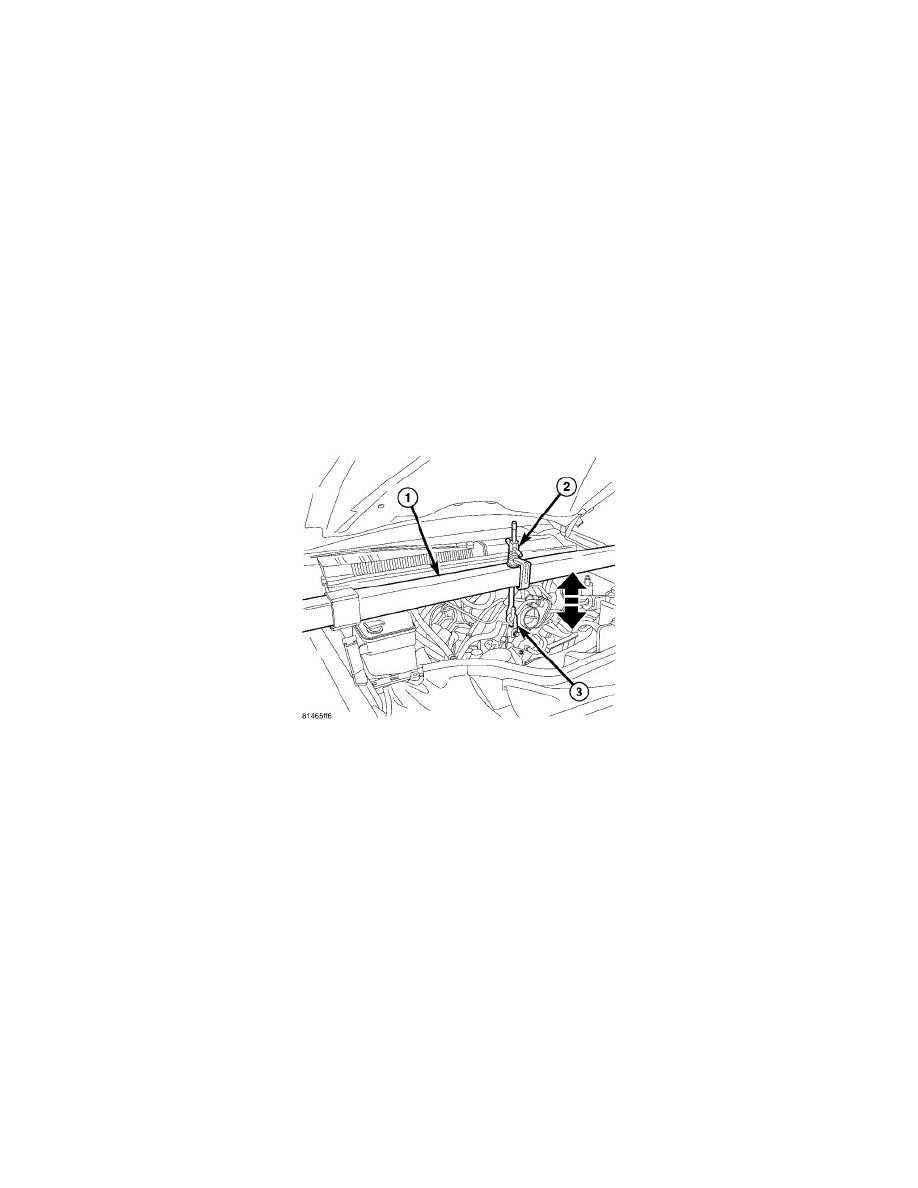
3. Lower the engine using Engine Support 8534B (1) until the through bolts rest onto the slots in the frame brackets.
4. Tighten the through bolt nuts to 94 Nm (70 ft. lbs.).
5. Install the oil drain trough.
6. Install the engine oil filter.
7. Install the cooling fan.
8. Reconnect the negative battery cable.
4WD
