
Grand Caravan V6-3.8L (2009)
3. Connect the outside handle cable on the latch assembly. Hook the swedged cable end on the latch link and gently push the cable sleeve retainer in
the latch bracket.
4. Trace the outside handle cable along its routing path. Use previously made schematic as a guide or remove the opposite side door trim panel and
use that door as a guide.
5. Install the door module assembly. See: Service and Repair/Carrier Plate - Installation.
CAUTION: Be certain replacement cable is routed and retained correctly and foam insulators are properly positioned.
6. Connect the outside handle cable on the handle assembly. Hook the swedged cable end on the handle link and gently push the cable sleeve retainer
in the handle bracket.
7. Install the appropriate side door trim panel on the vehicle. See: Sliding Door Interior Trim Panel/Service and Repair/Door Trim Panel -
Installation
8. Connect the negative battery cable.
Exterior Handle - Removal
REMOVAL
1. Disconnect and isolate the battery negative cable.
2. Remove sliding door trim panel. See: Sliding Door Interior Trim Panel/Service and Repair/Door Trim Panel - Removal
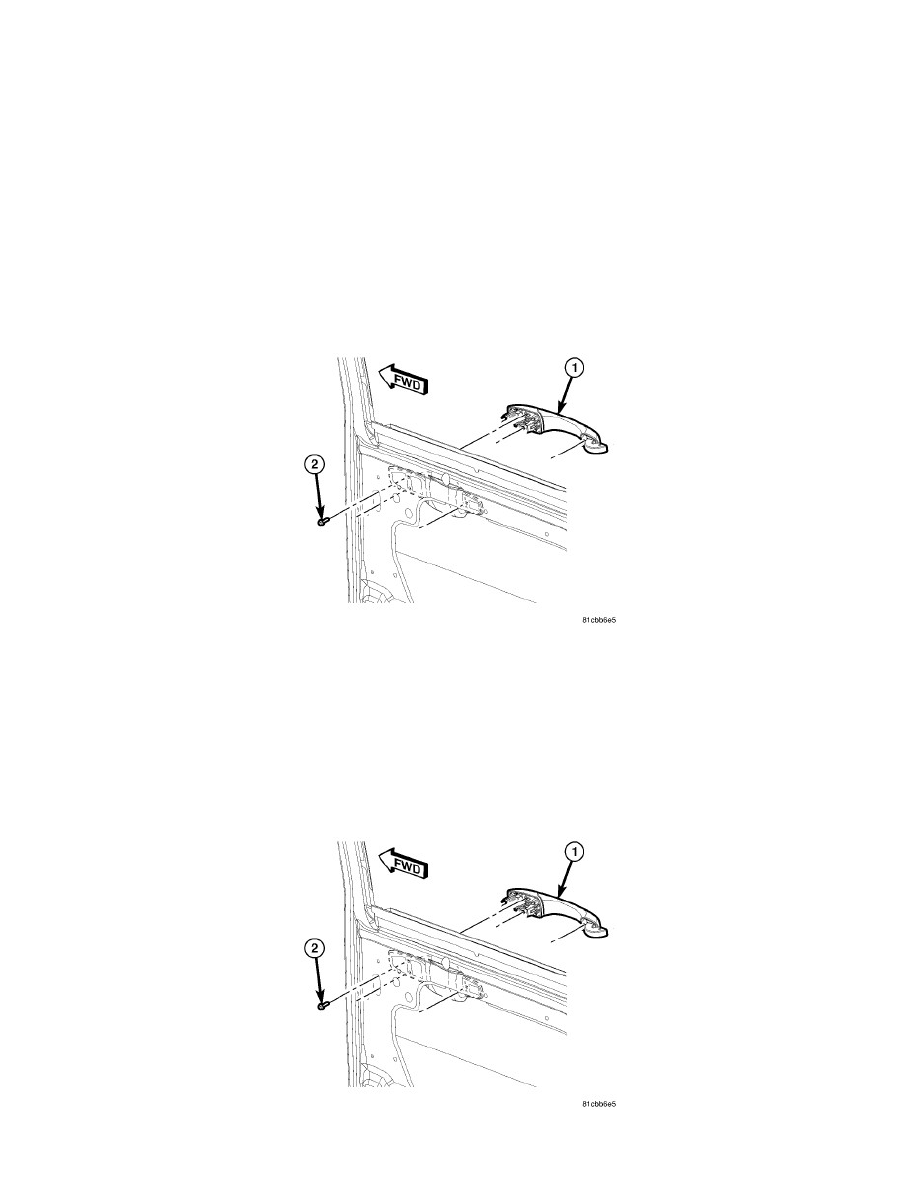
3. Disengage cable to exterior handle.
4. Remove three screws attaching outside door handle to outer door panel.
5. Remove outside door handle from vehicle by actuating and pulling from door.
Exterior Handle - Installation
INSTALLATION