
Journey FWD V6-3.5L (2009)
Windshield: Service and Repair
Windshield - Installation
INSTALLATION
WARNING: Do not operate the vehicle within 24 hours of windshield installation. It takes at least 24 hours for urethane adhesive to cure. If it
is not cured, the windshield may not perform properly if the vehicle is in an accident.
CAUTION: To help prevent water leaks, partially roll down the left and right door glass before installing the windshield. This avoids
pressurizing the passenger compartment if a door is slammed before the urethane is cured.
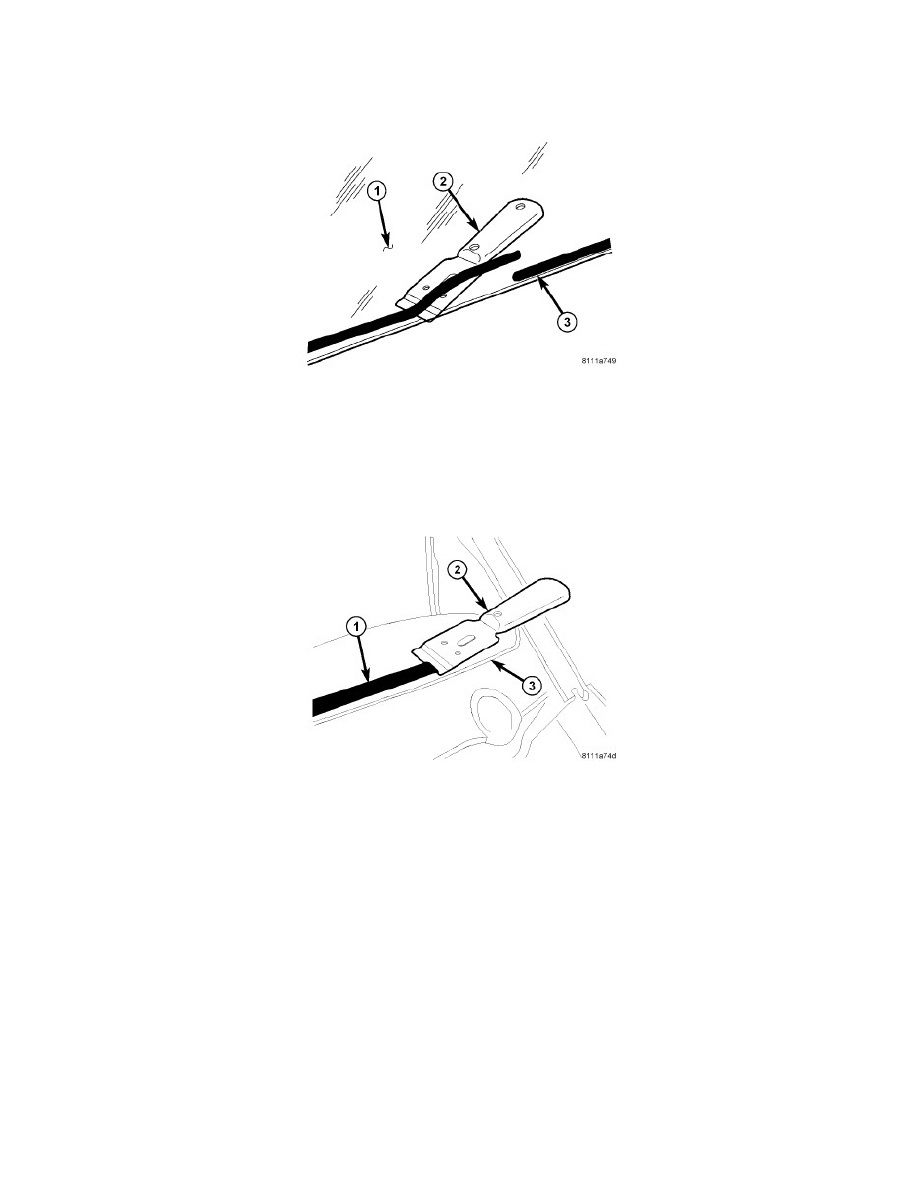
1. If the windshield (1) is being reused, remove as much of the original urethane (3) as possible from the glass surface using a razor knife (2).
CAUTION: To prevent corrosion, do not damage paint on windshield fence when removing original urethane.
CAUTION: The windshield fence should be cleaned of most of its old urethane adhesive. A small amount of old urethane, approximately 1 mm
(.039 in.) in height should remain on the fence. Do not completely remove all old urethane from the fence, the paint finish and
bonding strength will be adversely affected.
CAUTION: Support spacers located near the cowl at the bottom of the windshield fence should be replaced with new spacers. Replace any
missing or damaged spacers around the perimeter of the windshield fence.
2. Using a razor knife (2), level the original bead of urethane (1) on the windshield fence (3) to a thickness of approximately 1 mm (0.04 in.) and
remove any damaged adhesive backed spacers.
3. Install new adhesive backed spacers along the windshield fence as required.
4. Install a new rubber seal along the sides of the windshield.
5. Using an assistant, position the windshield into the windshield opening and against the windshield fence and spacers.
6. Verify the windshield lays evenly against the fence at the top, bottom and sides of the opening. If not, the fence must be formed to the shape of the
windshield.
7. Mark the windshield and the windshield fence with a grease pencil or pieces of masking tape to use as a reference for installation.
8. Using an assistant, remove the windshield from the windshield opening and place it on a suitable padded work surface.