Journey FWD V6-3.5L (2009)

WARNING: Do not use solvent based glass cleaners to clean the windshield before applying glass prep and primer or poor glass adhesion may
result.
9. Clean the inside of the windshield with an ammonia based glass cleaner and a lint-free cloth.
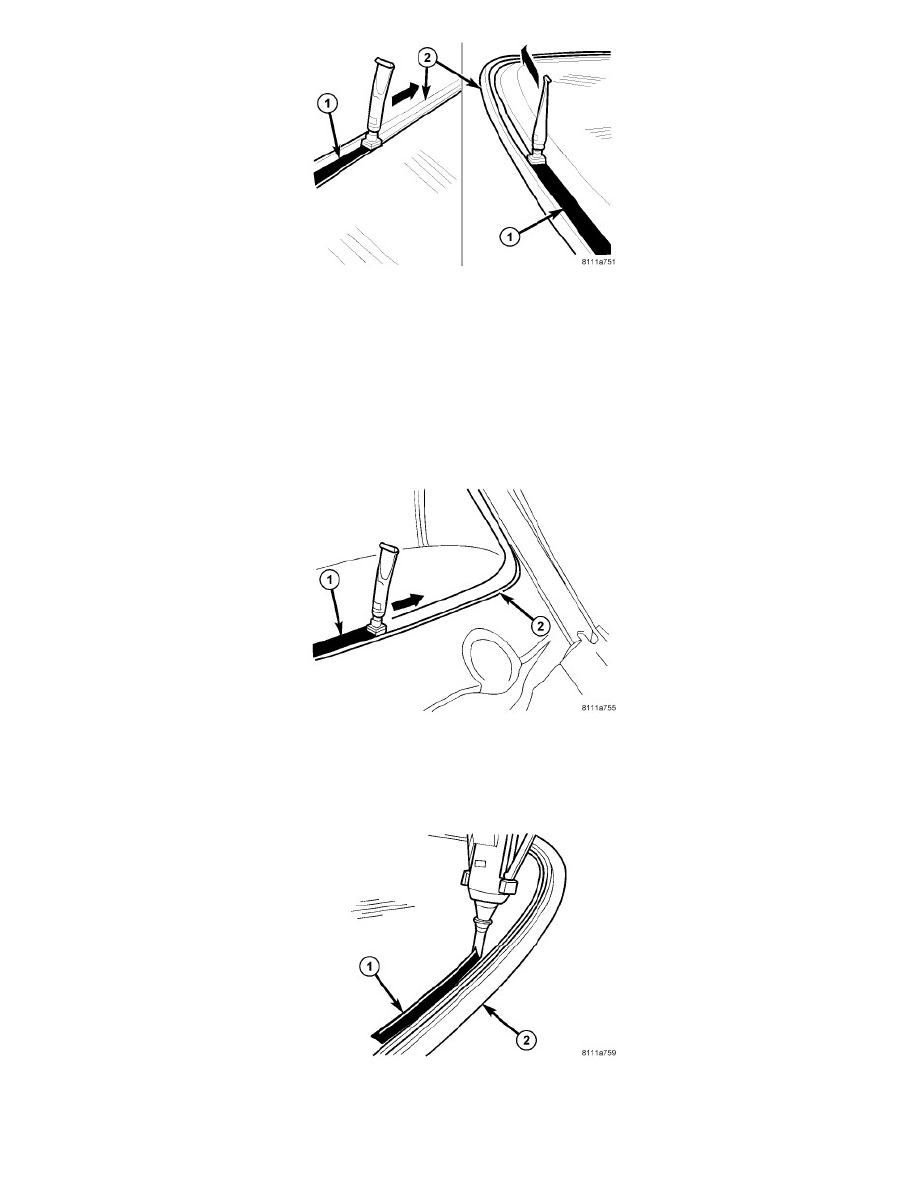
10. Apply glass prep adhesion promoter 25 mm (1 in.) wide (1) around the perimeter of the windshield (2) and 5 mm (0.2 in.) from the edge of the
glass and wipe dry with a clean lint-free cloth until no streaks are visible.
11. Apply glass primer 25 mm (1 in.) wide (1) around the perimeter of the windshield (2) and 5 mm (0.2 in.) from the edge of the glass. Allow at least
three minutes drying time.
12. Using a flashlight, verify that the primer is completely and evenly installed along the perimeter of the windshield.
13. Re-prime any area that is not fully and evenly primed.
14. Clean the windshield fence with an ammonia based glass cleaner and a lint-free cloth.
15. Apply pinch weld primer 15 mm (0.75 in.) wide (1) around the windshield fence (2). Allow at least three minutes drying time.
16. Using a flashlight, verify that the primer is completely and evenly installed along the windshield fence.
17. Re-prime any area that is not fully and evenly primed.
CAUTION: Always apply the bead of adhesive to the windshield. Always install the windshield within 5 minutes after applying the adhesive.
NOTE: If the original urethane adhesive has been exposed for more than 12 hours, the entire adhesive area will need to be re-primed prior to
