
Journey FWD V6-3.5L (2009)
installing new adhesive.
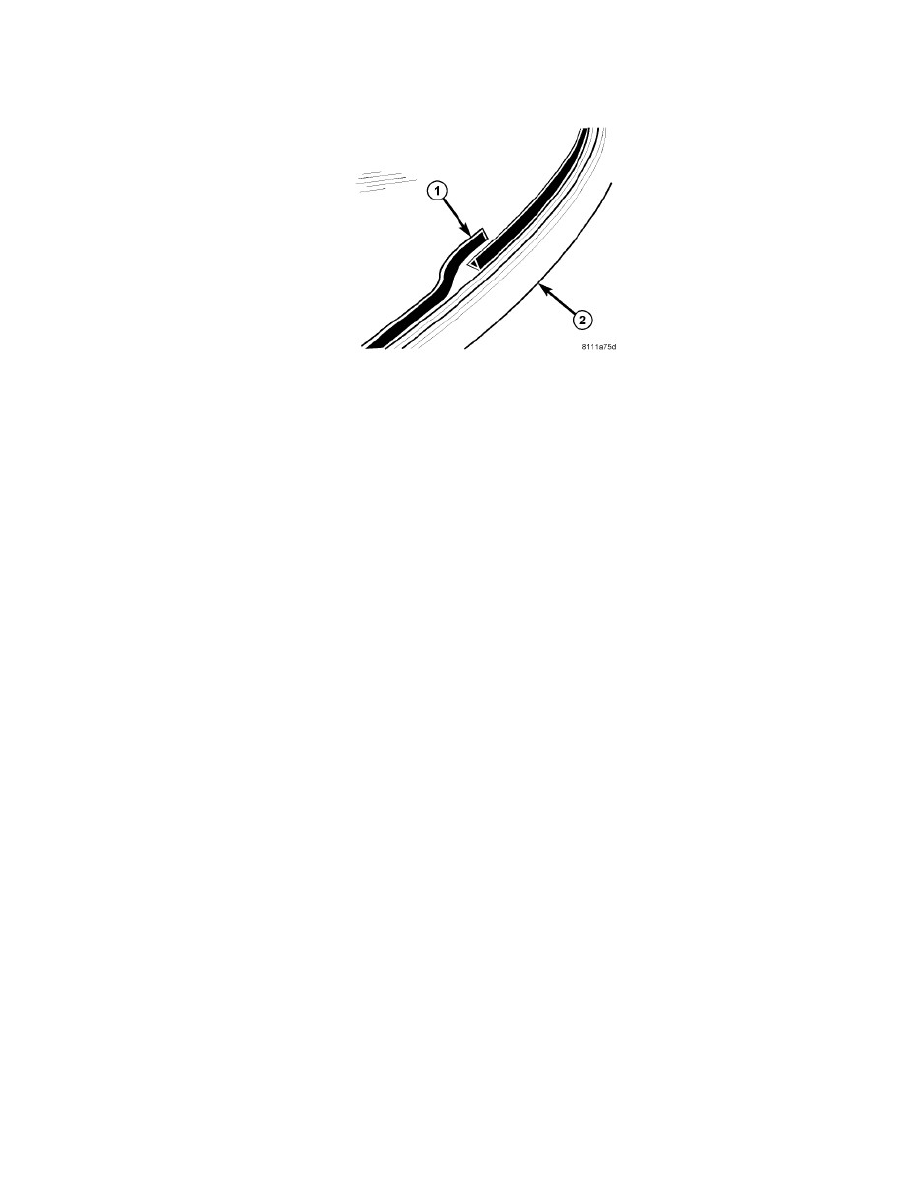
18. Apply approximately a 10 mm (0.4 in.) wide bead of adhesive (1) with a triangular nozzle approximately 6 mm (0.230 in.) from the edge of the
glass (2) starting at the bottom center of the windshield.
19. Run the end of the adhesive bead (1) on the windshield (2) parallel to the start of the bead and smooth the ends flush.
20. Using an assistant, position the windshield over the windshield opening.
21. Using the grease pencil marks or tape as reference points, align the windshield to the windshield opening.
22. Carefully lower the windshield into the windshield opening. Guide the windshield and the rubber seals on the sides of the windshield into its
proper location.
CAUTION: It is not possible to move the windshield after installation. The windshield should never be pressed into place by more than one
person, because the windshield can break if pressed simultaneously on both sides.
23. Push the windshield inward until the windshield comes into contact with the spacers located on each side and the bottom of the windshield fence.
24. Install the cowl grill See: Body and Frame/Cowl/Cowl Moulding / Trim/Service and Repair.
25. Install the rear view mirror onto the windshield See: Body and Frame/Mirrors/Service and Repair/Interior Rearview Mirror - Installation.