
RAM 1500 Van V8-5.2L CNG VIN T (1999)
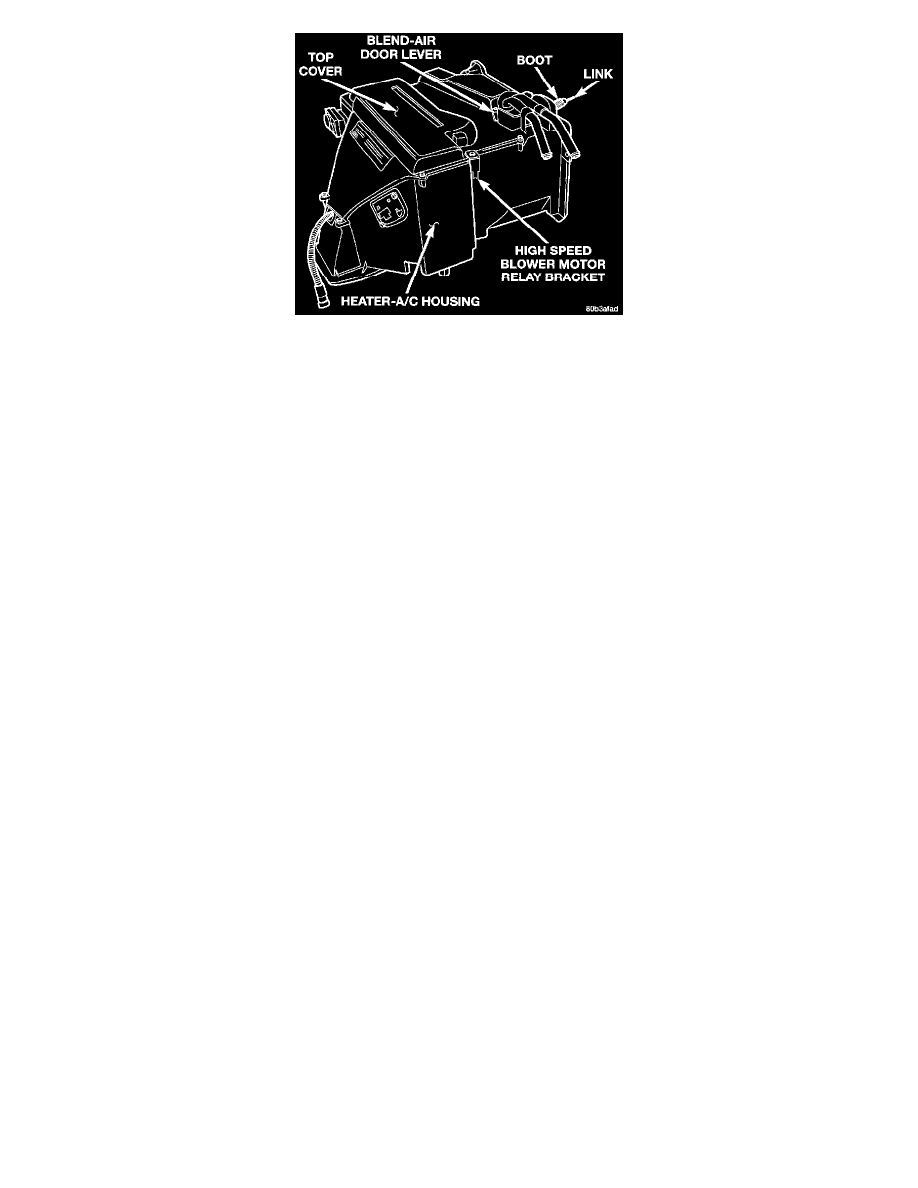
Heater-A/C Housing Top Cover Remove/Install
5. Remove the screw that secures the high speed blower motor relay mounting bracket to the heater- A/C housing and remove the relay and bracket.
6. Remove the screws that secure the top cover to the heater-A/C housing.
7. Remove the top cover from the heater-A/C unit.
INSPECTION
Examine all of the heater-A/C housing seals for damage. Replace all damaged or deformed seals. Clean all of the heater-A/C mounting flanges and
apply new sealant prior to reassembly.
Inspect the evaporator coil and heater core for bent fins or other damage. Remove any foreign material or other restrictions to air flow. Repair or
replace any faulty or damaged components as required.
ASSEMBLY
1. Position the top cover onto the heater-A/C unit. Be certain that the blend-air door pivots, all seals, and the grommet for the fin sensing cycling
clutch switch wire harness are properly positioned.
2. Secure the top cover to the heater-A/C housing with screws. Tighten the mounting screws to 2.2 Nm (20 in. lbs.).
3. Rotate the blend-air door pivot shaft back and forth to confirm that the door moves freely throughout its travel. If there is any binding or
interference, remove the top cover from the heater-A/C housing and repair as required.
4. Reinstall the blend-air door lever, link, and boot unit to the heater-A/C housing. Be certain that the boot flange is properly seated in the hole on the
rear mounting flange of the housing.
5. Reinstall the lever to the blend-air door pivot shaft and secure it to the shaft with a nut.
6. Position the high speed blower motor relay and mounting bracket to the heater-A/C housing and secure it with a screw. Tighten the mounting
screw to 2.2 Nm (20 in. lbs.).
INSTALLATION
1. Position the heater-A/C housing to the dash panel. Be certain that the blend-air door link and the housing studs are inserted through the proper
holes in the dash panel.
2. Secure the lower heater-A/C housing flange to the blower housing with two screws. Tighten the mounting screws to 2.7 Nm (24 in. lbs.).
3. Secure the heater-A/C unit to the stud on the engine compartment side of the dash panel with a nut. Tighten the mounting nut to 4.5 Nm (40 in.
lbs.).
4. From the passenger compartment, reach through the instrument panel glove box opening to install the two nuts that secure the heater-A/C housing
studs on the dash panel above the distribution duct. Tighten the mounting nuts to 4.5 Nm (40 in. lbs.).
5. From the passenger compartment, reach through the instrument panel glove box opening to install the two nuts and the screw that secure the