
RAM 3500 Truck 2WD V8-5.9L VIN 5 HDC (2000)
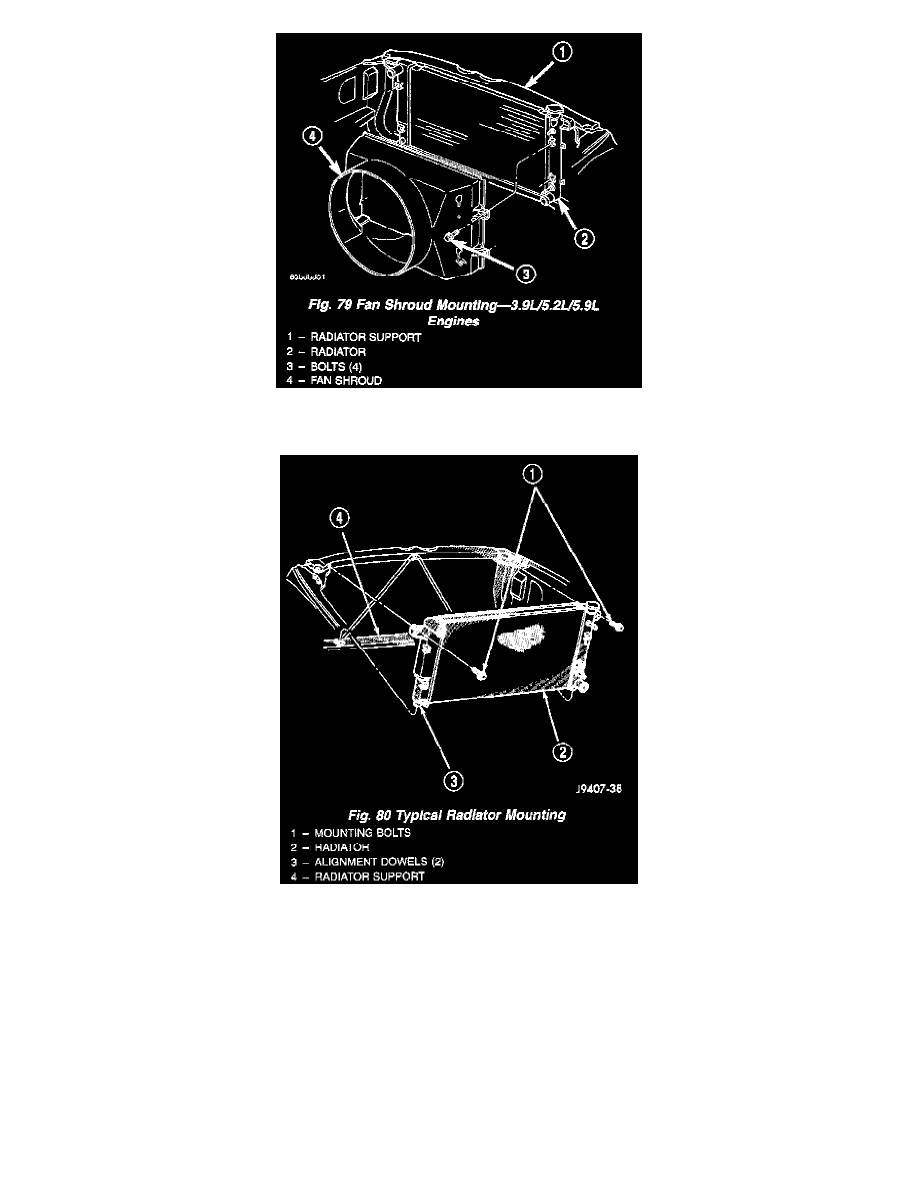
7. Remove the four fan shroud mounting bolts. Position shroud rearward over the fan blades towards engine.
8. Remove the plastic clips retaining the rubber shields to the sides of radiator. Position rubber shields to the side.
9. Remove the two radiator upper mounting bolts.
10. Lift radiator straight up and out of engine compartment. The bottom of the radiator is equipped with two alignment dowels that fit into holes in the
lower radiator support panel. Rubber biscuits (insulators) are installed to these dowels. Take care not to damage cooling fins or tubes on the
radiator and air conditioning condenser when removing.
INSTALLATION
1. Position fan shroud over the fan blades rearward towards engine.
2. Install rubber insulators to alignment dowels at lower part of radiator.
3. Lower the radiator into position while guiding the two alignment dowels into lower radiator support. Different alignment holes are provided in the
lower radiator support for each engine application.
4. Install two upper radiator mounting bolts. Tighten bolts to 11 Nm (95 in. lbs.) torque.
5. Position the rubber shields to the sides of radiator. Install the plastic clips retaining the rubber shields to the sides of radiator.
6. Connect both radiator hoses. Refer to previous CAUTION and install hose clamps.
7. Install windshield washer reservoir tank.