
SRT-4 L4-2.4L Turbo VIN S (2004)
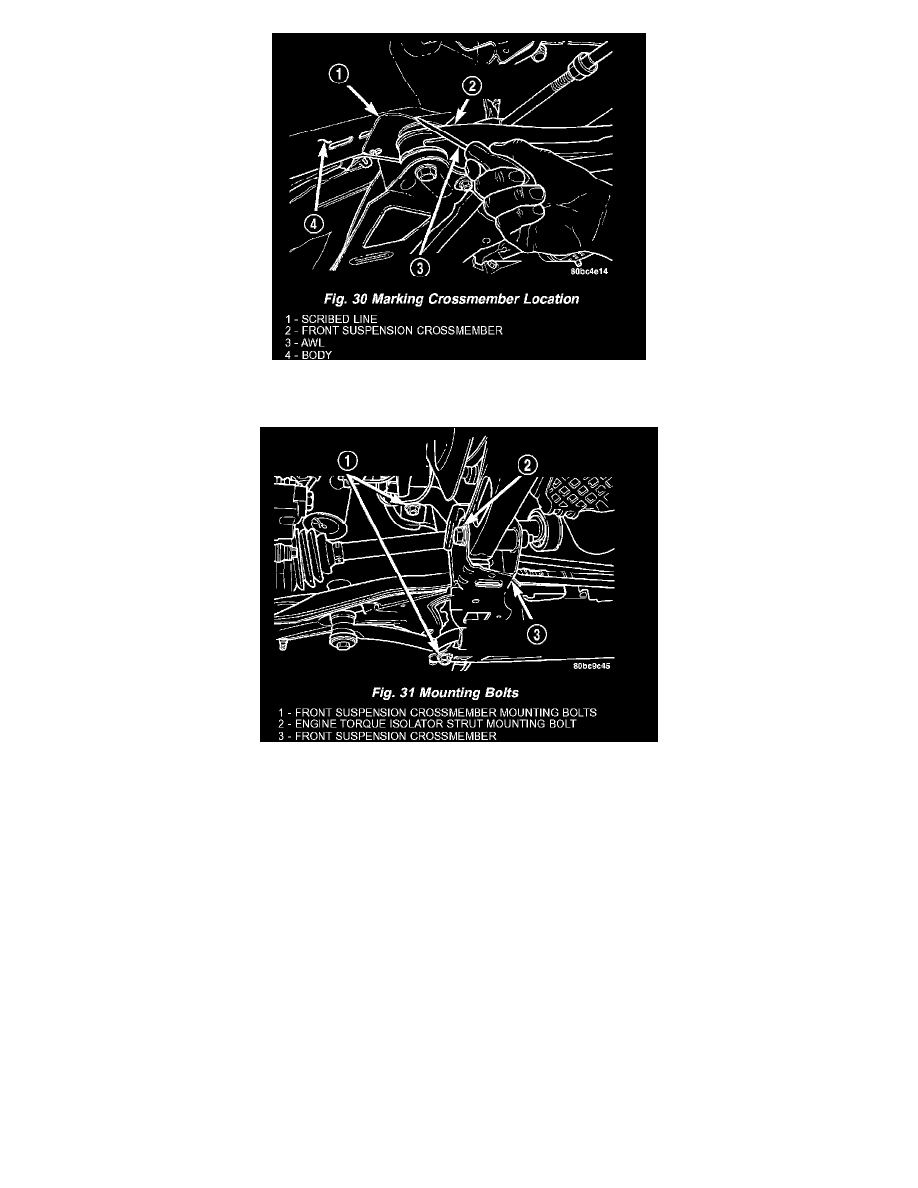
8. Using an awl, scribe a line (Fig. 30) marking the location of where the front suspension crossmember is mounted against the body of the vehicle.
9. Position a transmission jack under the center of the front suspension crossmember and raise it to support the bottom of the crossmember.
10. Loosen and completely remove the two front bolts (one right and one left) attaching the front suspension crossmember to the frame rails of vehicle.
The right side bolt can be viewed in the mounting bolt figure (Fig. 31). The left side bolt is located in the same location on the other side of the
vehicle.
11. Loosen the two rear bolts (one right and one left) attaching the front suspension crossmember and lower control arms to the body of the vehicle
until they release from the threaded tapping plates in the body of the vehicle. Do not completely remove the rear bolts because they are designed to
disengage from the body threads yet stay within the lower control arm rear isolator bushing. This allows the lower control arm to stay in place on
the crossmember. The right side bolt can be viewed in the mounting bolt figure (Fig. 31). The left side bolt is located in the same location on the
other side of the vehicle.
CAUTION: Lower the steering gear slowly, paying special attention to the power steering fluid hoses coming down from the power steering
pump. Do not strain or over extend the hoses coming to the gear. Damage to the hoses or connecting hardware could occur.