
Contour V6-153 2.5L DOHC VIN L SFI (1997)
Flywheel: Service and Repair
Removal
1. Raise vehicle on hoist.
2. Remove starter motor.
3. Disconnect hydraulic coupling at the transaxle by sliding the sleeve toward the clutch slave cylinder and applying a slight force on the tube.
4. Remove transaxle.
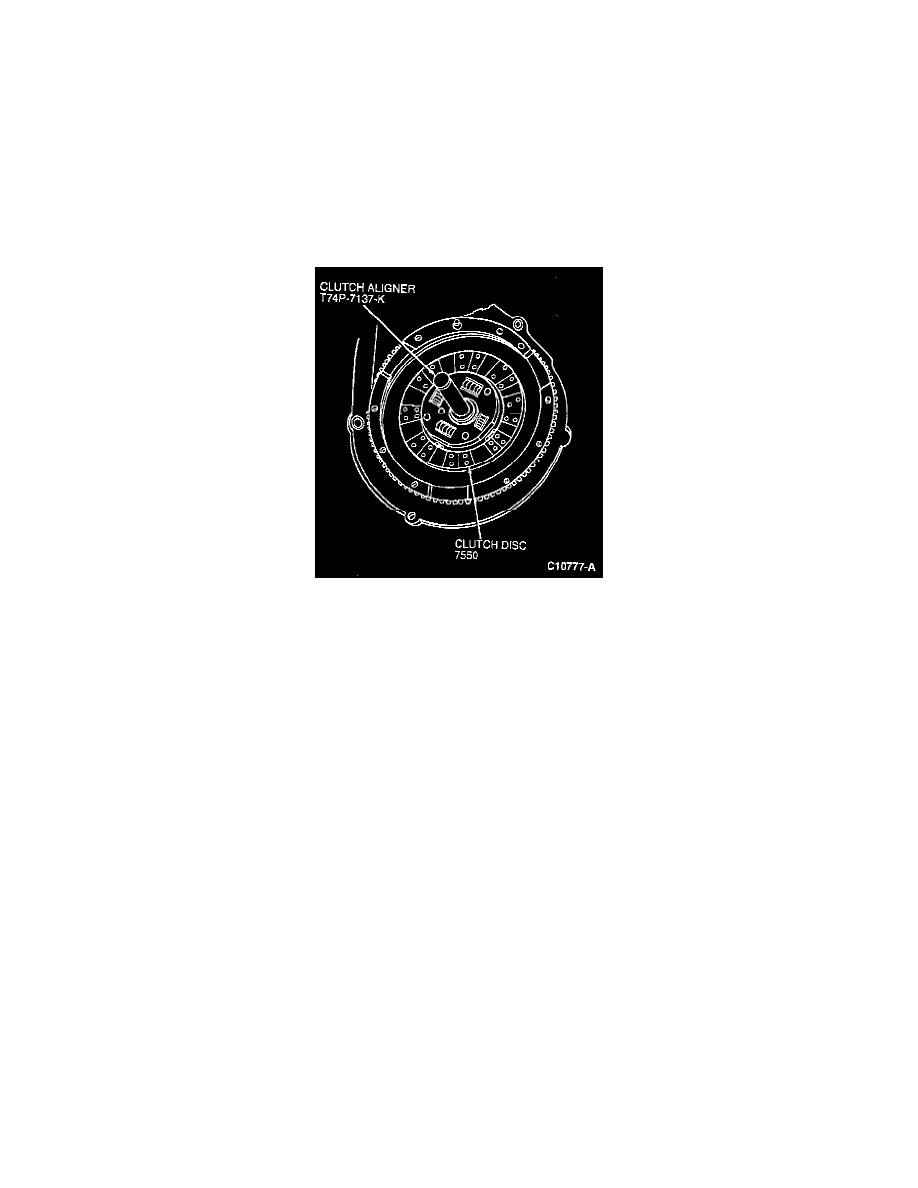
5. Mark assembled position of clutch pressure plate to flywheel (for reassembly).
6. Loosen clutch pressure plate retaining bolts evenly until clutch pressure plate spring pressure is released and remove the bolts.
NOTE: clutch pressure plate is held in place with only the retaining bolts. Support clutch pressure plate before removing last retaining bolt.
7. Remove clutch pressure plate and clutch disc from the flywheel.
8. Inspect flywheel, clutch slave cylinder, flywheel housing to block dowel, clutch disc and clutch pressure plate and cover assembly.
9. Remove flywheel retaining bolts.
NOTE: The flywheel is pressed onto a nylon spacer which installs to the crankshaft. Two threaded holes are machined through the flywheel to
allow push bolts to be installed to aid in flywheel removal.
10. Install two M10 x 1.25 x 1 inch bolts to the threaded holes until they contact the crankshaft.
11. Tighten the bolts alternately and evenly until flywheel is off.