
E 150 V8-4.6L SOHC VIN W (2004)
3.
Inspect the reverse planet assembly pinion pins and the adjacent output hub to see if the pinion pins have contacted the hub. See Figure 34 and 35.
^
If the output hub is not scored, continue with this service procedure.
^
If the hub is scored, the transmission must be completely disassembled and inspected to determine which components must be replaced. At the
beginning of this Attachment III is a minimum list of components, available as Kit # 2, which must be installed during this complete overhaul.
Refer to Section 307-01B of the 2004F-SD/Excursion Workshop Manual or 307-01C of the 2004 E-Series Workshop Manual for repair
instructions.
[NEW]^
Note that if the low/reverse snap ring has dislodged from the case groove, rotated in the case groove or become partially dislodged from the
case snap ring groove, the case is damaged and must be replaced. If considerable metallic foreign material is present in the transmission, the
workshop manual procedures for Disassembly and Assembly of Sub Assemblies must be used to make sure foreign material is removed from
all sub components, including the pump and the solenoid body assemblies. Use workshop manual procedures to determine if the transmission
needs a remanufactured or new torque converter.
[NEW]^
If the repair cost is estimated to exceed the warranty cost cap for the 5R110W TorqShift transmission assembly, then please contact the Ford
Technical Service Hotline.
^
If completely overhauling the transmission, the pressure control solenoid (PC-A) (part of Kit # 2) on the solenoid body must be replaced.
Refer to Section 307-01B of the 2004 F-SD/Excursion Workshop Manual or 307-01C of the 2004 E-Series Workshop Manual for repair
instructions.
^
Refer to the flow chart at the beginning of this Attachment III and follow the repair order stated.
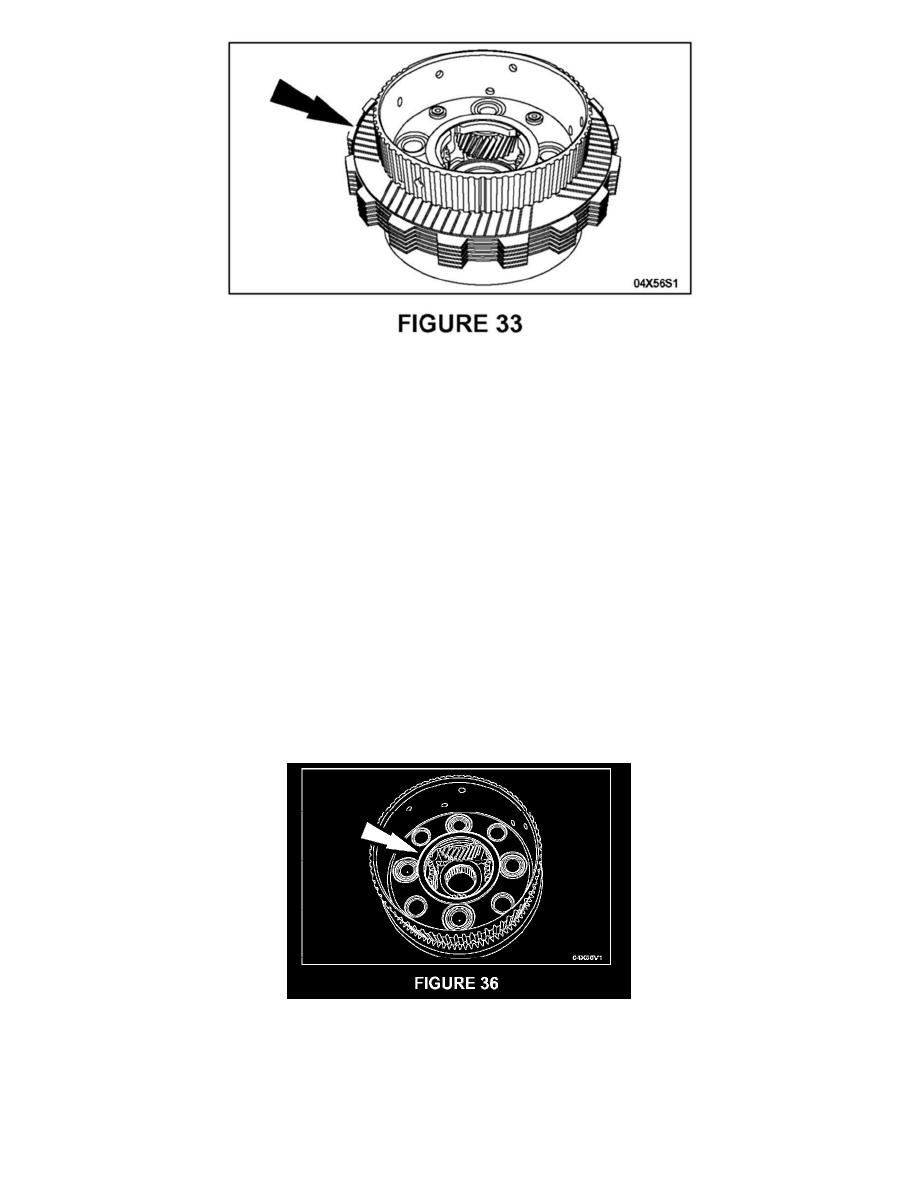
4.
Remove the No. 13 rear reverse planet thrust washer. See Figure 36.