
Edge AWD V6-3.5L (2009)
3. Remove the steering column shaft bolt and disconnect the shaft from the steering gear.
-
To install, tighten to 25 Nm (18 lb-ft).
4. Index-mark the relationship of the front subframe to the underbody at the mounting locations.
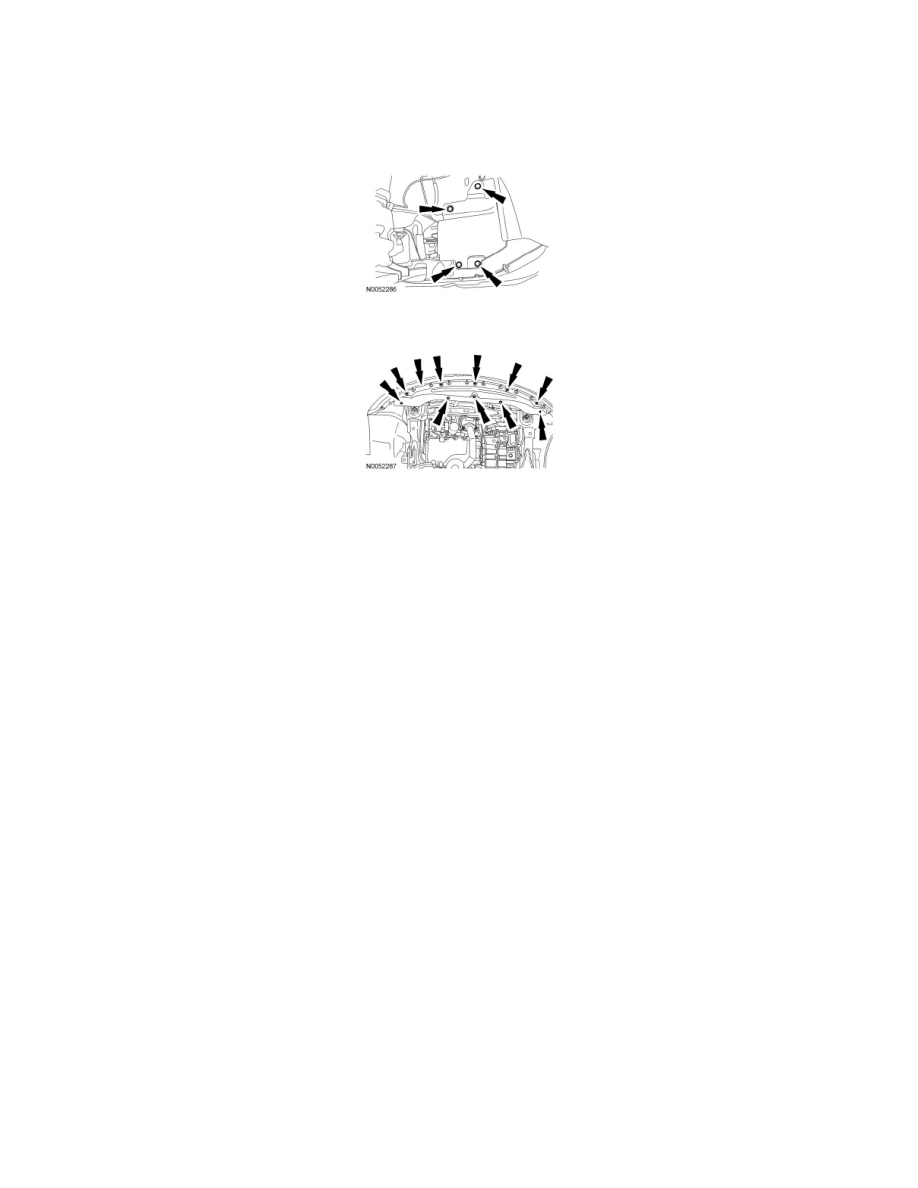
5. Remove the 4 pin-type retainers and the RH fender splash shield.
6. Remove the 3 pushpin fasteners, the 7 screws and the front splash shield.
7. Remove the 3 RH front lower bumper-to-subframe nuts.
-
To install, tighten to 9 Nm (80 lb-in).
8. Remove the 3 LH front lower bumper-to-subframe nuts and separate the lower bumper from the subframe.
-
To install, tighten to 9 Nm (80 lb-in).
9. Remove the power steering fluid cooler hose bracket bolt.
-
To install, tighten to 9 Nm (80 lb-in).
10. Loosen the Y-pipe clamp and disconnect the 2 exhaust hangers.
-
To install, tighten to 40 Nm (30 lb-ft).
11. Remove the 2 nuts and separate the flex pipe from the Y-pipe assembly.
-
To install, tighten to 40 Nm (30 lb-ft).
All-Wheel Drive (AWD) vehicles
12. Index-mark the driveshaft, remove the 4 bolts and position the driveshaft aside.
-
To install, tighten to 70 Nm (52 lb-ft).
All vehicles
13. NOTE: Use the holding feature to prevent the ball stud from turning while removing or installing the stabilizer bar link nuts.
Remove the stabilizer link upper and lower nuts and the stabilizer links.
-
Discard the nuts.
-
To install, tighten the new nuts to 90 Nm (66 lb-ft).
14. Remove the 2 outer tie-rod end nuts.
-
To install, tighten to 48 Nm (35 lb-ft).
15. Using the Tie-Rod End Remover, separate the outer tie-rod ends from the wheel knuckles.