Escape 2WD L4-2.5L Hybrid (2010)

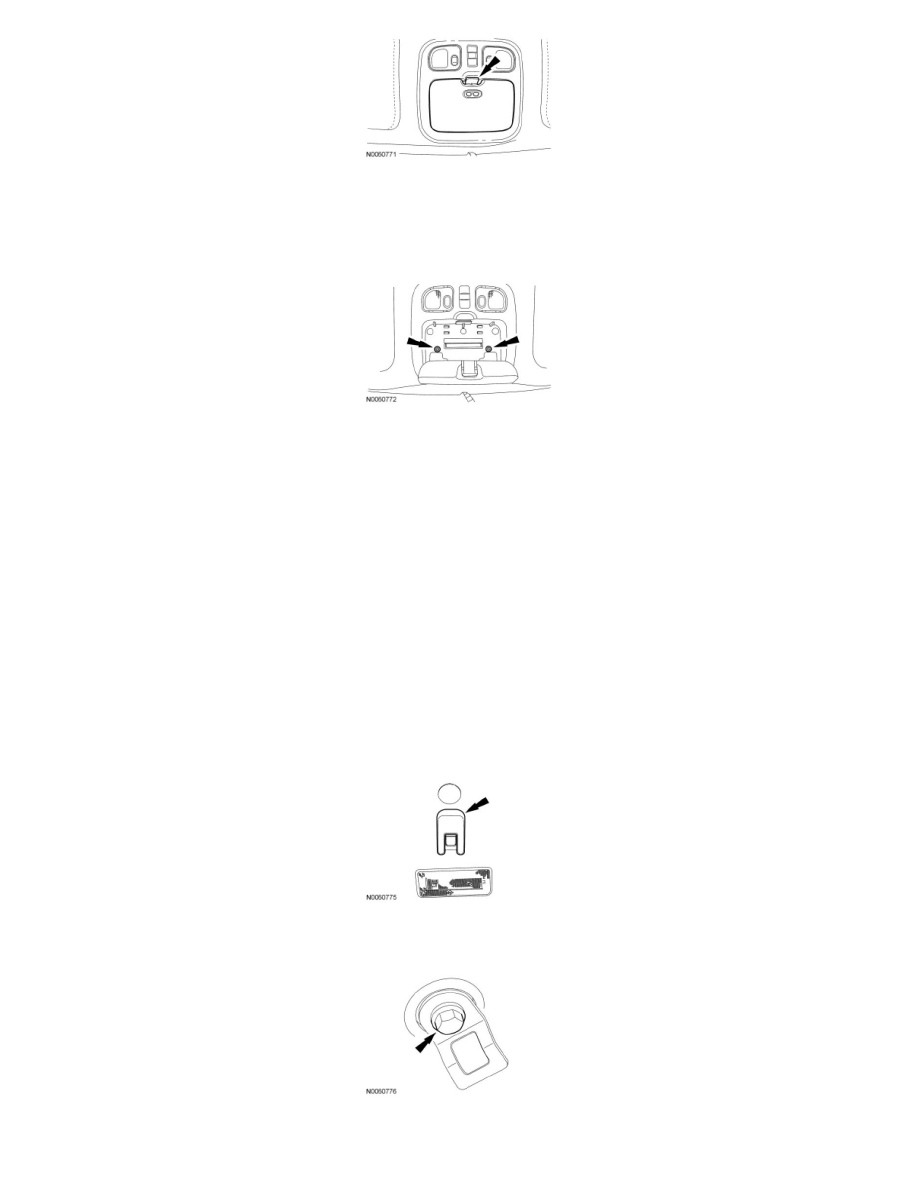
6. NOTE: The overhead console is also supported by a retaining clip.
Remove the 2 screws and the overhead console.
-
Disconnect the electrical connector(s).
7. Remove the LH and RH sun visors.
-
If equipped, disconnect the electrical connectors.
8. NOTE: Do not fully remove the retaining screws from the sun visor clips.
Remove the LH and RH sun visor clips.
-
Partially remove the retaining screws from the sun visor clips.
-
Pull downward on the sun visor clips to remove them from the headliner.
9. Remove the interior lamp assembly.
-
Pull straight downward to release pushpins.
-
Disconnect the electrical connector.
10. Remove the cargo lamp.
-
Disconnect the electrical connector(s).
11. Remove the 3 child seat tether anchor covers.
12. Remove the 3 bolts and the child seat tether anchors.
-
To install, tighten to 22 Nm (16 lb-ft).
13. NOTE: When installing the headliner trim ring, it should meet at the rear of the roof opening and have no gaps or overlaps.
