
Explorer Sport Trac 2WD V6-4.0L (2009)
3. Install the outboard recliner-to-backrest frame upper bolt.
-
Tighten to 55 Nm (41 lb-ft).
4. Install the outboard recliner-to-backrest frame lower bolt.
-
Tighten to 55 Nm (41 lb-ft).
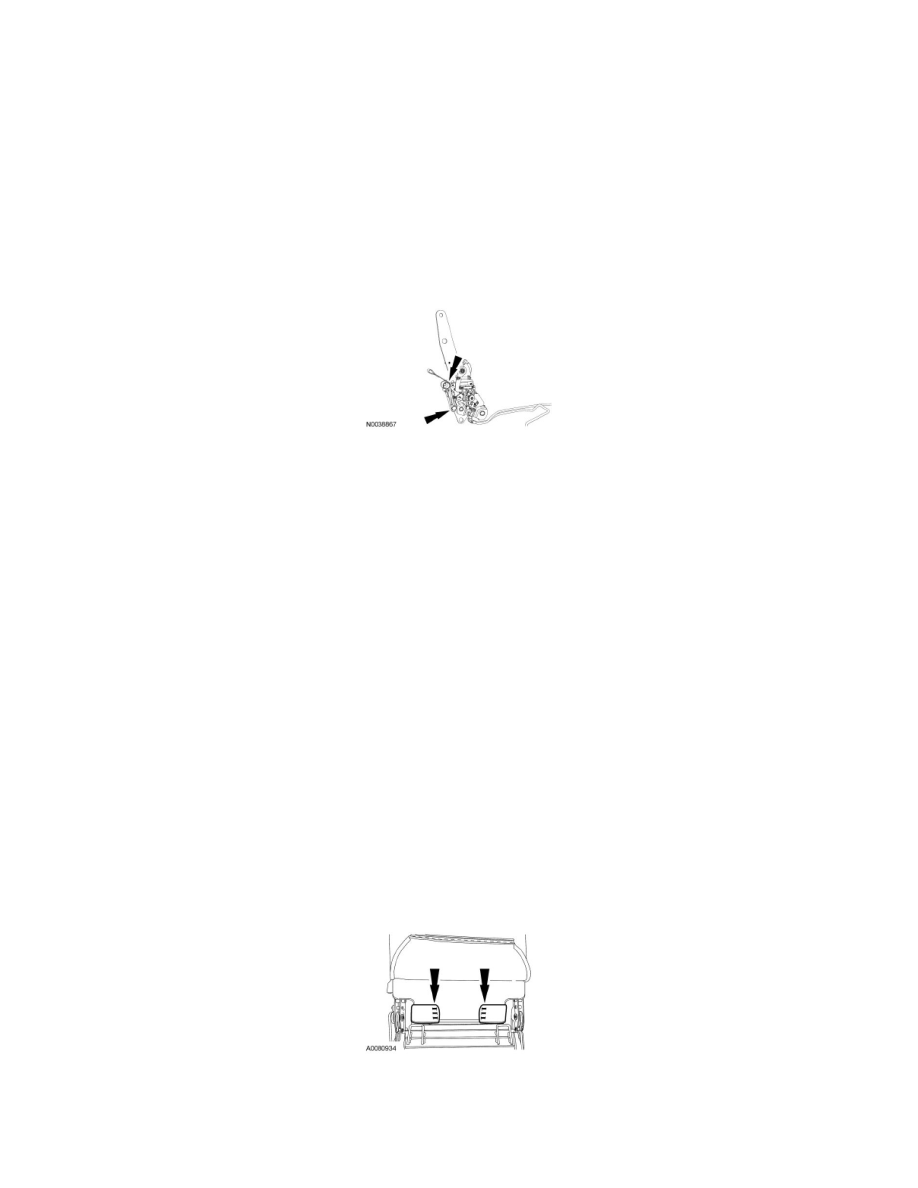
5. Position the kneeling mechanism release handle and cable back through the backrest frame and backrest trim cover openings.
-
Attach the kneeling mechanism release cable to the backrest frame.
6. Roll the backrest trim cover down, attach the hook-and-loop strips and connect the backrest trim cover lower J-clip.
7. Position the kneeling mechanism release handle to the backrest opening and push in, engaging the clips.
8. Route the outboard recliner release strap before installing the outboard recliner outer cover.
9. Position the outboard recliner outer cover, recliner handle and install the 3 screws.
10. NOTE: Before installation, make sure the safety belt webbing is not twisted and the safety belts and buckles are accessible to the occupants.
Position the safety belt anchor to the inboard recliner and install the safety belt anchor bolt.
-
Tighten to 55 Nm (41 lb-ft).
11. Position the inboard recliner outer cover and install the 2 screws.
-
Make sure the kneeling mechanism release cable pivot is still positioned on the inboard recliner and the recliner pin is through the cable pivot
before installing the inboard recliner outer cover.
12. Install the second row, 60 percent E-Z entry seat into the vehicle. For additional information, refer to Seat - Second Row, 60/40, E-Z Entry See:
Service and Repair/Second Row Seating/Seat - Second Row, 60/40, E-Z Entry.
13. Cycle the backrest down and then back to the upright position. Make sure the inboard and outboard recliners simultaneously and securely
lock in the upright position.
Seat Backrest - Second Row, 40 Percent, Bench
Seat Backrest - Second Row, 40 Percent, Bench
Removal
1. Release the seat backrest J-clip.
2. Remove all the staples holding the backrest trim cover to the backrest support panel.
3. Invert the seat backrest trim cover and foam pad to access the latch cover screws.
4. Remove the 4 screws and the 2 covers. Detach the seat backrest material attachment from both of the latch covers.