
Explorer Sport Trac 2WD V6-4.0L (2009)
Installation
1. If removed, lubricate the lips of the new drive pinion seal with grease.
2. NOTE: If the drive pinion seal becomes misaligned during installation, remove the drive pinion seal and install a new drive pinion seal.
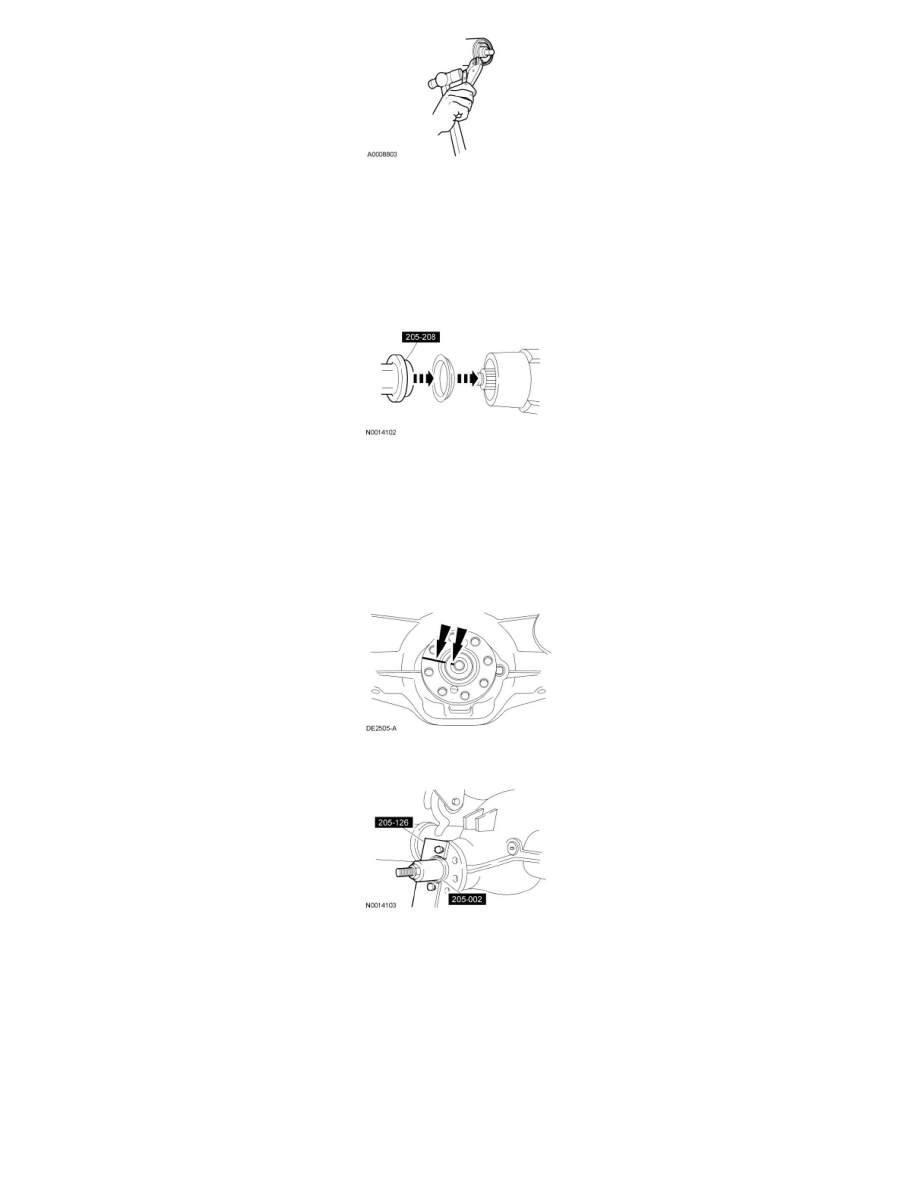
If the drive pinion seal was removed, use the Drive Pinion Oil Seal Installer to install a new drive pinion seal.
3. Inspect the pinion flange seal journal for rust, nicks and scratches prior to installing the pinion flange. Polish the seal journal with fine crocus
cloth, if necessary.
4. Lubricate the pinion flange splines with grease.
5. NOTE: Disregard the index marks if installing a new pinion flange.
Position the pinion flange.
6. Using the Drive Pinion Flange Holding Fixture and Drive Pinion Flange Installer, install the pinion flange.
7. NOTICE: The color on the rear face of the drive pinion nut is critical to this repair. Use the same color new drive pinion nut for
installation or damage to the component may occur.
Select the new pinion nut for installation. Install and hand-tighten the pinion nut.
8. NOTICE: Do not, under any circumstance, loosen the pinion nut to reduce drive pinion bearing preload. If it is necessary to reduce drive
pinion bearing preload, install a new differential drive pinion collapsible spacer and pinion nut or component damage may occur. Install
the new pinion nut that is included in the collapsible spacer kit.
Tighten the new pinion nut to set the drive pinion bearing preload.
-
Rotate the drive pinion gear occasionally to make sure the drive pinion bearings seat correctly. Take frequent drive pinion bearing preload
readings by rotating the drive pinion gear with a Nm (lb-in) torque wrench.