
F 150 4WD V8-4.6L VIN 8 (2010)
A-Pillar Trim Panel
Removal and Installation
Passenger side
1. NOTICE: Use a non-marring flat-blade tool and start on the inside edge of the covers. Covers are equipped with a tether. Failure to
follow this direction may result in damage to the component.
Remove the assist handle bolt covers.
2. Remove the assist handle bolts.
-
To install, tighten to 8 Nm (71 lb-in).
3. If equipped with a speaker in the A-pillar trim panel, remove the instrument panel side finish panel and disconnect the speaker electrical connector.
4. Remove the A-pillar trim panel.
-
Pull outward to release the retainer clip.
Driver side
5. If equipped with a speaker in the A-pillar trim panel, remove the instrument panel side finish panel and disconnect the speaker electrical connector.
6. NOTICE: During installation, the A-pillar trim panel locator pins must be inserted into the slots on the instrument panel. Failure to
follow this instruction may result in damage to the component.
NOTE: The trim panel has a 2-stage high-retention clip.
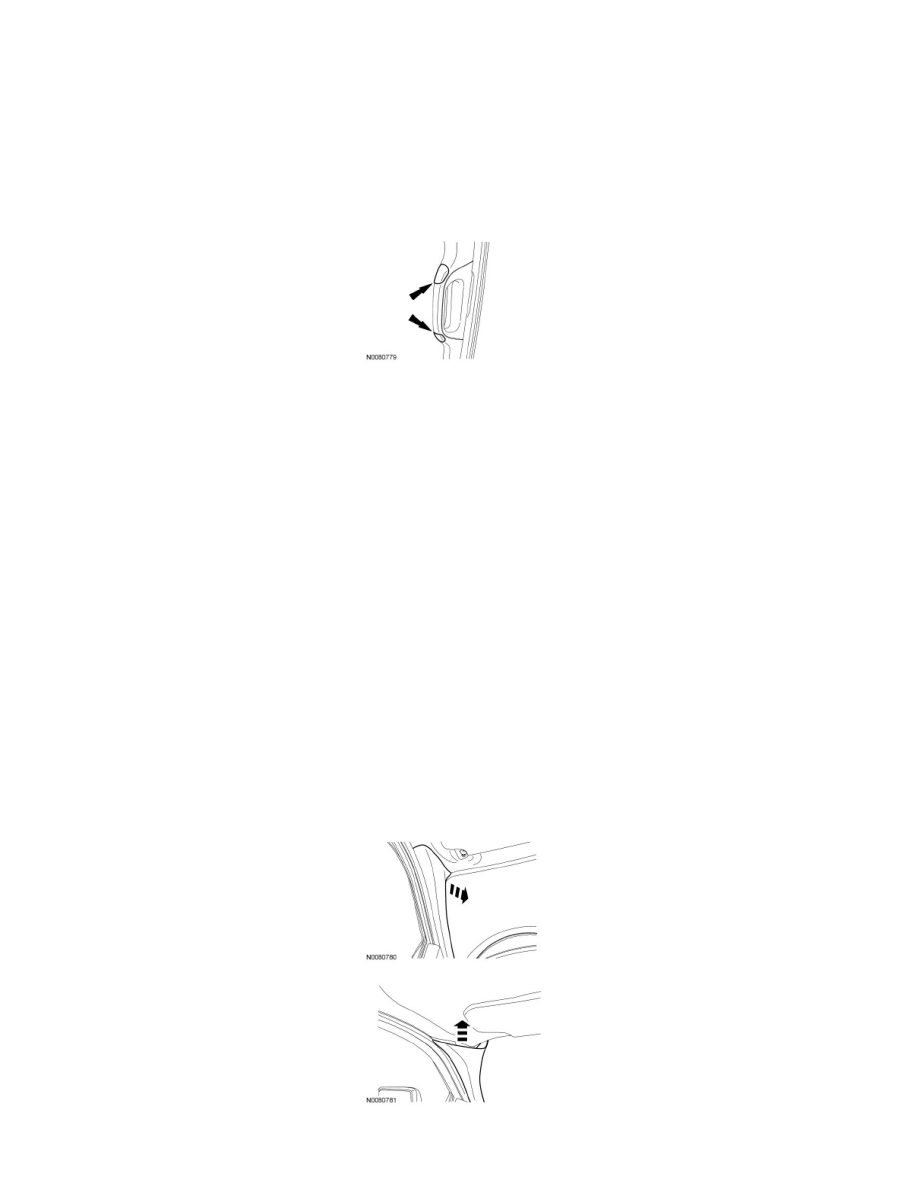
Remove the A-pillar trim panel.
-
Pull outward to disengage the first stage of the high-retension clip.
-
NOTE: This step will temporarily distort the A-pillar trim panel. There will be a "pop" noise when the pin is released from the sheet metal.
Pull outward in the middle of the trim panel to disengage the 4-way locator pin from the sheet metal.
-
Pull upward then inboard to disengage the high-retension clip from the mounting bracket.