
F 150 4WD V8-4.6L VIN 8 (2010)
8. NOTICE: Only use hand tools to install the camshaft phaser and sprocket assembly or damage may occur to the camshaft or camshaft
phaser and sprocket.
NOTICE: Damage to the camshaft phaser and sprocket assembly will occur if mishandled or used as a lifting or leveraging device.
Tighten the camshaft phaser and sprocket bolt in 2 stages:
-
Stage 1: Tighten to 40 Nm (30 lb-ft).
-
Stage 2: Tighten an additional 90 degrees.
9. Install the LH valve cover. For additional information, refer to Valve Cover - LH See: Cylinder Head Assembly/Valve Cover/Service and
Repair/Valve Cover - LH.
Camshaft Phaser and Sprocket - RH
Camshaft Phaser and Sprocket - RH
Removal
NOTICE: This procedure must be followed exactly or damage to the valves and pistons will result.
1. Remove the RH valve cover. For additional information, refer to Valve Cover - RH See: Cylinder Head Assembly/Valve Cover/Service and
Repair/Valve Cover - RH.
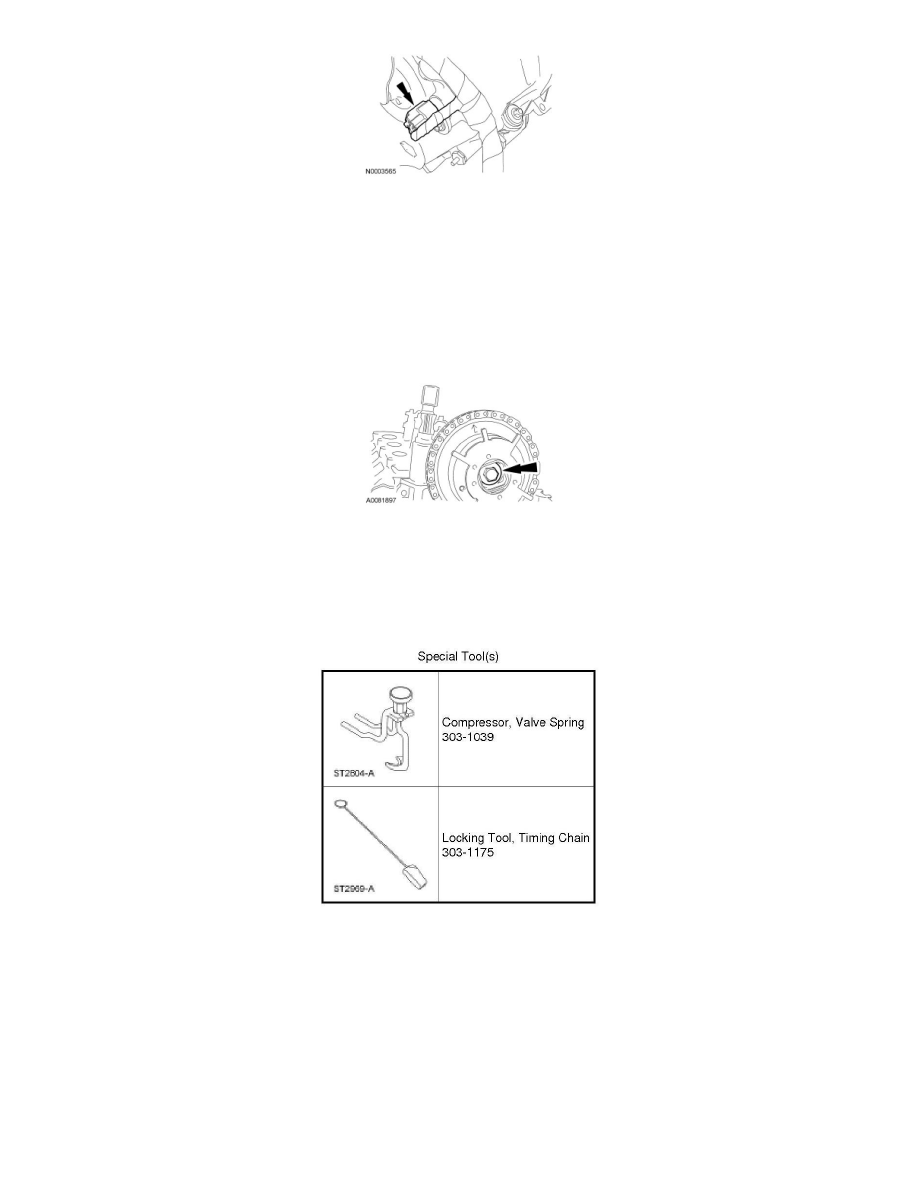
2. NOTICE: Damage to the camshaft phaser and sprocket assembly will occur if mishandled or used as a lifting or leveraging device.
NOTICE: Only use hand tools to remove the camshaft phaser and sprocket assembly or damage may occur to the camshaft or camshaft
phaser and sprocket.
Loosen and backoff the RH camshaft phaser and sprocket bolt one full turn.