
F 250 2WD Pickup V8-7.3L DSL Turbo VIN F (1994)
Removal
1. Disconnect ground cables from both batteries.
2. Drain cooling system.
3. Remove radiator fan shroud.
Caution: Left-hand thread. Remove by turning nut clockwise.
4. Remove fan and clutch assembly using Fan Clutch Pulley Holder T83T-6312-A and Fan Clutch Nut Wrench T83T-6312-B.
5. Remove turbocharger assembly. (IDI turbo diesel engines only).
6. Raise vehicle.
7. Drain engine oil and remove oil filter. Do not install drain plug.
8. Remove nut attaching left engine mount insulator to frame. Slightly raise left side of the engine and install a 25mm (1 inch) wood block between
insulator and frame. Lower engine on block.
9. Remove bolts attaching oil cooler to engine block and remove engine oil cooler.
Installation
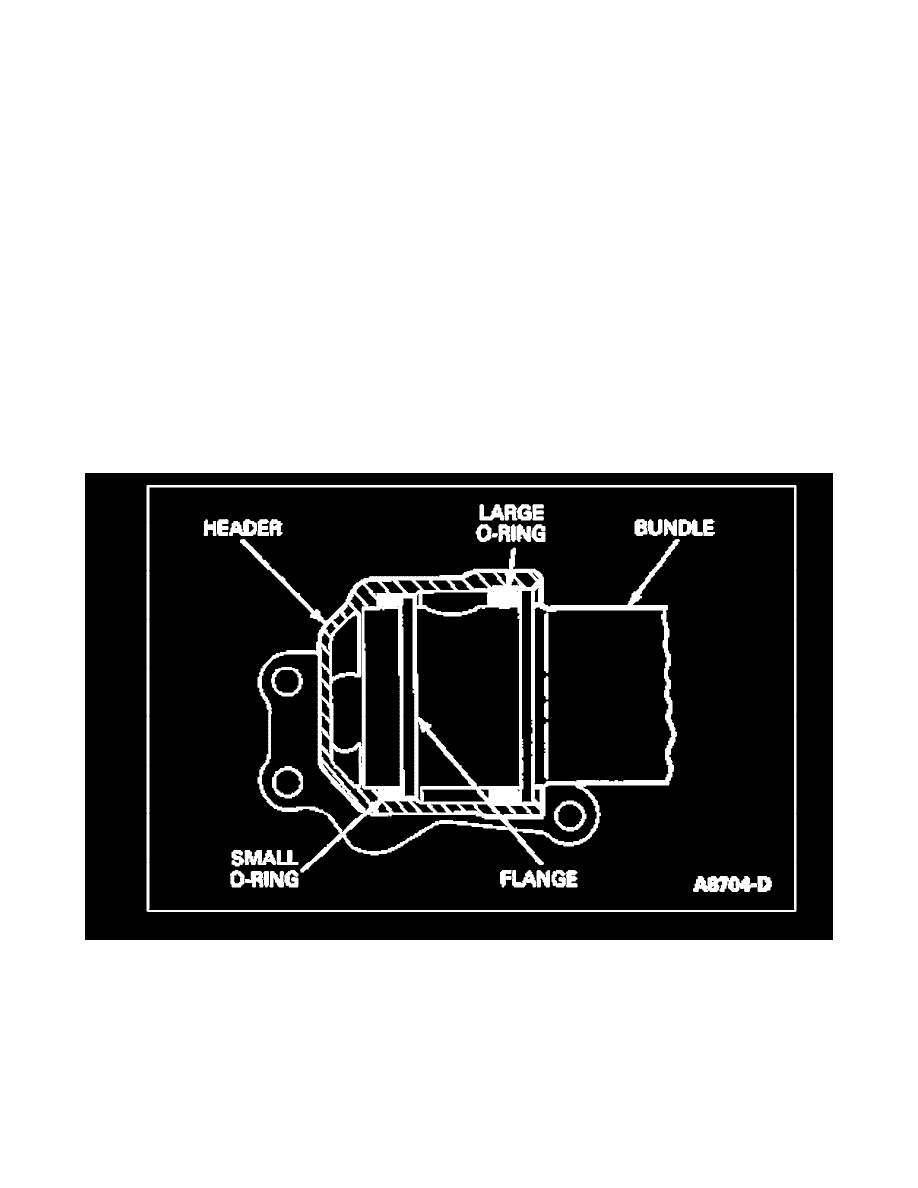
Caution: The inner O-ring must be installed on the header (not on the bundle) to avoid cutting the inner O-ring during assembly.
Note: Four O-rings are used on the oil coolers. Install the large O-ring on the oil cooler bundle first, then install the small O-ring on the cooler bundle.
1. Assemble cooler and headers. Install engine oil cooler assembly with new gaskets.
2. Raise engine, remove wood block and lower engine onto No. 1 crossmember.
3. Install insulator attaching washer and nut. Tighten to specification.
4. Lubricate oil filter gasket and install new oil filter until seal contacts filter flange. Tighten filter 1 1/4 to 2 additional turns. Install drain plug and