
F 250 4WD Super Duty V8-5.4L (2009)
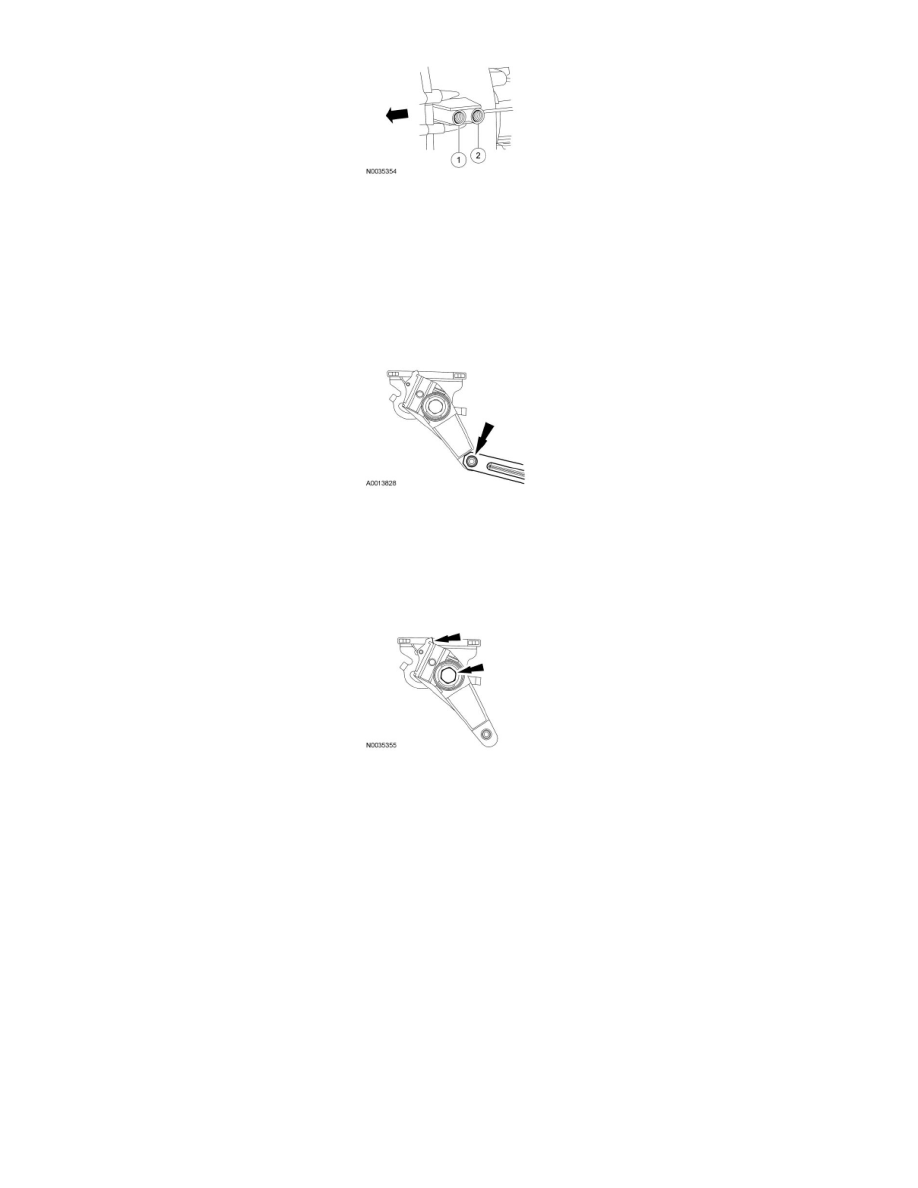
2. Position the transfer case control bracket bolt in the unused threaded hole in the transmission case.
-
For vehicles with a gasoline engine and manual transmission, or a diesel engine and manual or automatic transmission, position the pin in the
rearward (RH) threaded hole in the transmission case.
-
For vehicles with a gasoline engine and automatic transmission, position the pin in the forward (LH) threaded hole in the transmission case.
3. NOTE: Verify that the transfer case is still in 4H.
Connect the shift linkage to the lower shifter arm.
4. NOTICE: Make sure the transfer case is in 4H. Hold the control lever against the 4H detent while tightening the bolt. This will make sure
of correct transfer case gear engagement during transfer case operation.
Hold the control lever against the 4H detent while tightening the transfer case control lever pivot bolt.
-
Tighten to 40 Nm (30 lb-ft).
5. Install the transfer case control bracket bolt.
-
Tighten to 40 Nm (30 lb-ft).
6. Position the shift lever with the bezel and boot assemblies. Install the shift lever bolt.
-
Tighten to 27 Nm (20 lb-ft).
7. Slide the inner shift lever boot and bracket into position and install the 2 screws.
8. Install the shift lever boot and bezel.
9. Verify the shift sequence from 2H to 4L to 2H.