
F 350 4WD Pickup V8-7.3L DSL (1988)
8.
Install the new linkage assembly, (E8TZ-2C193-A) as follows:
a.
Attach the bracket end of the linkage to the rear axle differential housing with two (2) nuts. Tighten the nuts to a torque of 17-25 lb.ft. (23-34
N-m).
b.
Attach the leading arm of the linkage assembly over the splined section of the valve shaft. Use a 1/2" deep socket as a driver and tap it with a
hammer.
9.
Install a new valve shaft nut and tighten it to a torque of 8-10 lb.ft. (11-14 N-m).
10.
Bleed the rear brake system. Refer to the appropriate model year Light Truck Shop Manual, Volume A, Section 12-01.
11.
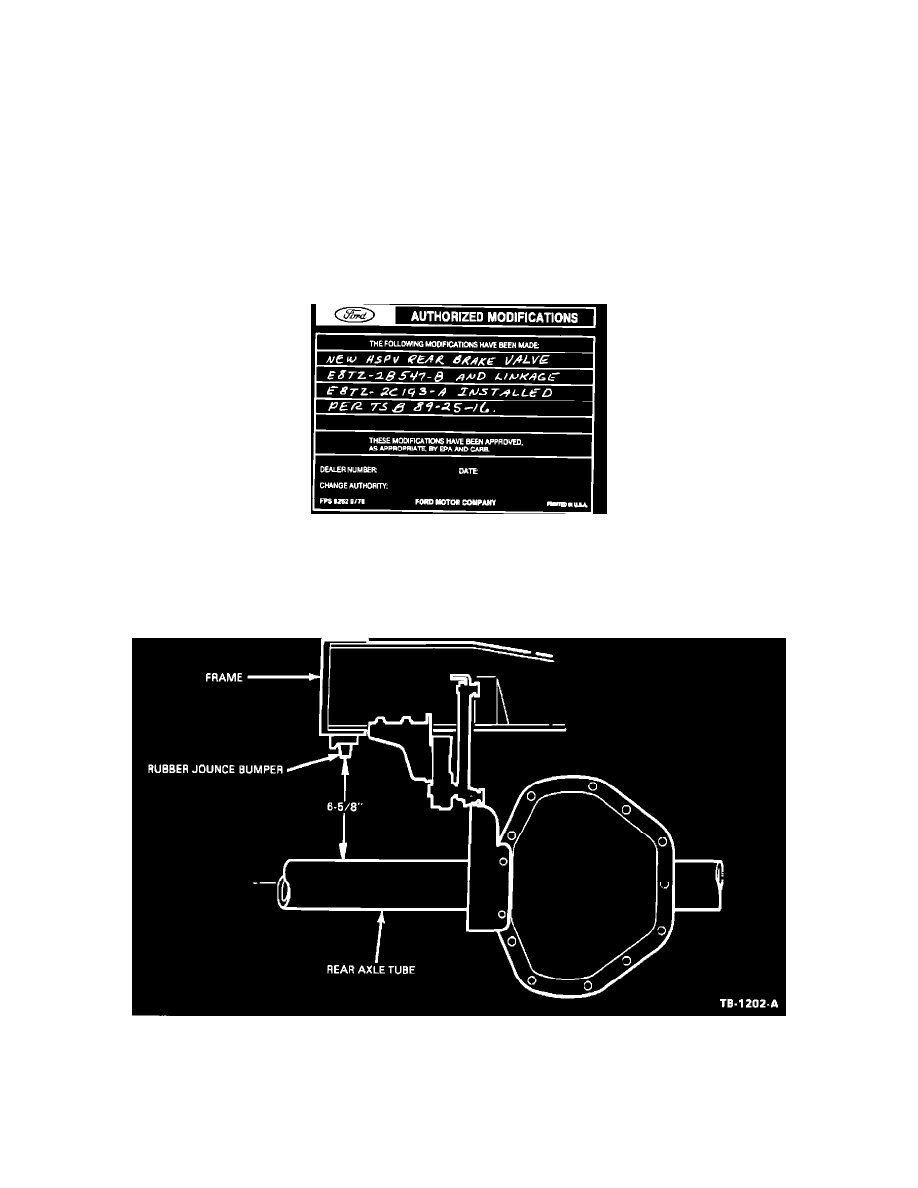
Install an "Authorized Modification" decal on the brake booster listing the modification as follows: "NEW HSPV REAR BRAKE VALVE
E8TZ-2B547-B AND LINKAGE E8TZ-2C193-A INSTALLED."
Obtain an Authorized Modifications Decal and list the date, dealer number, and summary of alterations performed. Select a prominent place adjacent to
the Vehicle Emission Control Information Decal suitable for installing the Authorized Modifications Decal. Clean the area, install the decal, and cover it
with a clear plastic decal shield.
Procedure "C"
Figure 6
1.
Raise the rear of the truck with body jacks to attain a clearance of 6-5/8" between the bottom surface of each rubber jounce bumper and the rear
axle tube, Figure 6.