F 450 4WD Super Duty V8-6.4L DSL Turbo (2008)

Muffler: Service and Repair
Tailpipe 6.4L Diesel
Removal
WARNING: Keep the holes and tabs in the tailpipe free of foreign material or blockage. Do not modify or permanently remove the tailpipe
section that contains the holes. Operating the vehicle with plugged or blocked holes or with modifications to the system may result in elevated
exhaust gas temperatures, which may burn persons contacted by the exhaust gas. Failure to follow these instructions may result in serious
personal injury to the technician or vehicle occupant(s).
NOTE: Do not modify, install an aftermarket part, or permanently remove the tailpipe.
1. With the vehicle in NEUTRAL, position it on a hoist. For additional information, refer to Maintenance/Service and Repair.
2. Loosen the diesel particulate filter or, if equipped, the intermediate pipe-to-resonator and tailpipe assembly Torca(R) clamp.
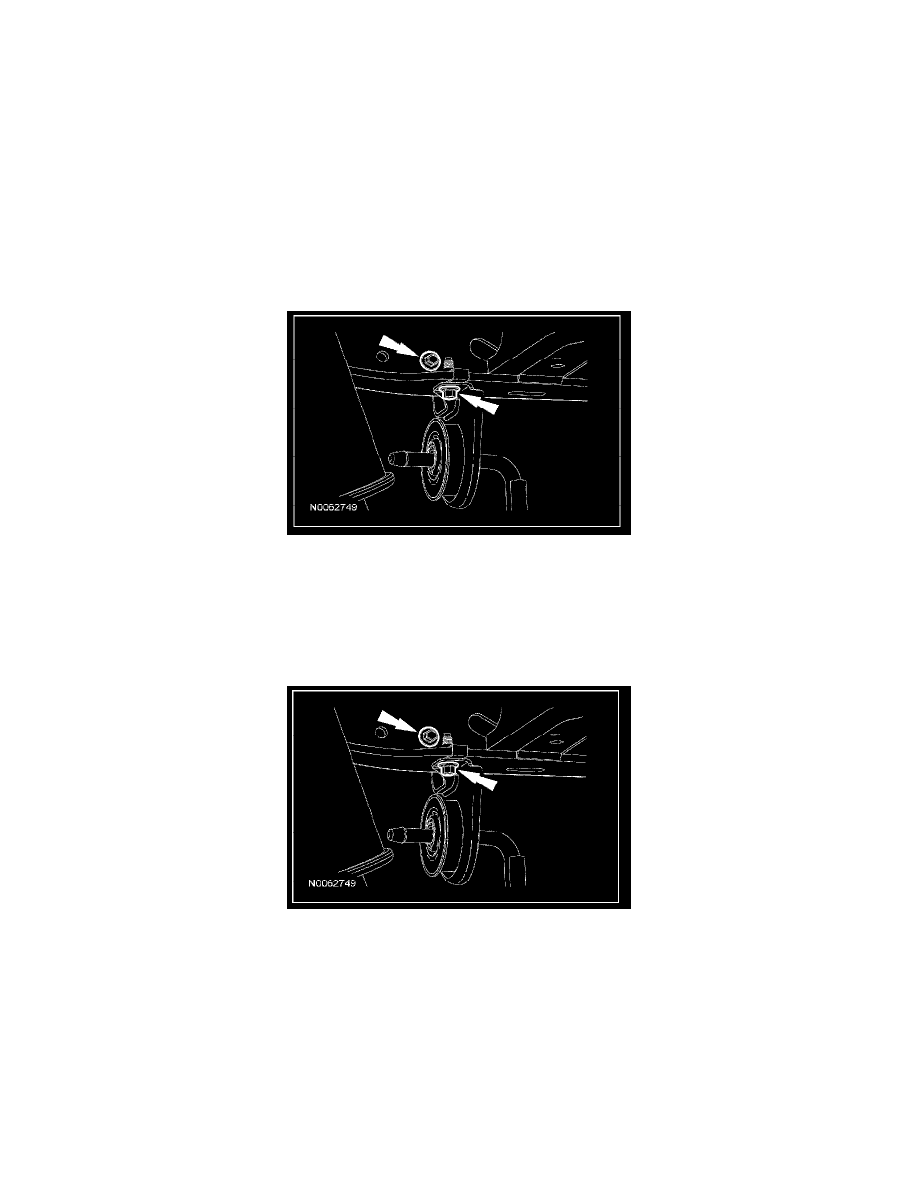
3. Remove the 2 tailpipe isolator and bracket bolts from the frame.
4. Disconnect the isolators and remove the tailpipe from the vehicle.
Installation
1. Install the tailpipe into the vehicle and connect the isolators while sliding the assembly onto the diesel particulate filter or, if equipped, the exhaust
intermediate pipe.
2. Install the tailpipe isolator and bracket onto the tailpipe and install the 2 tailpipe isolator and bracket bolts to the frame.
^
Tighten to 20 Nm (177 lb-inch).
3. Make sure the diesel particulate filter or, if equipped, the intermediate pipe button is fully inserted into the button slot on the tailpipe and tighten
the tailpipe-to-diesel particulate filter or, if equipped, the intermediate pipe Torca(R) clamp.
^
Tighten to 55 Nm (41 lb-ft).
