
F 550 2WD Super Duty V8-7.3L DSL Turbo VIN F (2002)
5. NOTE: The rubber-coated sealing washers can fall off during removal of the rear CBV bolt cooler line case fitting.
Remove the rear CBV bolt cooler line case fitting.
6. Remove, clean and flush the CBV.
Installation
1. CAUTION: Failure to correctly install the new rubber-coated sealing washers will result in transmission fluid leaks.
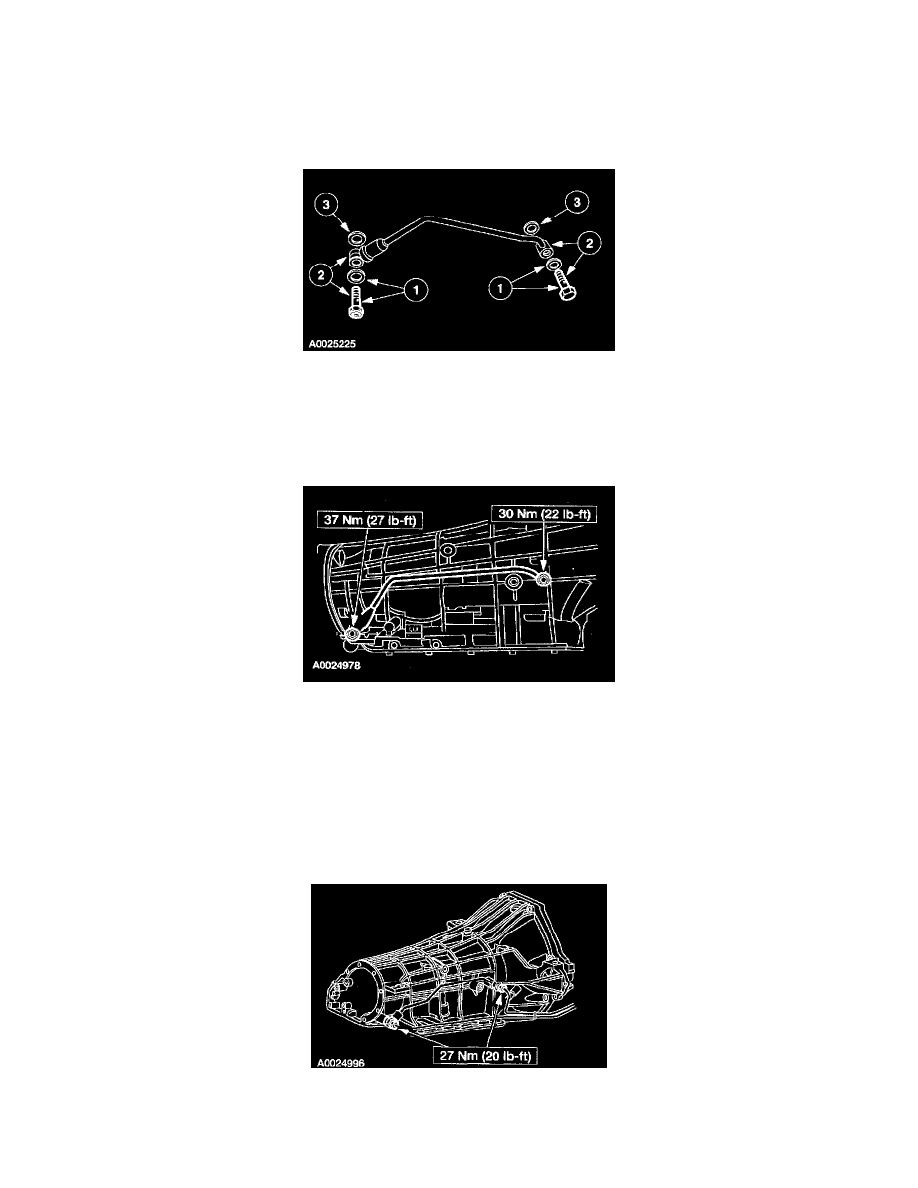
Install the new rubber-coated sealing washers and the new cooler line case fittings.
1
Install one rubber-coated sealing washers on each cooler line case fittings.
2
Install new cooler line case fittings into their respective ends of the CBV assembly.
3
Install one rubber-coated scaling washers on each cooler line case fittings.
2. CAUTION: Make sure the cooler bypass valve (CBV) is correctly backflushed. Use dry compressed air to remove solvent.
CAUTION: If the cooler line case fitting is overtightened, the rubber-coated sealing washers and/or cooler line case fittings can be damaged,
causing a transmission fluid leak.
NOTE: The CBV has a check ball in the rear fitting and will only allow flow in one direction. Make sure check ball moves freely.
NOTE: Align the two rubber-coated sealing washers while assembling the rear cooler line case fitting.
Install the CBV fitting.
3. CAUTION: If an overhaul is being carried out, the Oil-To-Air (OTA) cooler will need to be replaced.
NOTE: The cooler lines need to be flushed out at this time and install a new OTA cooler. Do not backflush the OTA cooler.