
F 550 2WD Super Duty V8-7.3L DSL Turbo VIN F (2002)
4. NOTE: Index-mark the driveshaft to transfer case or transmission flange.
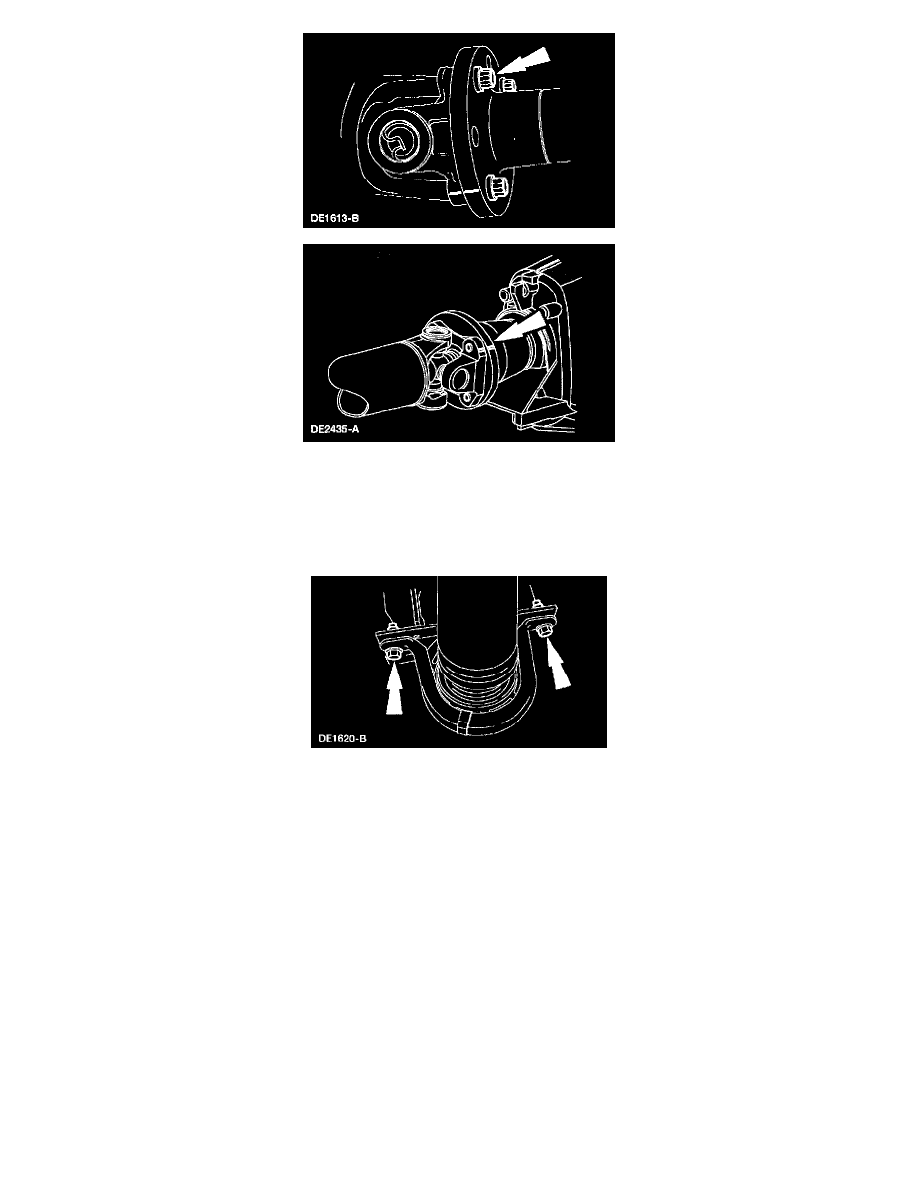
For four-wheel drive vehicles, or vehicles equipped with a manual transmission, disconnect the driveshaft from the transfer case or transmission.
-
Remove and discard the bolts.
-
Using mechanics wire, support the driveshaft.
5. For vehicles equipped with an automatic transmission, index-mark the output shaft to slip yoke.
6. Remove the center bearing support bolts.
7. Remove the driveshaft assembly.
-
For vehicles equipped with an automatic transmission, lower the driveshaft and slide the driveshaft rearward off of the transmission output
shaft.
-
Plug the extension housing to prevent fluid loss.
8. Clean grease deposits, dirt and rust from the following:
-
The driveshaft yoke areas.
-
All driveshaft components.
-
Wipe the bearing and rubber insulator of the driveshaft center bearing. Do not immerse in solvent.
9. Inspect the following:
-
The driveshaft slip yoke boot for rips or holes. Install a new boot if necessary.
-
The driveshaft center bearing support for wear or rough action. If roughness or wear is evident, install a new driveshaft center bearing support.
-
The center bearing rubber insulator for evidence of hardening, cracking or deterioration. Install a new insulator if necessary.