
Flex AWD V6-3.5L (2009)
Subframe - Rear (Part 2)
Removal and Installation
1. Measure and record the vehicle ride height.
2. Remove the rear wheels.
3. With a wax pencil, mark the relational alignment of the rear subframe to the underbody at the mounting locations.
4. Remove the muffler and tail pipe.
5. NOTE: If equipped, index-mark the driveshaft before disconnecting from the rear drive axle.
If equipped, remove and discard the 6 driveshaft bolts and position the driveshaft aside.
-
To install, tighten the new bolts to 25 Nm (18 lb-ft).
6. Remove and discard the sway bar link upper nuts and reposition the sway bar.
7. Using a suitable jackstand, support the lower arm.
8. NOTE: Before tightening the lower shock bolts, make sure that the vehicle is at the recorded vehicle ride height.
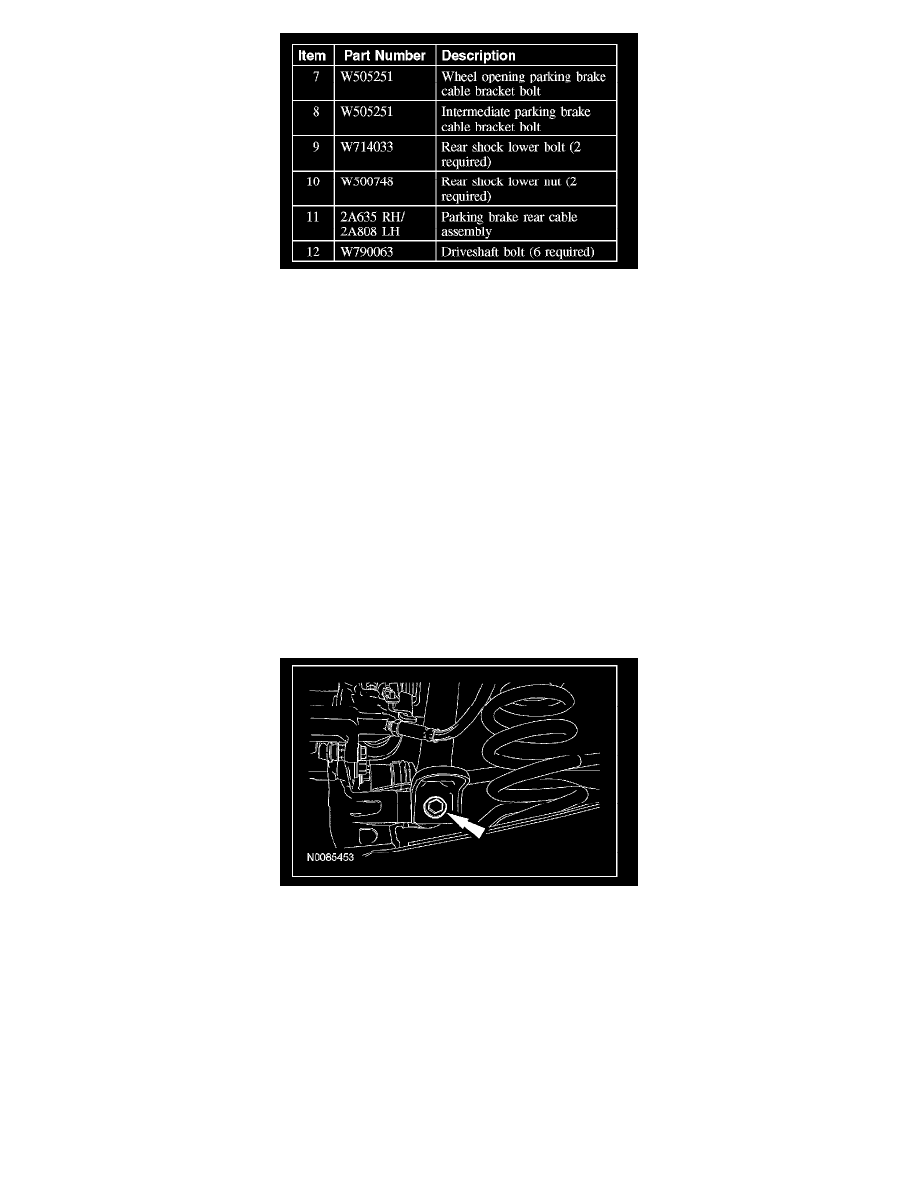
Remove the rear shock lower bolts.
-
To install, tighten the rear shock lower bolts - All-Wheel Drive (AWD) to 142 Nm (105 lb-ft).
-
To install, tighten the rear shock lower bolts - Front Wheel Drive (FWD) to 110 Nm (81 lb-ft).
9. Remove the jackstand from the lower arm.
10. Disconnect the main subframe electrical connector.