
Flex FWD V6-3.5L (2010)
Keyless Entry Key-Pad: Service and Repair
Keyless Entry Keypad
Removal and Installation
NOTE: The door glass must be completely raised.
1. Remove the LH front door trim panel.
2. Remove the door lock cylinder. For additional information, refer to Door Lock Cylinder See: Door Locks/Door Lock Cylinder/Service and Repair
.
3. Remove the exterior mirror. For additional information, refer to Mirrors.
4. Position the water shield aside.
5. Disconnect the front door latch actuator electrical connector.
6. Remove the door lock rod extension from the door lock rod.
7. Push the door lock rod and grommet through the door panel.
8. Push the interior door handle cable and grommet through the door panel, and pull them back out through the door panel access hole.
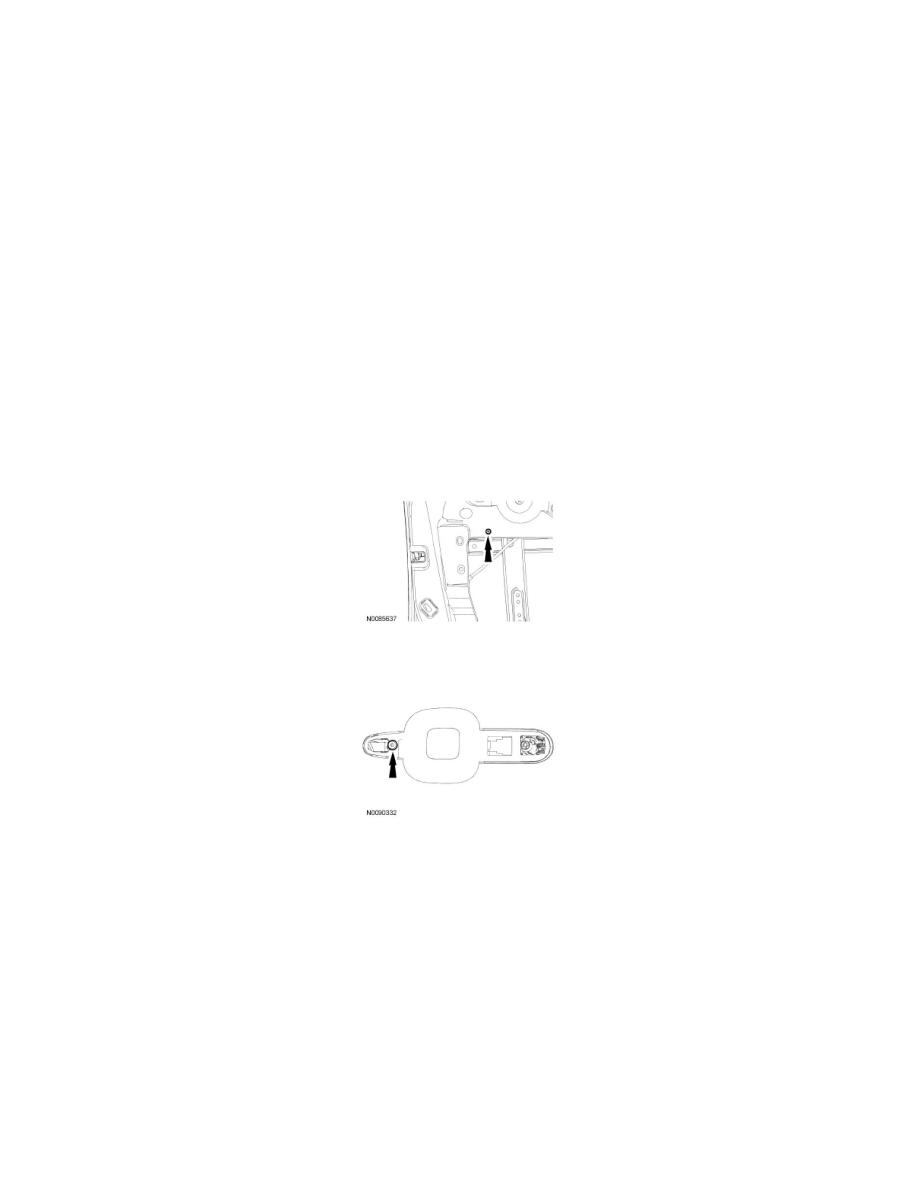
9. Remove the door latch carrier screw.
10. Loosen the exterior door handle reinforcement bolt.
-
To install, tighten to 8 Nm (71 lb-in).
11. Slide the exterior front door handle reinforcement to the front of the vehicle and push it inside the door.
12. Disconnect the keyless entry keypad electrical connector and unclip the connector from the door.
13. Remove the 3 front door latch bolts.
-
To install, tighten to 8 Nm (71 lb-in).
14. Lower the complete latch, carrier, and handle reinforcement assembly down into the door.
15. Unclip the keyless entry keypad wiring harness from the door.
16. Insert a thin bladed tool between the window glass molding and the door to release the tab.