
Flex FWD V6-3.5L (2010)
1. Remove the 60 percent seat from the vehicle. For additional information, refer to Seat - Second Row See: Service and Repair/Rear Seat/Seat -
Second Row.
2. From under the seat, release 2 sets of cushion trim cover J-clips.
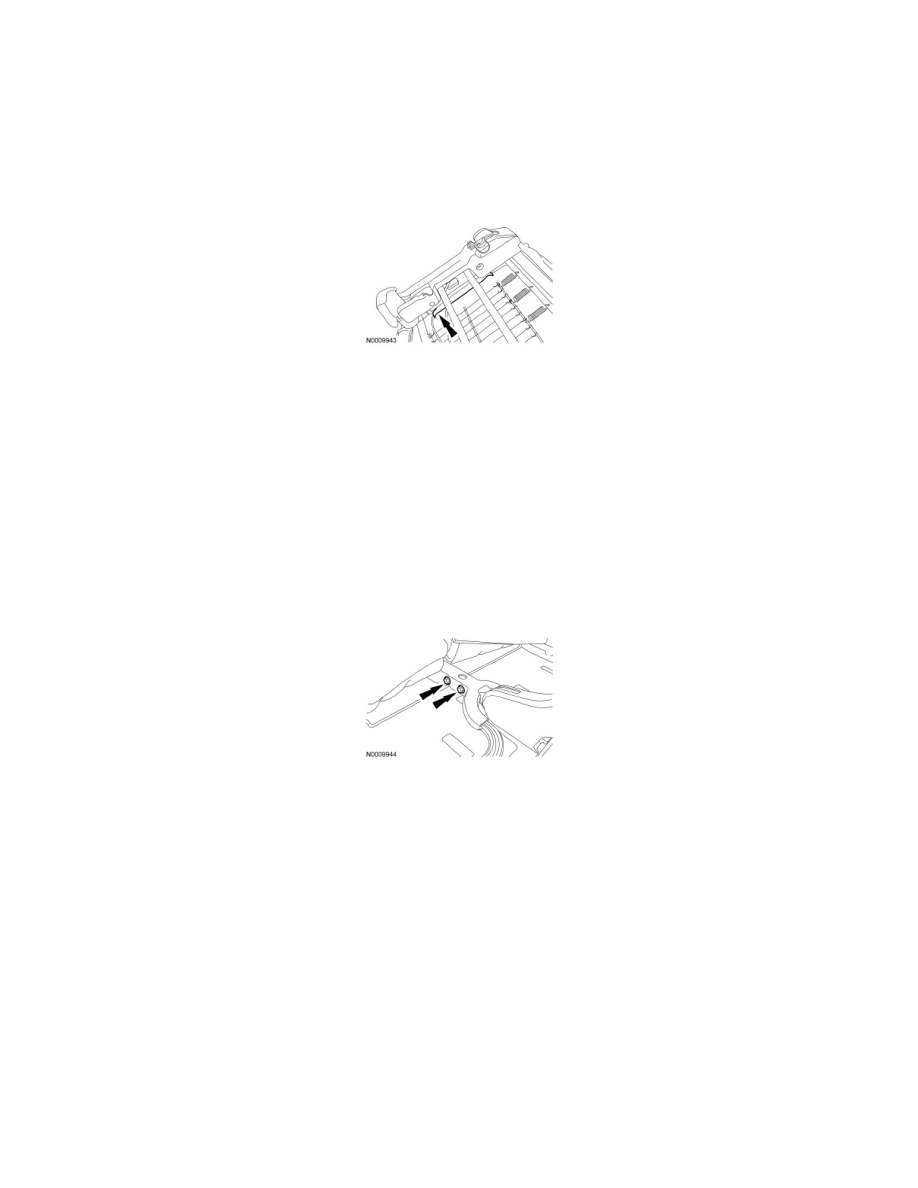
3. From under the seat, release the hook-and-loop strip and J-clip at the RH side of the cushion frame.
4. Release the cushion trim cover retainer from the outboard side of the cushion frame.
-
Pull the cushion trim cover outboard retainer out from between the riser and the cushion frame.
5. Remove the cushion foam pad and cushion trim cover.
6. Remove the bolt and separate the safety belt buckle and safety belt anchor assembly from the RH recliner.
7. Release the 2 backrest trim cover lower J-clips.
8. Release the 4 backrest trim cover inside J-clips from the hard back panel.
9. Roll the trim cover up and remove the 2 LH recliner-to-backrest frame bolts.
10. Pull and remove the outboard pivot cover.
11. Remove the pivot bolt.
12. Lift the backrest foam pad and trim cover. Remove the 2 RH recliner-to-backrest frame bolts.
13. Remove the backrest.
Installation
1. Position the backrest frame and hand-start all bolts.
2. Install the backrest frame bolts in the following sequence.
1. Install the LH lower recliner-to-backrest frame bolt.
-
Tighten to 50 Nm (37 lb-ft).
2. Install the LH upper recliner-to-backrest frame bolt.
-
Tighten to 50 Nm (37 lb-ft).
3. Install the pivot bolt.
-
Tighten to 22 Nm (16 lb-ft).
4. Install the RH lower recliner-to-backrest frame bolt.
-
Tighten to 50 Nm (37 lb-ft).
5. Install the RH upper recliner-to-backrest frame bolt.
-
Tighten to 50 Nm (37 lb-ft).