
Flex FWD V6-3.5L (2010)
4. Release the 2 backrest trim cover inside J-clips to hard back panel.
5. If equipped, disconnect the backrest heater mat electrical connector and route through the backrest trim cover.
6. NOTICE: Use care when separating the seat backrest trim cover from the hook-and-loop strip, or the hook-and-loop strip may be torn
from the seat backrest foam.
Release the hook-and-loop strips, invert the backrest trim cover and remove the 2 rows of hog rings.
7. Release the hook-and-loop strips and invert the backrest trim cover to the top of the backrest.
8. NOTE: The head restraint guides are not interchangeable.
Lift the backrest foam pad, squeeze the tabs in and remove the 2 head restraint guides.
9. Remove the backrest trim cover.
10. To install, reverse the removal procedure.
Seat Cushion Cover - Second Row, 40 Percent
Seat Cushion Cover - Second Row, 40 Percent
Removal and Installation
Power-fold seat
1. Remove the seat. For additional information, refer to Seat - Second Row See: Service and Repair/Rear Seat/Seat - Second Row.
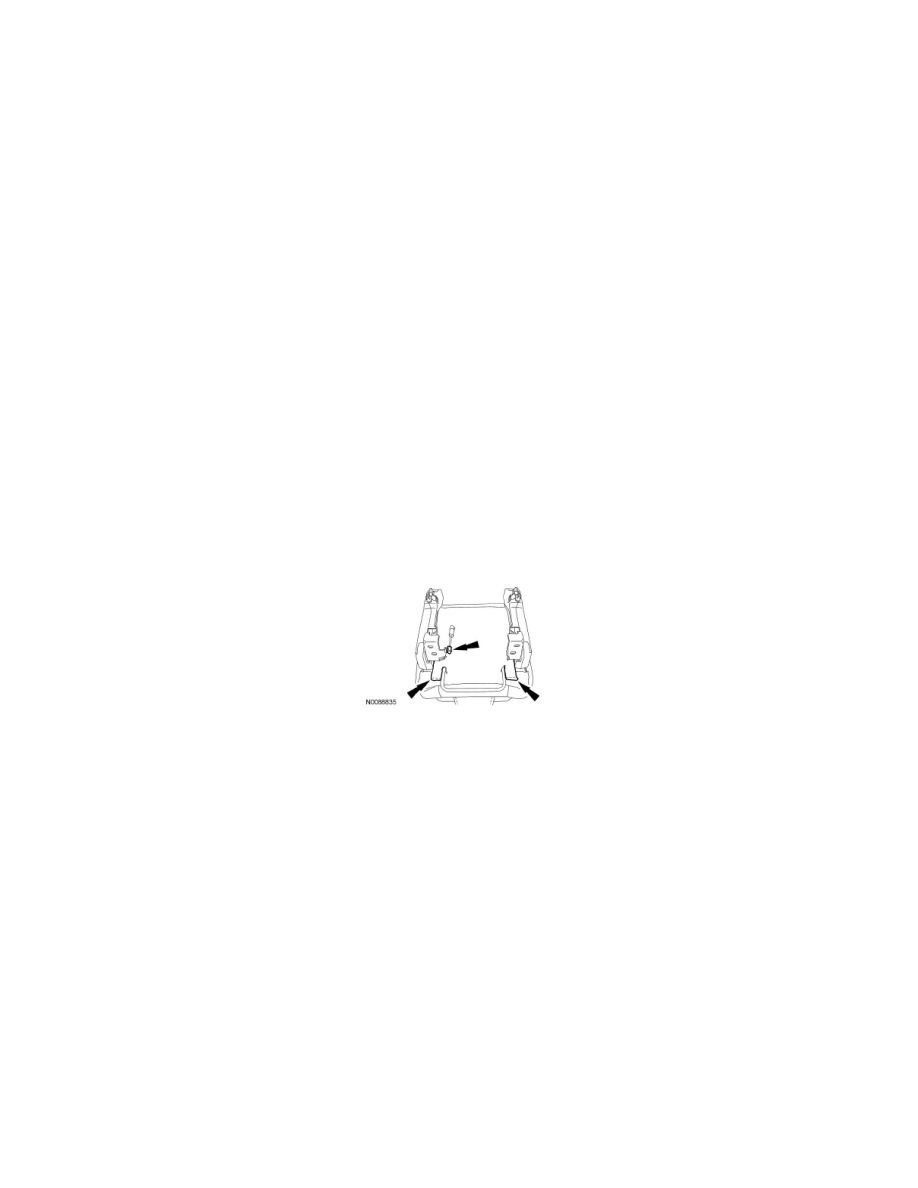
2. Release the clip, separate the strut and the cushion trim cover hook-and-loop strips.
Manual-fold seat
3. Place the seat in the E-Z entry position.
All seats
4. Release the outer and inner J-clips at the rear of the cushion trim cover.
Manual fold seat
5. Release the cushion trim cover from the flex mat.
1. Take the 4 cushion trim cover retainers out from under the second flex mat wire (1 shown).
2. Separate the 4 cushion trim cover retainers from the third flex mat wire.