
Focus L4-2.0L DOHC VIN 5 (2003)
Neatly apply Motorcraft Trim and Weather Strip Adhesive (part number TA-14 or CTA-14 for Canadian dealers) on the side edges of the heater
element pad and the mating surface on the foam. Press the edges down while smoothing the heater element pad down to avoid wrinkling or
puckering. Allow the adhesive to dry for five (5) minutes before assembling the seat. Test the edges to make sure they adhere well enough to avoid
pulling the heater element pad up when the trim cover is reinstalled. See Figures 14 and 15.
2.
Proceed to the Seat Cushion and Seat Back Reassembly procedure in this Attachment III.
SEAT CUSHION AND SEAT BACK REASSEMBLY
NOTE:
When installing the hog rings, locate the original holes in the fabric from where the hog rings were removed. This will help ensure the cover is
properly positioned onto the cushion.
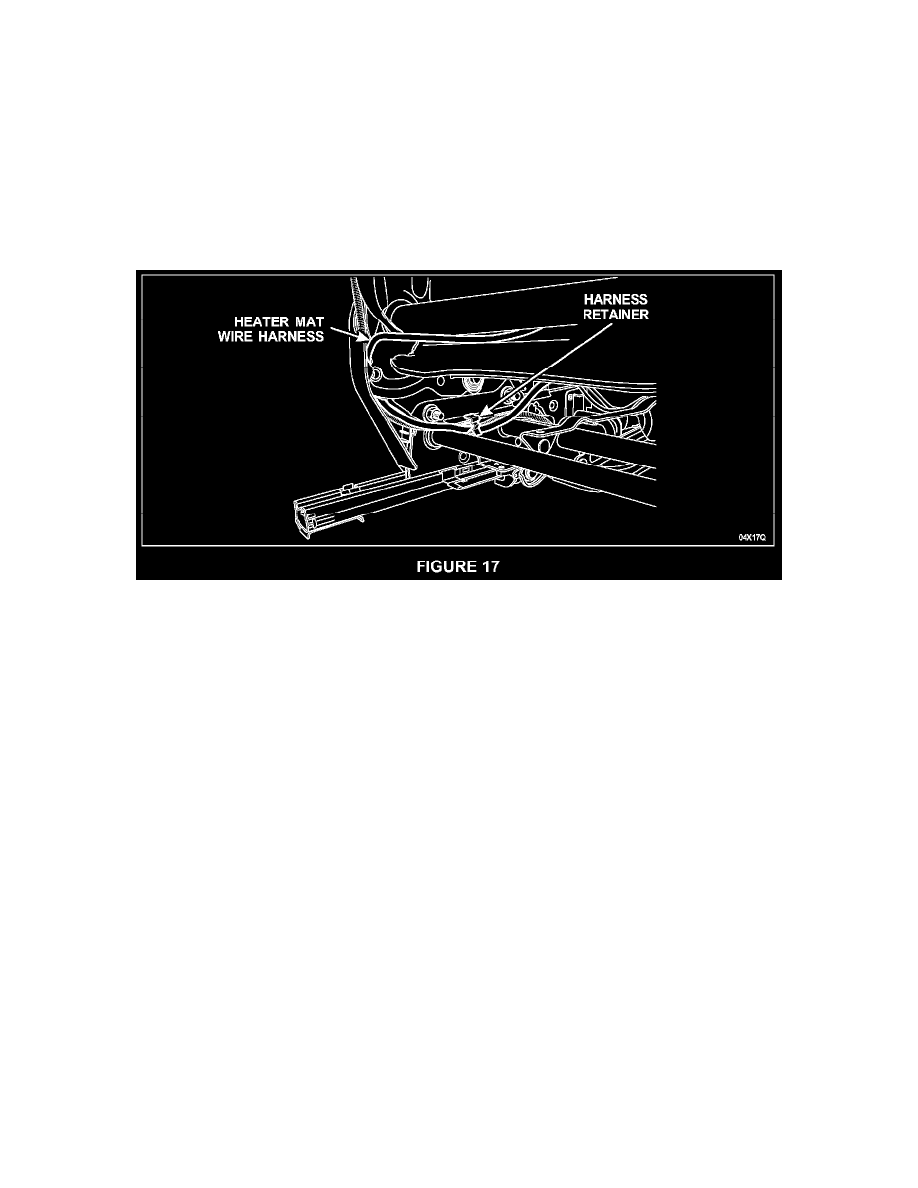
1.
Position the seat back heater mat harness along the seat frame and secure in the harness retainer as shown. See Figure 17.
2.
Attach the upper ends of the tension rods.
3.
Roll the seat back cover down and attach the lower ends of the tension rods.
4.
Attach the seat back cover retaining strip along the bottom of the seat back assembly.
5.
Install the lumbar support adjustment lever (if equipped).
6.
Position the seat cover onto the seat cushion.
4-DOOR AND WAGON
7.
Attach the retaining strip along the front edge of the seat cover.
5-DOOR
8.
Position the two (2) retaining cords and attach the two (2) push-type retaining pins into the seat cushion frame, then secure the seat cover straps
with two (2) hog rings. See Figure 6.
ALL VEHICLES
9.
Attach the heater element pad wiring harness to the retainers.
10.
Position the seat cushion assembly onto the seat frame and install the retaining bolts. Tighten the bolts to 28 Nm (21 lb-ft).
11.
Attach all electrical connectors to the underseat connector, then secure the harnesses in the harness retainer on the seat frame. See Figure 3.
12.
Secure the safety belt buckle and pretensioner wiring harnesses, if equipped, to the underside of the cushion. See Figure 2.
SEAT ASSEMBLY INSTALLATION