
Fusion FWD V6-3.0L (2009)
Windshield: Service and Repair
Glass Reseal - Windshield
Glass Reseal - Windshield
1. Remove the cowl panel grille.
2. Remove the LH and RH A-pillar trim panels.
3. Remove the LH and RH sun visors.
4. If equipped, remove the overhead console.
5. Remove the LH and RH assist handles.
6. Lower the front portion of the headliner and block with a suitable material.
7. Clean the edge formed by the existing urethane adhesive and the glass on the inside at the top and sides and outside on the bottom of the
windshield with glass cleaner.
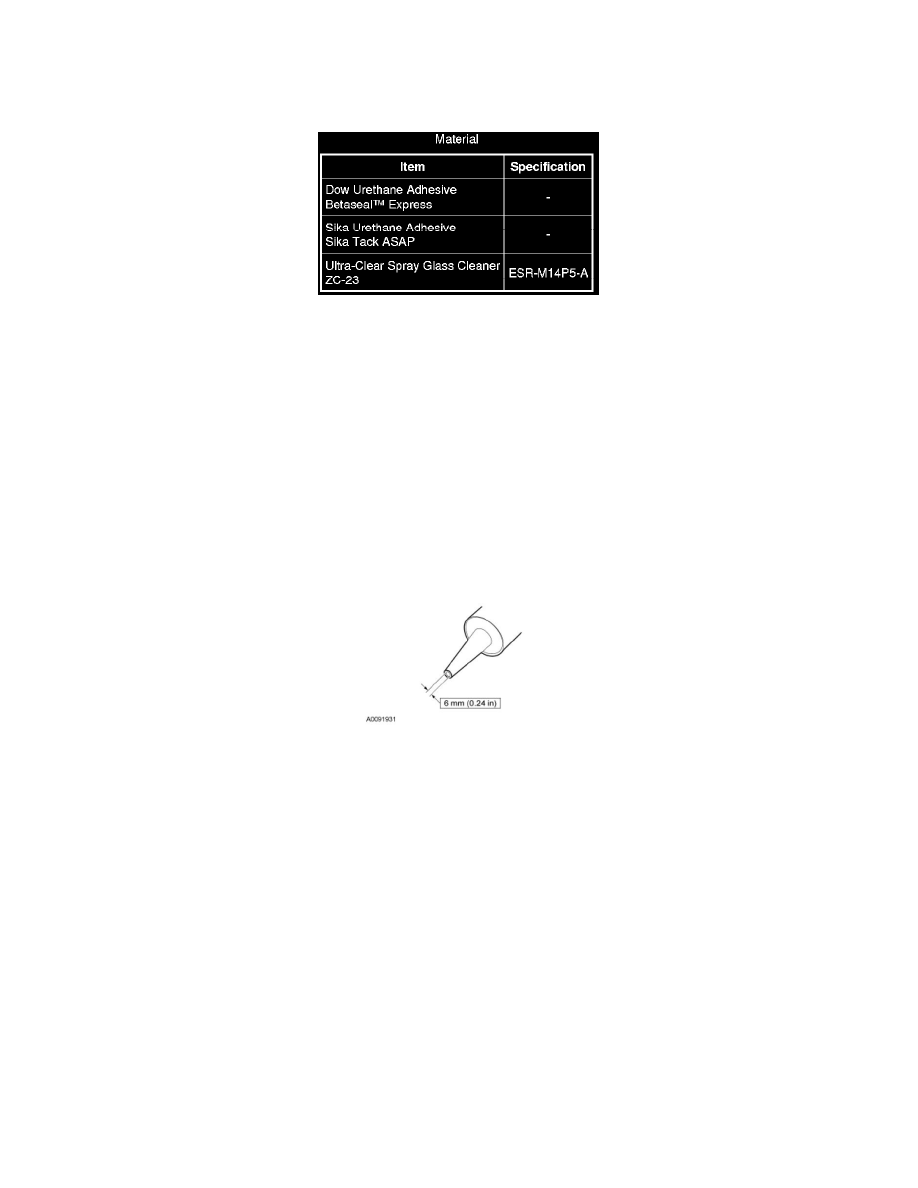
8. Cut the urethane adhesive applicator tip to specification.
9. NOTE: Use either a high-ratio, electric or battery-operated caulk gun that will apply the urethane adhesive with less effort and a continuous bead.
NOTE: Make sure there are no gaps in the urethane adhesive bead.
Apply urethane adhesive over top of the existing urethane adhesive.
-
Apply the urethane adhesive to the top and sides of the windshield from the interior of the vehicle.
-
Apply the urethane adhesive to the bottom of the windshield from the exterior of the vehicle.
10. NOTE: The urethane adhesive must cure for a minimum of one hour before testing for air or water leaks.
After the urethane adhesive has cured, check the windshield seal for air or water leaks through the urethane adhesive bead and add urethane
adhesive as necessary.
11. Position the front portion of the headliner.
12. Install the LH and RH assist handles.
13. If equipped, install the overhead console.
14. Install the LH and RH sun visors.
15. Install the LH and RH A-pillar trim panels.