| Removal and Installation Removal | | -
Remove the C-pillar trim panel.
For additional information, refer to: C-Pillar Trim Panel (501-05 Interior Trim and Ornamentation, Removal and Installation).
| | | -
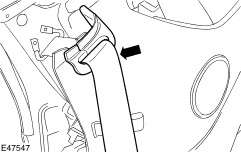
Remove the D-pillar trim panel.
For additional information, refer to: D-Pillar Trim Panel (501-05 Interior Trim and Ornamentation, Removal and Installation).
| | | -
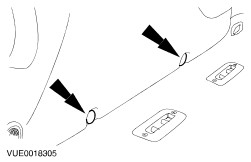
Detach the rear door weatherstrip. | | | -
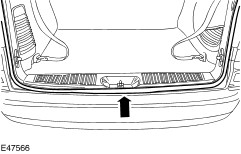
Remove the scuff plate trim panel. - Lever open the covers to expose the screws.
| | | -
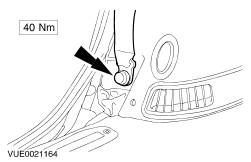
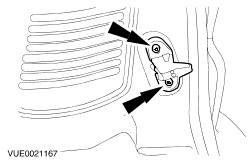
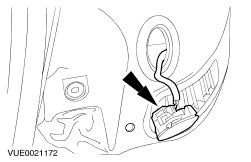
Remove the rear center safety belt lower anchor retaining bolt. | | | -
Detach the liftgate weatherstrip. | | | -
Remove the loadspace scuff plate trim panel. - Install new retaining clips to the scuff plate trim panel.
| | | -
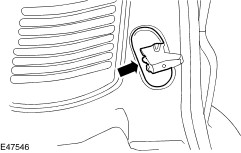
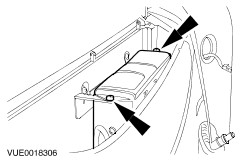
Remove the liftgate stabilizer cover. | | | -
Remove the liftgate stabilizer. | | | -
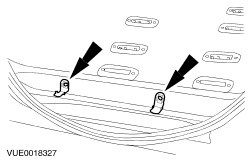
Remove the loadspace trim panel retaining clips. | | | -
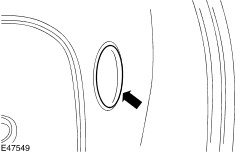
Detach the loadspace trim panel rear lamp. | | | -
Remove the loadspace trim panel rear lamp. | | | -
Detach the rear safety belt from the lower anchor point. | | | -
Detach the rear safety belt trim panel. | | | -
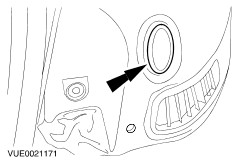
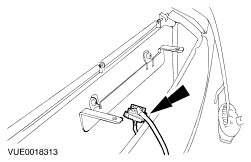
Detach the loadspace trim panel front lamp. | | | -
Disconnect the electrical connector and remove the loadspace trim panel front lamp. | | | -
Detach the compact disc (CD) changer from the retaining bracket. | | | -
Disconnect the electrical connector and remove the CD changer. | | | -
Remove the CD changer retaining bracket. | | | -
Detach the loadspace trim panel. - Detach the lower section of the trim.
- Slide the trim upwards to remove.
| | | -
Detach the rear center safety belt from the loadspace trim panel. | | | -
Disconnect the loadspace trim panel speaker electrical connector and remove the loadspace trim panel. | Installation | | -
To install, reverse the removal procedure. | | |