
Mustang Cobra V8-281 4.6L DOHC VIN V MFI (1997)
connecting rod together.
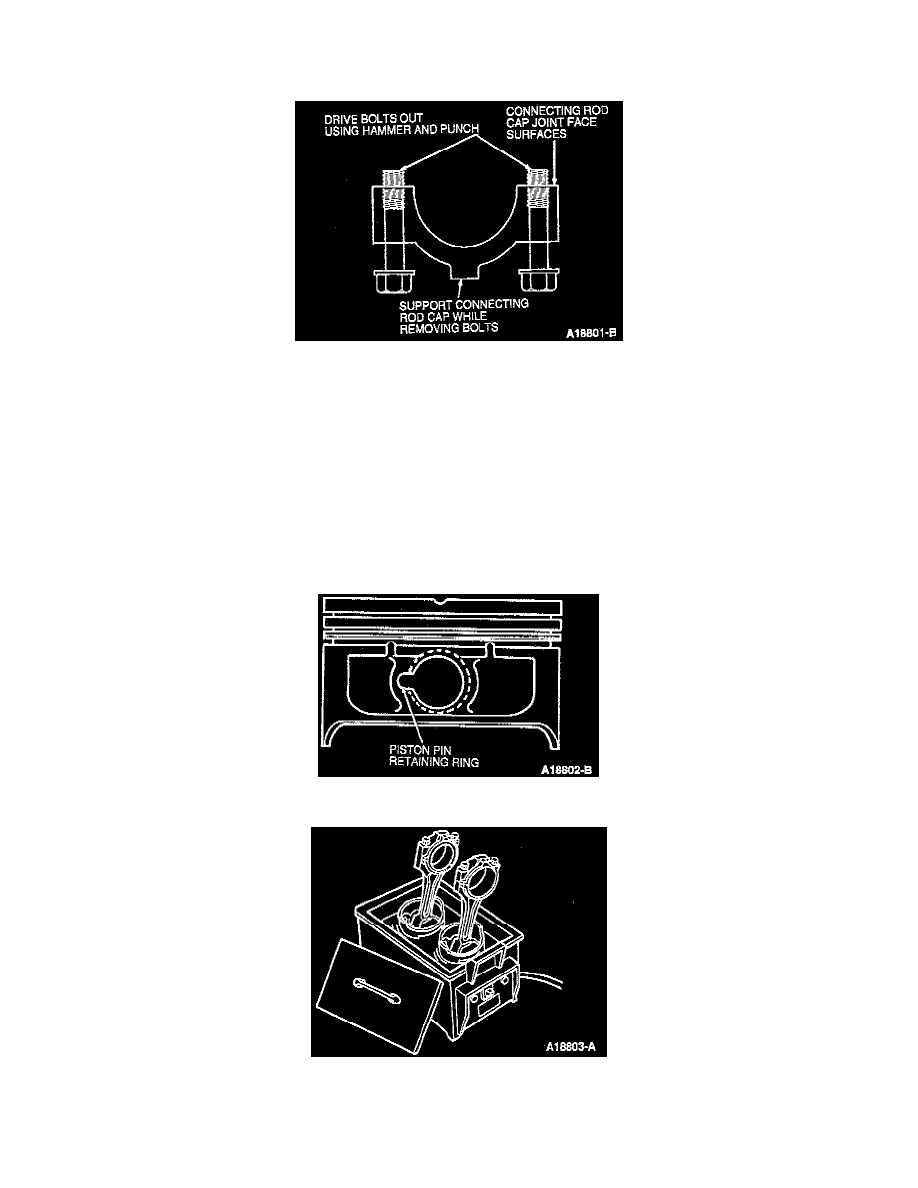
CAUTION: Care should be taken not to damage the fractured rod and cap joint face surfaces or possible engine damage may occur.
NOTE: Connecting rod bolts (6214) are retained in the bolt hole with a light press fit. The connecting rod bolts have been torqued to yield at
least twice and must be discarded. Use a hammer and punch to drive connecting rod bolts from connecting rod cap.
58. Using new connecting rod bolts, attach cap and lower connecting rod bearing to connecting rod and upper connecting rod bearing (finger-tight) to
prevent mixing parts and damaging the fractured joint face surfaces.
NOTE: Any piston rings that are removed from piston should be discarded and replaced with new rings.
59. If piston ring replacement is required, use a suitable piston ring expander to remove two compression rings. Remove two oil ring rails and
expander by hand.
WARNING: Cover the end of the pin bore with a hand or shop rag when removing the retainer ring since it has a tendency to spring out.
Eye protection should be worn.
60. Using O-Ring Tool T71P-19703-C, remove the two piston pin retaining rings.
61. Gradually heat the piston to approximately 100°C (212°F).
NOTE: The piston and piston pin (6135) are a matched set. Keep pistons, piston pins, rings, connecting rods and connecting rod bearings
together in proper cylinder order.