
Ranger 2WD V6-3.0L (2008)
4. CAUTION: Use the same color new drive pinion nut for installation. If a new collapsible spacer must be installed for preload reduction,
install the nut supplied with the new spacer or damage to the component may occur.
Position the new pinion flange nut.
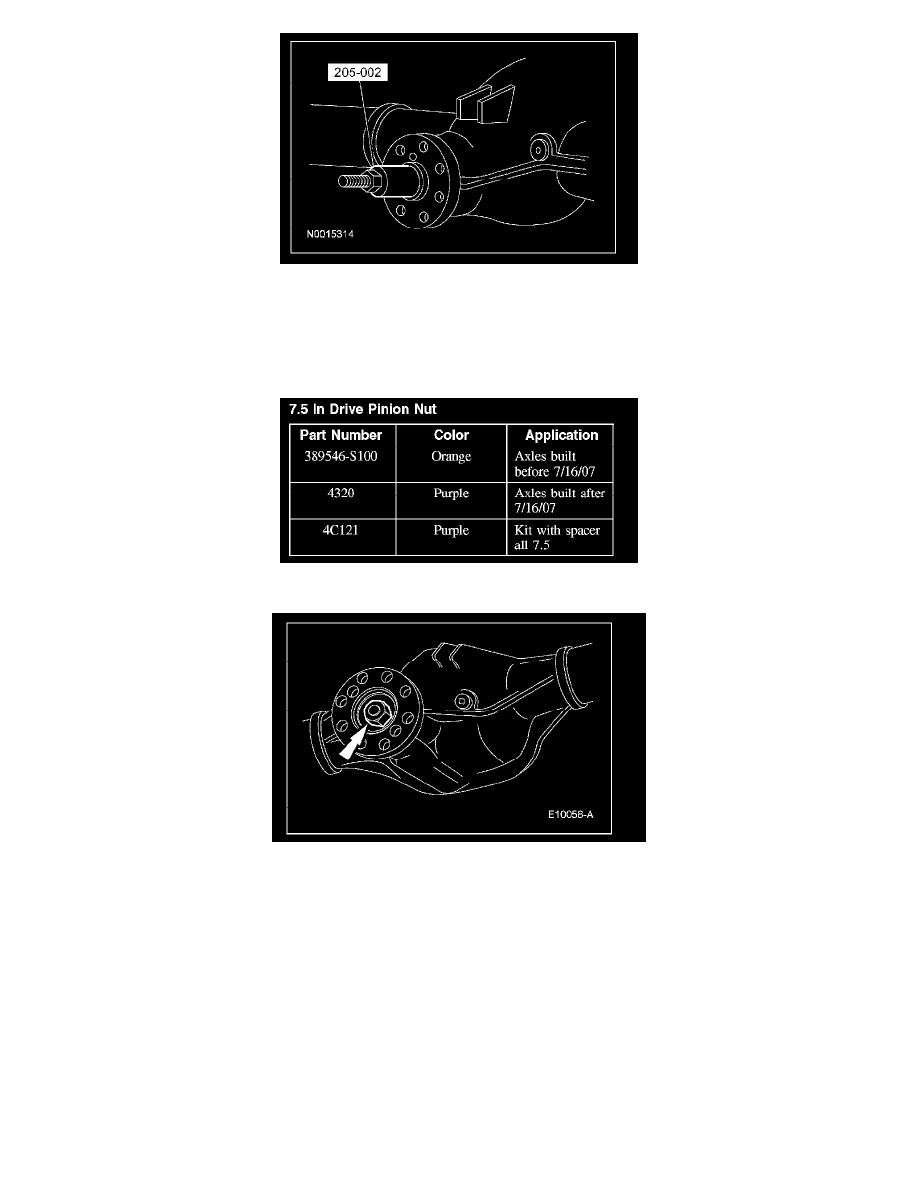
7.5 In Drive Pinion Nut
7.5 In Drive Pinion Nut
5. CAUTION: Under no circumstances is the pinion nut to be backed off to reduce preloads or component damage may occur. If reduced
preload is required, a new drive pinion collapsible spacer and pinion nut kit must be installed.
NOTE: Remove the special tool while taking preload readings with the Nm (lb-inch) torque wrench.
Using the special tool, hold the pinion flange and tighten the pinion nut.
^
Rotate the pinion occasionally to make sure the cone and roller bearings are seating correctly.
^
Install a Nm (lb-inch) torque wrench on the pinion nut.
^
Rotating the pinion through several revolutions, take frequent cone and roller bearing torque preload readings until the original recorded
preload reading is obtained.
^
If the original recorded preload is lower than specification, tighten to the appropriate specification. If the preload is higher than the
specification, then tighten the nut to the original reading as recorded.
^
Refer to Torque Specification.