
Ranger 4WD L4-122 2.0L SOHC (1984)
on the tubes and on the kit container to assure correct mixing and application of the material.
NOTE:
A. To prevent air bubbles during mixing, the components should be scraped together with downward pressure and spread thinly
on the mixing board.
B.
Adhesive should be used within two minutes after mixing.
C.
Observe safety precautions when handling adhesive.
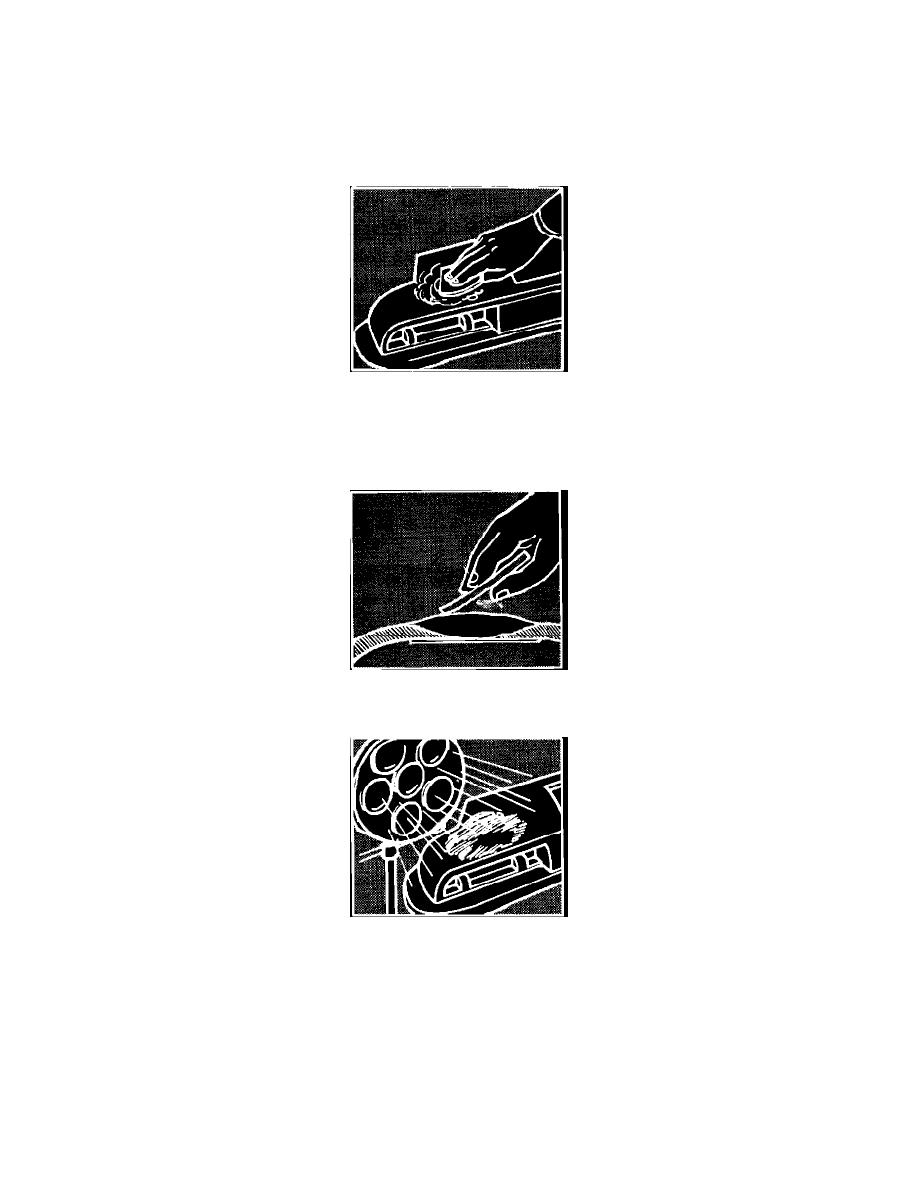
8.
Apply mixed adhesive to area with a squeegee in two steps:
1.
Apply a light coat over entire area and allow to dry.
2.
Mix and apply second coat to restore the contour.
9.
In restoring the contour, spread from edges toward center, filling all low areas. If voids, bubbles or low areas occur, mix more adhesive
and apply to the area.
10.
Heat lamps or guns may be used to speed drying. However, as excessive heat may damage the substrate, do not use lamps closer than
4-5 feet to area or heatguns at 190~-210~F for longer than 20 minutes. An inexpensive cooking thermometer can be used.
NOTE:
The adhesive can be sanded after the 20 minute heat (lamp or gun) cure or after one hour at room temperature (72~F).