
Ranger 4WD L4-2.3L VIN D (2002)
Seat Belt: Service and Repair
General Procedures
Safety Belt Cleaning
1. Clean the safety belt webbing only with a mild soap solution recommended for cleaning upholstery or carpets. Follow the instructions provided
with the soap.
WARNING: DO NOT BLEACH OR RE-DYE THE WEBBING, AS THE WEBBING MAY WEAKEN.
Safety Belt Without Anchor Plate Thread Damage
Replacement of the Weld Nut or Reinforcement
1. Expose the suspect anchor point.
NOTE: If the safety belt anchor nuts, bolts, or reinforcements are stripped or missing, they should be replaced with a new nut/reinforcement plate.
2. Drill out two 8 mm (5/16 in) diameter access holes adjacent to the weld nut clearance hole.
3. Thread a length of copper welding wire through the clearance hole and position it to secure the weld nut and washer.
4. Use MIG Wire Feed Welder and plug weld a 11 mm (7/16 in) weld nut and standard washer in place at the two 8 mm (5/16 in) holes.
5. Metal finish the welded area as required.
6. Perform the Functional Test. See: Testing and Inspection/Component Tests and General Diagnostics/Functional Test
Safety Belt With Anchor Plate Thread Damage
NOTE: This procedure does not apply to SuperCab four door rear safety belt retractor.
1. Remove the broken or stripped bolt and discard.
2. Drill out the internal threads in the safety belt anchor plate with a 27/64 inch drill.
3. Rethread the anchor plate with a 1/2-13 tap (seat belt).
4. Clean out the chips.
5. Install the attachment parts.
6. When repairing a multiple belt and attachment, install the nut to the bolt in the tunnel area from the underside of the floorpan.
Safety Belt Shoulder Height Adjuster With Stripped Weld Nuts
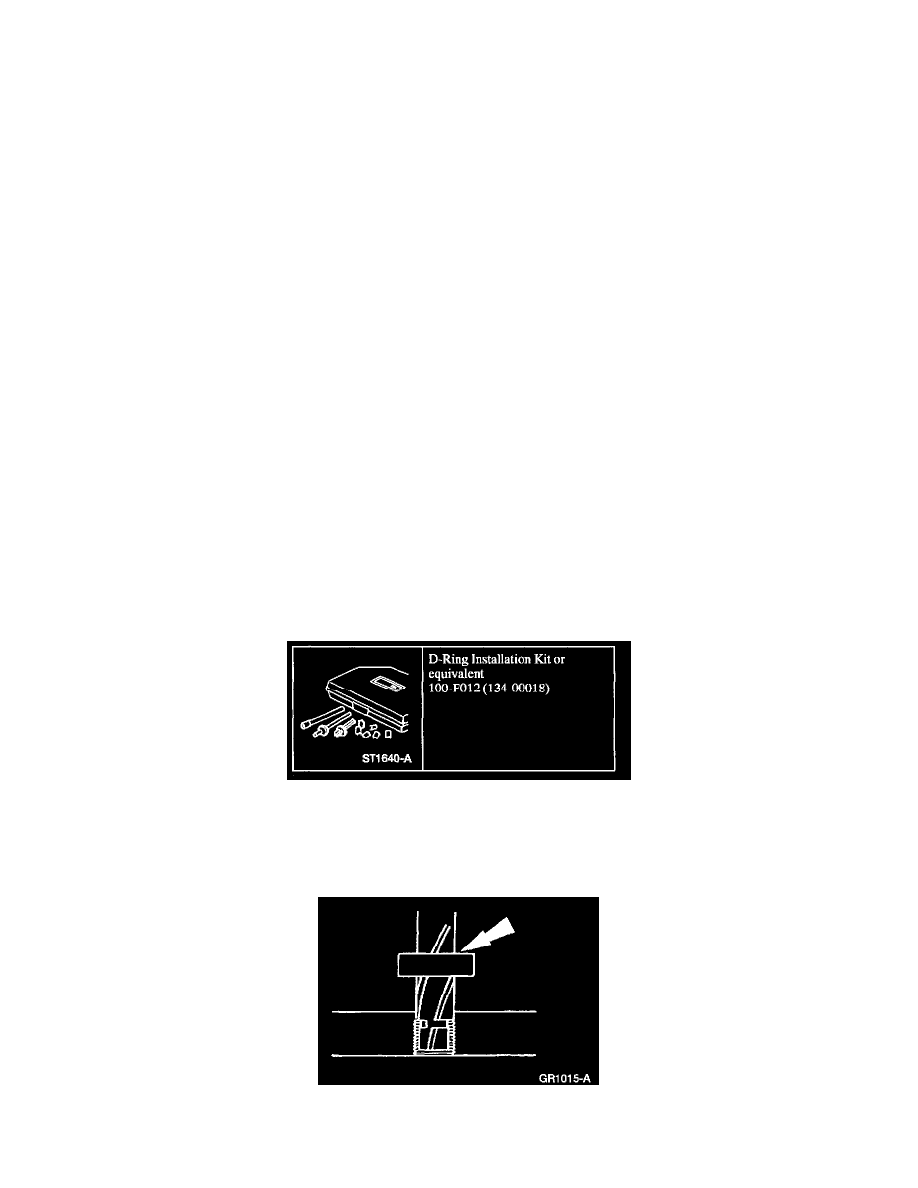
D-Ring Installation Kit
SPECIAL TOOL(S)
1. Remove the height adjuster
2. Use the 1/2-inch drill with integral stop provided in D-Ring Installation Kit to drill out the damaged threads in the upper pillar structure.