
Ranger 4WD V6-3.0L (2008)
2. Remove the wheel and tire.
3. Use a suitable jack to support the lower arm.
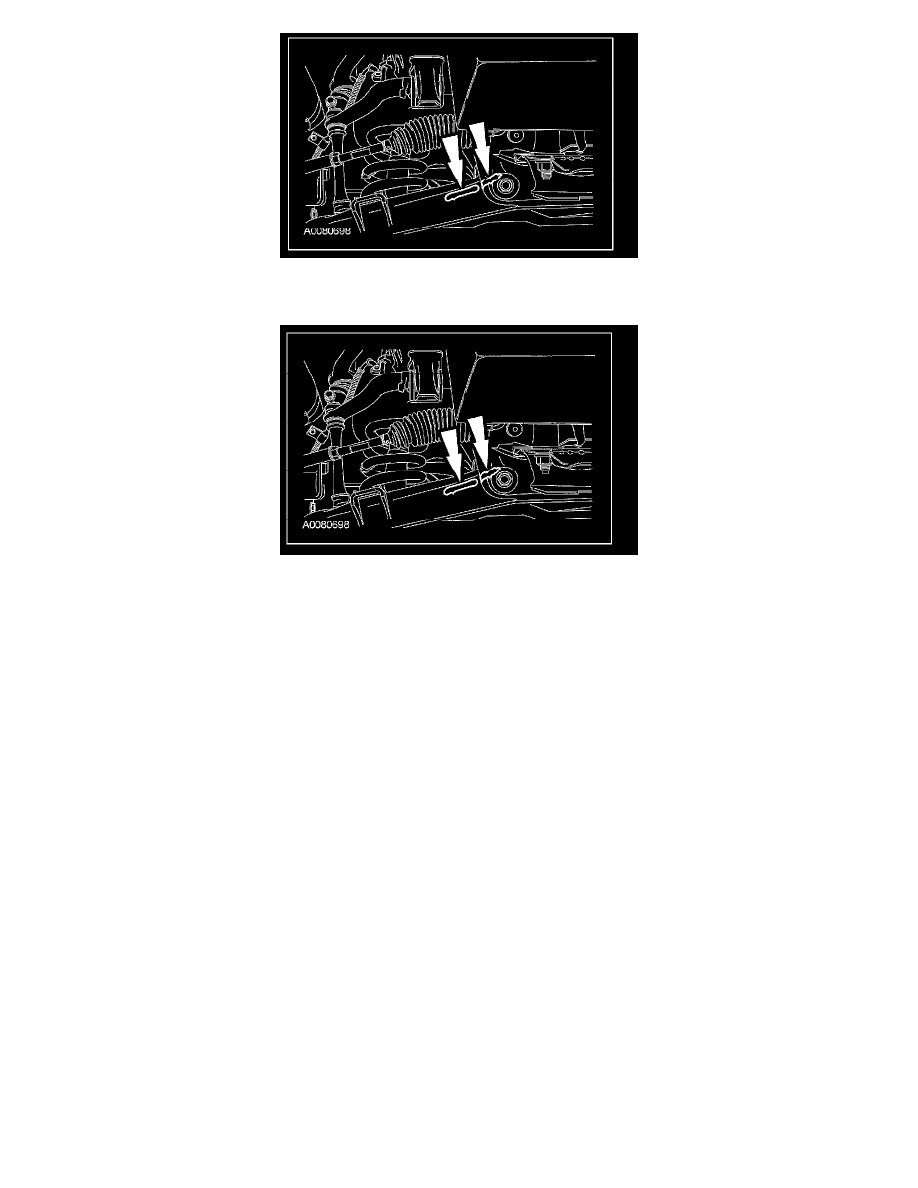
4. CAUTION: To avoid possible damage to the wheel spindle/knuckle, secure the wheel spindle/knuckle to keep it from tilting before
removing the pinch bolt and nut.
Remove and discard the upper ball joint nut and pinch bolt, and separate the ball joint from the wheel spindle/knuckle.
5. Remove and discard the 2 upper arm nuts, flag bolts and set shims.
^
Remove the upper arm.
Installation
1. NOTE: Do not tighten the nuts at this time.
NOTE: Make sure that the set shims are installed in their original positions.
Position the upper arm and loosely install the 2 upper arm flag bolts, set shims and nuts.
2. Install the upper ball joint and ball joint nut.
^
Tighten to 63 Nm (46 lb-ft).
3. Position a suitable jack under the front suspension lower arm and raise the suspension until the index marks on the lower arm and the frame are
aligned (curb height).
4. CAUTION: Make sure the upper arm bolts are held in place when tightening the nuts. Failure to do so may result in incorrect torque.
Tighten the upper arm nuts to 133 Nm (98 lb-ft).
5. Install the wheel and tire.
6. Check and, if necessary, align the front end.