Tempo L4-140 2.3L HSC (1986)

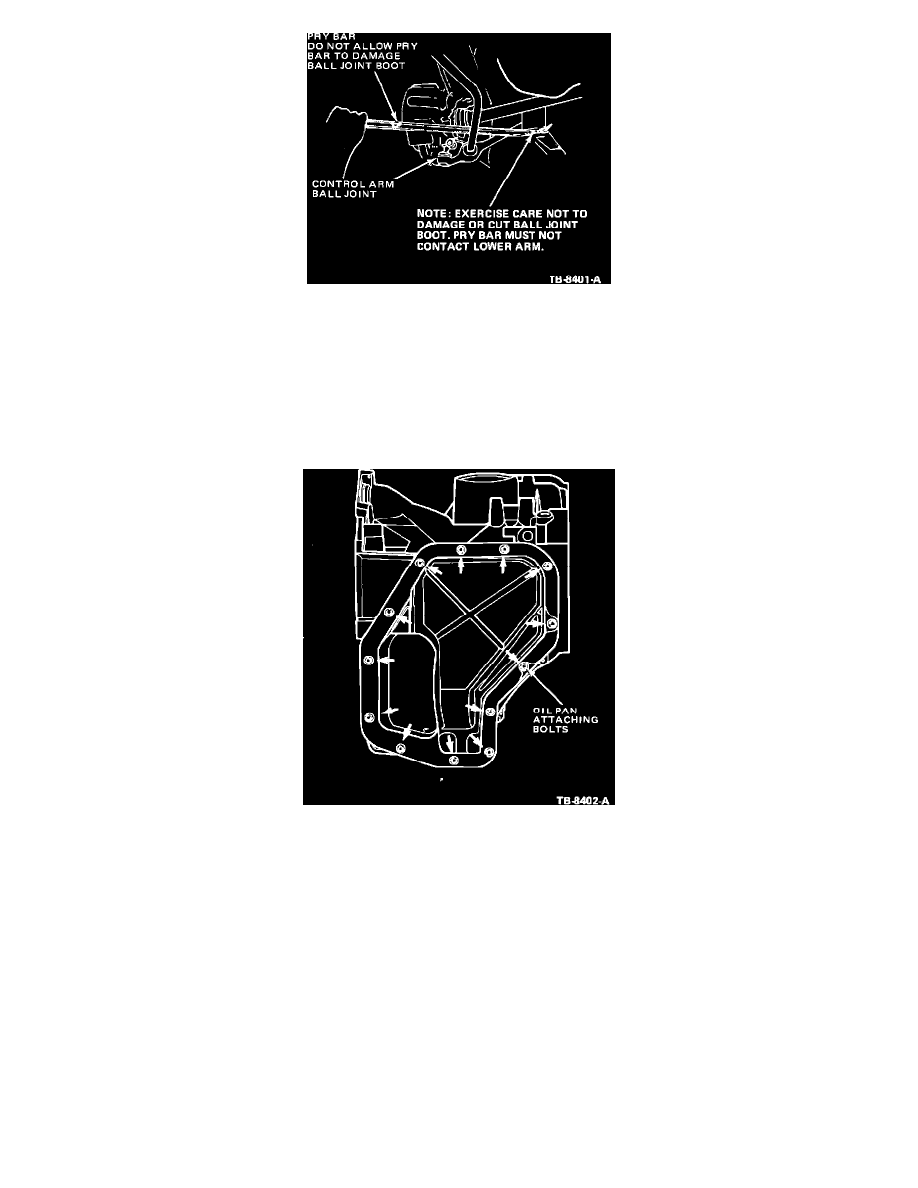
Figure 15
NOTE:
The plastic shield installed behind the rotor contains a moulded pocket into which the lower control arm ball joint fits. When disengaging
the control arm from the knuckle, clearance for the ball joint can be provided by bending the shield back toward the rotor. Failure to
provide clearance for the ball joint can result in damage to the shield.
NOTE:
Exercise care not to damage or cut ball joint boot. Pry bar must not contact lower arm.
Refer to Figure 15.
Figure 16
7.
Refer to Figure 16.
Remove transaxle oil pan which is retained by 13 attaching bolts. Drain fluid and discard pan gasket.
