Thunderbird V8-4.6L VIN W (1997)

7. Remove the connecting rod cap and lower connecting rod bearing. Keep cap and lower connecting rod bearing together. Push the piston
connecting rod assembly and upper connecting rod bearing through the top of the cylinder bore. Use care to prevent damage to the bearing and
cylinder bore surfaces. Keep upper connecting rod bearing and connecting rod together.
CAUTION: Care should be taken not to damage the fractured rod and cap joint face surfaces. Possible damage to the engine may occur.
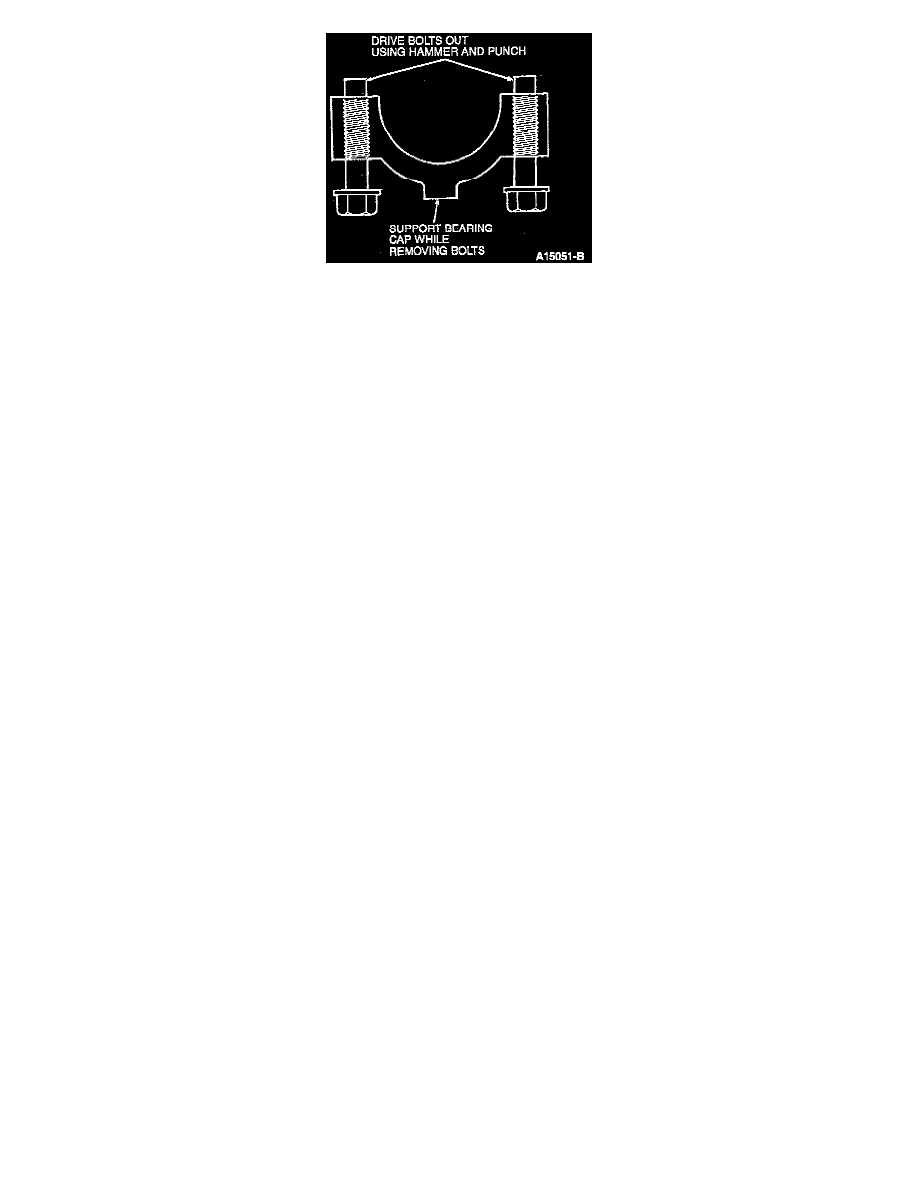
NOTE: Connecting rod bolts (6214) are retained in the bolt hole with a light press fit. The connecting rod bolts have been torqued to yield at
least twice and must be discarded. Use a hammer and punch to drive connecting rod bolts from connecting rod cap.
8. Using a new connecting rod bolt, attach cap and lower connecting rod bearing to connecting rod and upper bearing to prevent mixing parts and
damaging the fractured joint face surfaces.
9. Clean and inspect piston, connecting rod, connecting rod bearings and cylinder block bores.
10. If required, disassemble piston from connecting rod.
11. If required, replace piston rings.
INSTALLATION
1. Coat piston bores, pistons and rings, crankshaft journal and bearing surfaces with clean engine oil.
