
Windstar V6-232 3.8L (1995)
5.
Using compressed air, clean area spread apart by dowels, of any loose material.
6.
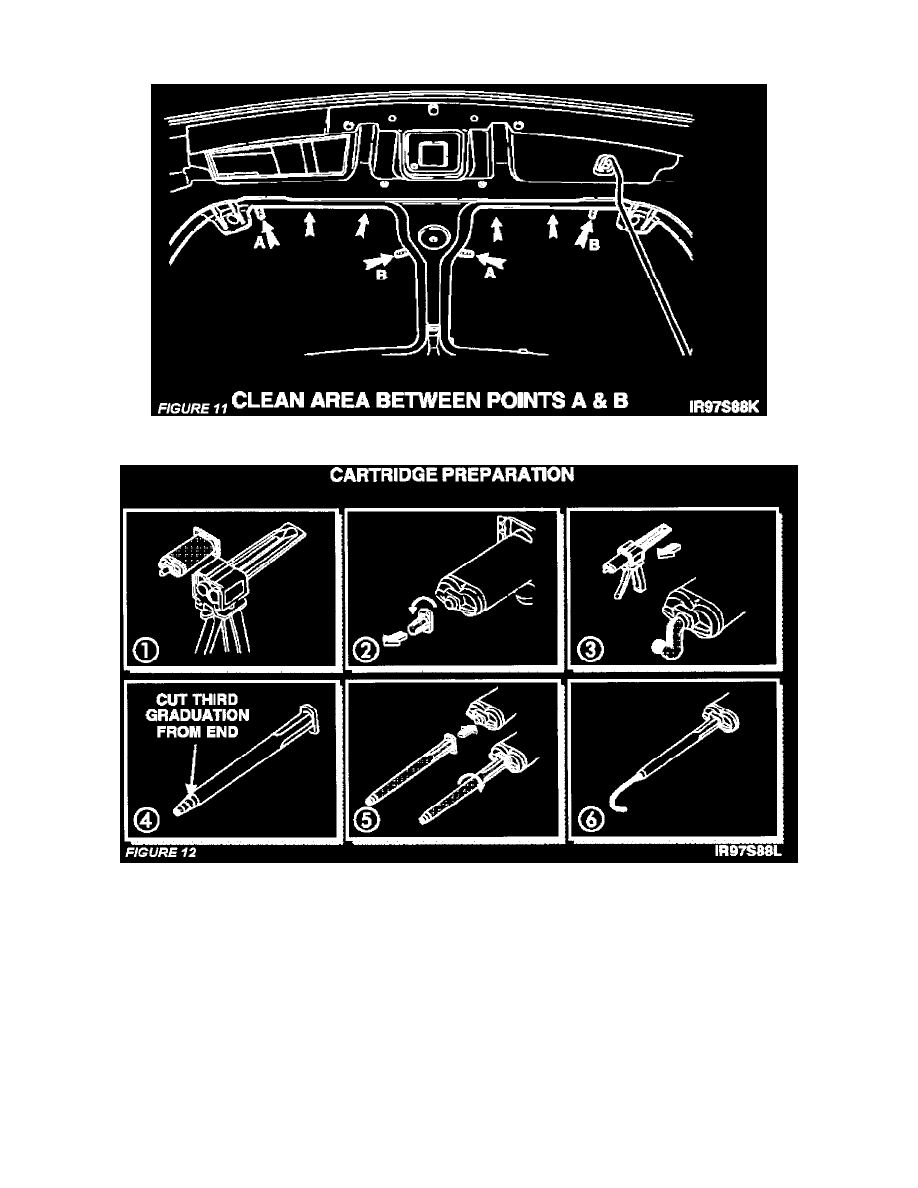
Using tongue depressor, rag and alcohol clean between points A and B on each side of hood. See Figure 11.
7.
Follow all precautionary warnings on adhesive label. Refer to Figure 12, when performing this step. Prepare adhesive cartridge as follows:
^
Load adhesive cartridge into adhesive dispenser (1).
^
Twist off and discard cartridge cap (2).
^
Squeeze trigger of dispenser to dispense a small amount of adhesive until both sides of cartridge flow equally (3).
^
Cut off tip of graduated mixer to the third graduation (4).
^
Slide mixer tip into cartridge bayonet slot, firmly twisting tip clockwise until tip locks into place (5).
^
Squeeze dispenser trigger to lay a bead of adhesive about one (1) inch long to ensure uniform mix before applying adhesive to bond area (6).
NOTE: