
C 3500 Truck 2WD V8-454 7.4L VIN J SFI (1999)
7.1. The tie rod end for damage.
7.2. The tie rod end seals for excessive wear.
7.3. The threads on the relay rod and the tie rod end for damage.
7.4. The ball stud threads for damage.
7.5. The adjuster tubes for bending or damaged threads.
7.6. Clean the tapered surfaces.
7.7. Clean the threads on the ball stud and in the ball stud nut.
INSTALLATION PROCEDURE
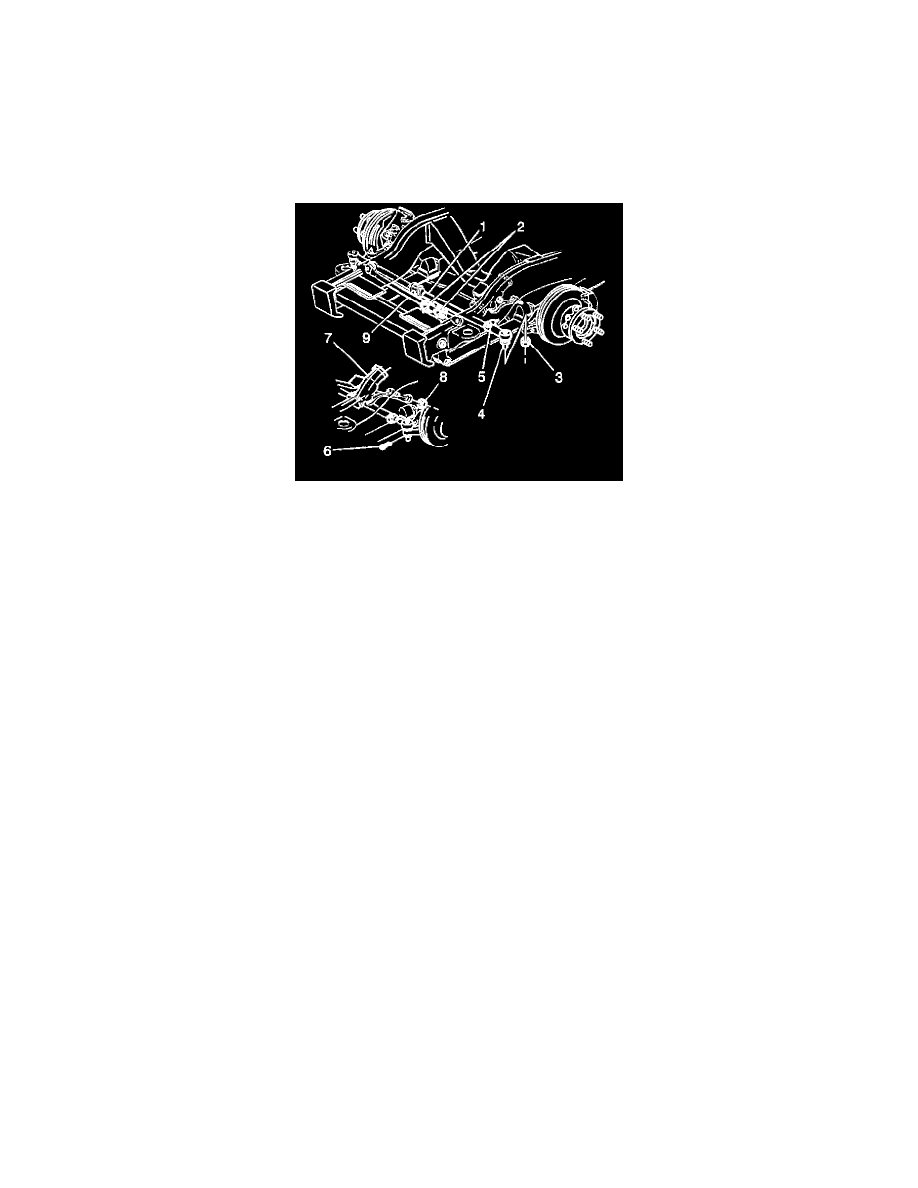
1. Install the ball stud (4) and the tie rod end to the tie rod assembly (1).
2. Install the ball stud into the steering knuckle.
3. Install the nut (8) to the ball stud.
-
Tighten the nut to 88 Nm (65 ft. lbs.).
Notice: Refer to Fastener Notice in Service Precautions.
4. Install the tie rod end.
5. Install the cotter pin (6).
5.1. Align the cotter pin slot to the nut with the hole through the tie rod stud.
5.2. Do NOT back off the nut in order to align the slot.
6. Adjust the front toe.
7. Install the adjuster clamp nuts.
-
Tighten the clamp nut to 104 Nm (77 ft. lbs.).