
Canyon 2WD L5-3.7L (2007)
Removal Procedure
Important: Use the tape for protection and alignment marks for alignment of the new decal.
1. Apply tape to the area around the decal.
2. Heat the decal, using a J 25070, 152 mm (6 in) from the surface.
3. Apply the heat using a circular motion for about 30 seconds.
Notice: Refer to Exterior Trim Emblem Removal Notice.
4. Remove the decal from the painted surface using a plastic, flat-bladed tool.
5. Remove all adhesive from the painted surface using 3M(TM) ScotchBrite molding adhesive remover disk 3M(TM) P/N 07501 or equivalent.
6. Clean the painted surface using varnish makers and painters (VMP) naptha.
7. Remove the tail lamp.
Installation Procedure
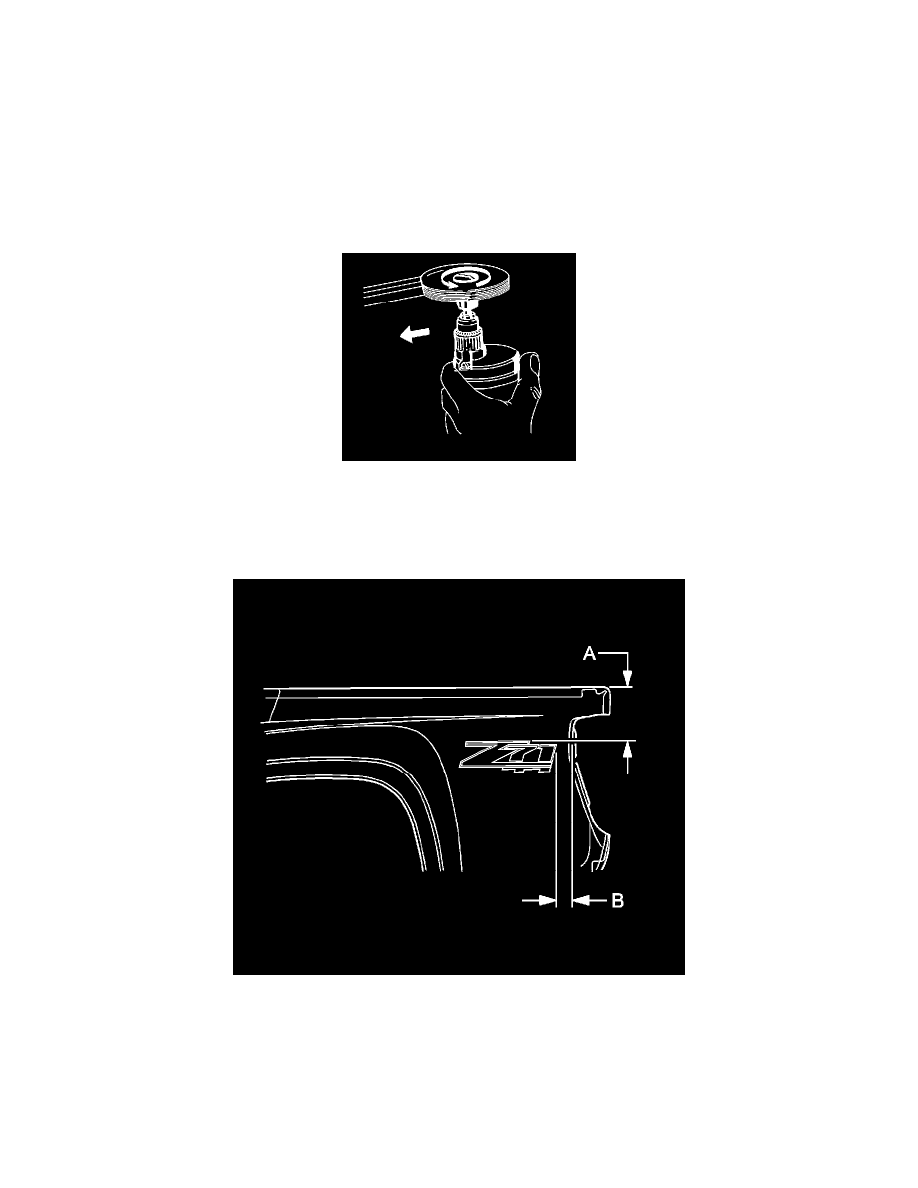
1. If the location of the decal has not been marked, apply tape and use the following dimensions:
*
Dimension (a) is 207.1 mm (8.15 in) from the top edge of the pickup box to the highest point on the decal.
*
Dimension (b) is 71.8 mm (2.83 in) from the rear of the decal to the rear of the sheet metal in the tail lamp opening.
2. Warm the door surface with a J 25070, 152 mm (6 in) from the surface to a minimum of 21°C (70°F).
Important: Do not touch the adhesive backing on the decal.
3. Remove the backing from the front end of the decal.