
Canyon 4WD V8-5.3L (2009)
Control Module: Service and Repair
Transfer Case Shift Control Module Replacement
Removal Procedure
Note: The transfer case shift control module (TCCM) is located under the drivers seat carpet. For removal purposes, access the TCCM from
underneath the carpet.
1. Remove the drivers bucket seat or split bench seat. Refer to Front Seat Replacement - Bucket (See: Body and Frame/Seats/Service and
Repair/Front Seat Replacement - Bucket) or Split Bench Seat Replacement (See: Body and Frame/Seats/Service and Repair/Split Bench Seat
Replacement).
2. Remove the left front sill plate. Refer to Front Side Door Sill Trim Plate Replacement (See: Body and Frame/Interior Moulding / Trim/Scuff
Plate/Service and Repair).
3. Remove the left hinge pillar. Refer to Body Hinge Pillar Trim Panel Replacement - Left Side (See: Body and Frame/Interior Moulding /
Trim/Trim Panel/Service and Repair).
4. Remove the left center pillar. Refer to Center Pillar Lower Trim Panel Replacement (See: Body and Frame/Interior Moulding / Trim/Trim
Panel/Service and Repair).
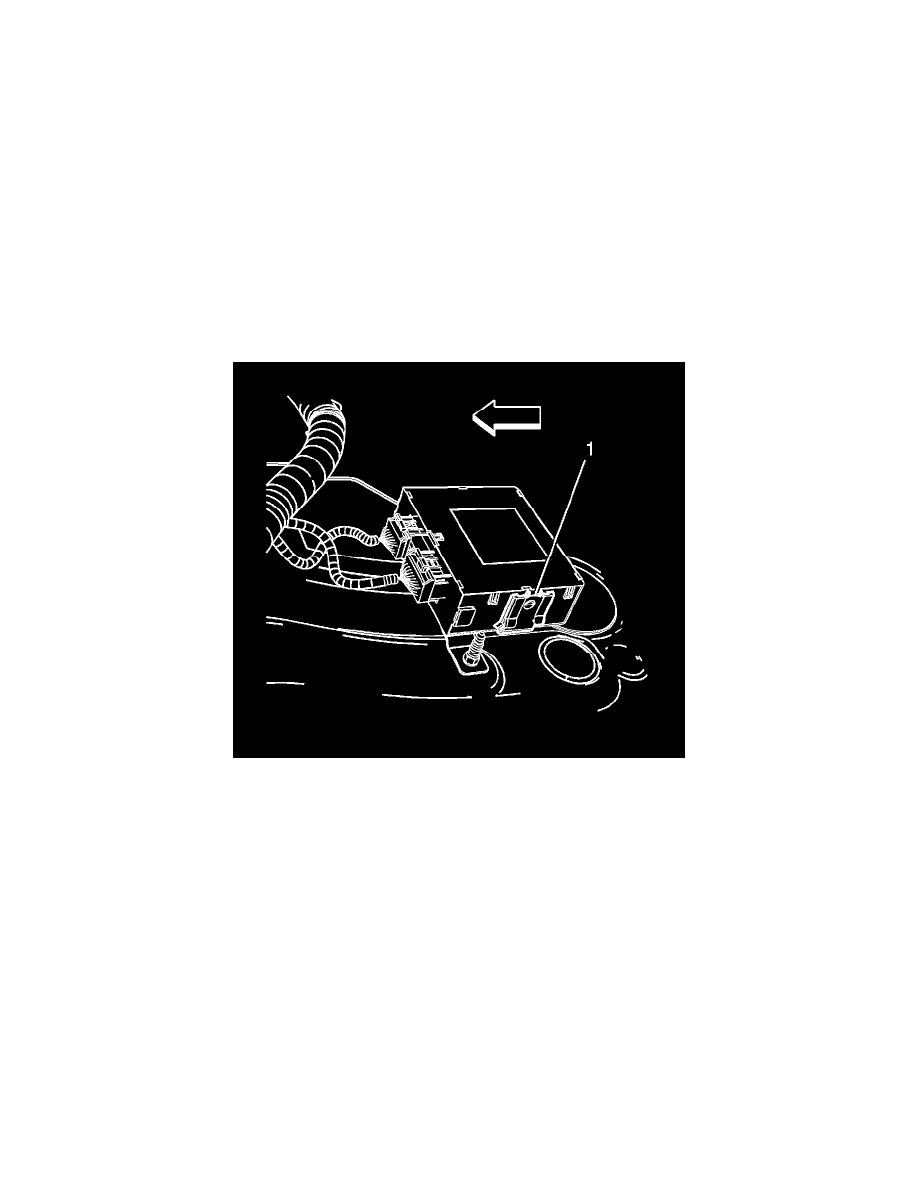
5. Use a flat-bladed tool to release the 2 tabs (1) retaining the TCCM to the bracket.
6. Partially remove the TCCM from the bracket.
7. Disconnect the electrical connectors.
8. Remove the TCCM from the vehicle.
9. If removing the bracket, remove the 2 fasteners retaining the bracket to the floor panel.
10. Remove the bracket from the vehicle.
Installation Procedure