
K 2500 Truck 4WD V8-379 6.2L DSL VIN C FI (1989)
1.
New upper ball joint (66) to the upper control arm (42).
-
Position four attaching bolts pointing upward, washers and nuts
-
Tighten nuts (A) to 23 N-m (17 lbs.ft.).
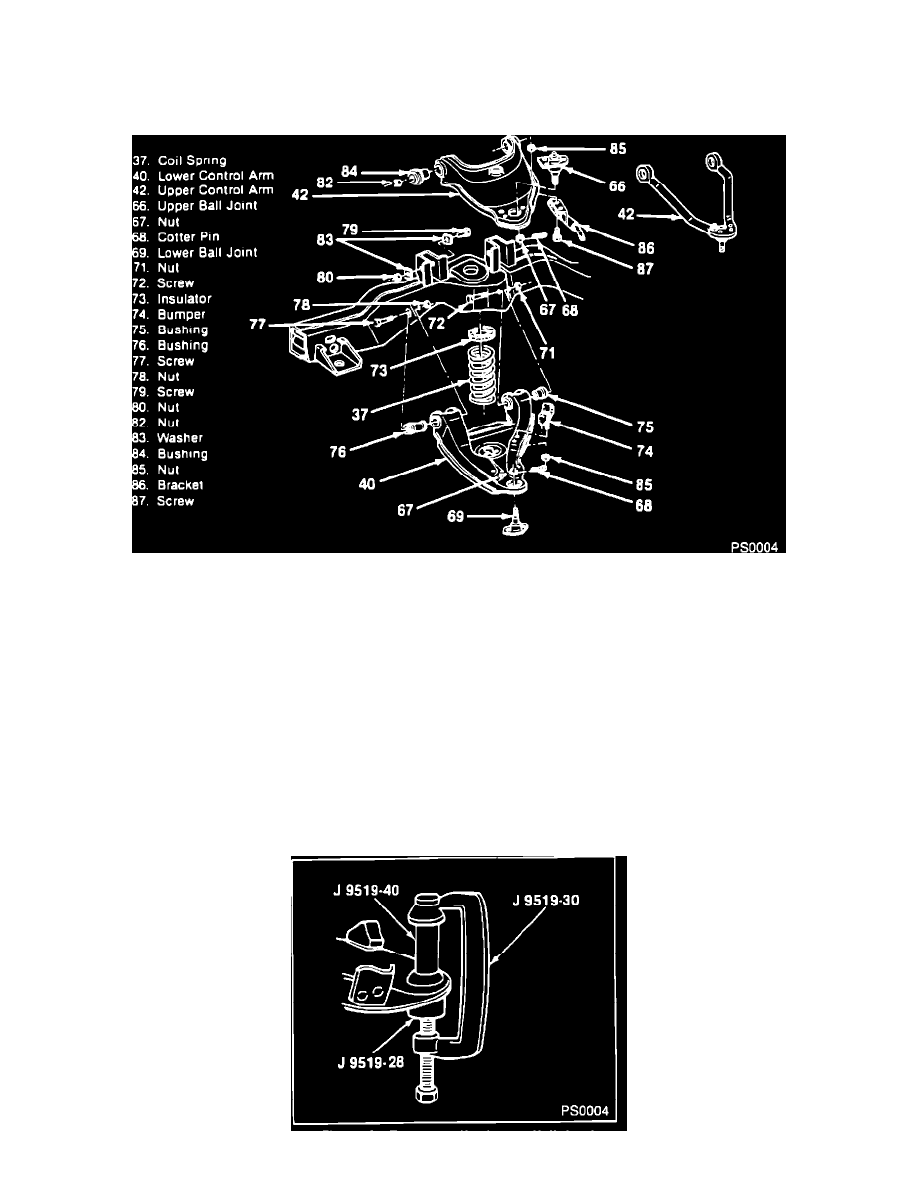
Figure 2 - Control Arms and Components
Remove (figure 2)
1.
Cotter pin (68) and stud nut (67) from the lower ball joint (69).
2.
Lower ball joint (69) from knuckle.
-
Support the knuckle assembly.
-
Use J 24319-01 to break the ball joint loose from the knuckle.
-
Inspect the tapered hole in the knuckle and remove any dirt. If the hole is out of round, deformed or damaged, the knuckle must be replaced.
-
Move knuckle assembly aside and support.
3.
Lower ball joint (69) from the lower control arm (40).