
K 3500 Truck 4WD V8-5.7L VIN R (1998)
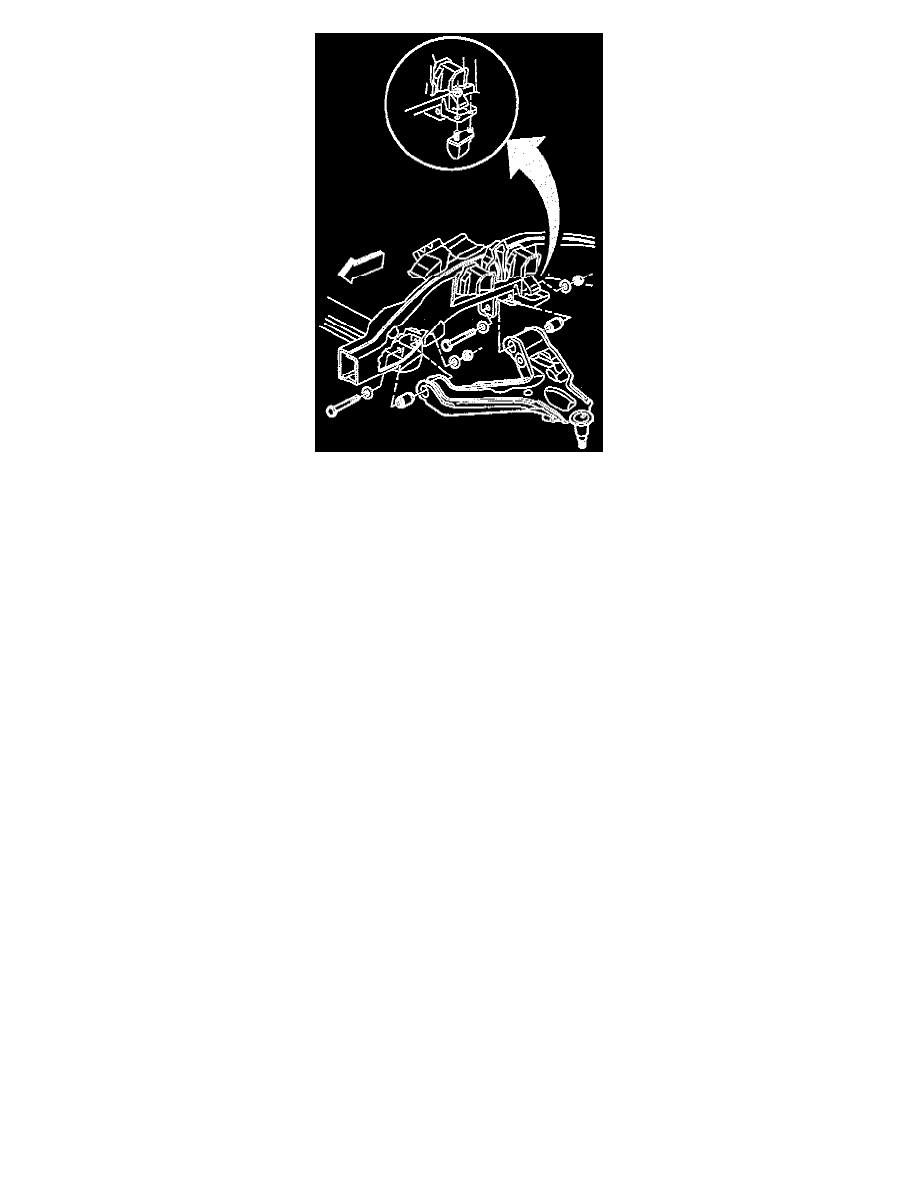
14. Remove the lower control arm nuts and the washers.
15. Remove the bolts.
16. Remove the lower control arm and the knuckle as a unit.
17. Remove the front bushing.
17.1. Using a punch, unbend the crimps.
17.2. Remove the bushing using J 36618-2, J 9519-23, J 36618-4, and J 36618-1.
18. Remove the rear bushing (no crimp).
18.1. Removing the bushing using J 36618-5, J 36618-3, J 36618-2, and J 9519-23.
18.2. If the bushings on the K1 and K2 vehicles are worn or damaged, replace the lower control arm.
INSTALLATION PROCEDURE
1. Using the J 36618 and the J 9519-23, install the front bushing.
^
This applies to the K3 vehicle only.
^
After installing the bushing, crimp the bushing in place.
2. Using the J 36618 and the J 9519-23, install the rear bushing.
3. Install the lower control arm and the knuckle assembly to the crossmember and the frame bracket. Install the front leg of the lower control arm into
the crossmember before installing the rear leg into the frame bracket.