
Savana 3500 V8-4.8L (2009)
3. Connect the chassis fuel return pipe to the rear fuel return pipe.
4. Connect the fuel feed pipe to the fuel filter.
5. Lower the vehicle.
6. Refill the fuel tank.
7. Tighten the fuel filler cap.
8. Connect the negative battery cable.
9. Inspect for leaks:
1. Turn ON the ignition for 2 seconds.
2. Turn OFF the ignition for 10 seconds.
3. Turn ON the ignition switch.
4. Inspect for fuel leaks.
10. Install the engine cover. Refer to Engine Cover Replacement (See: Body and Frame/Access Cover/Service and Repair).
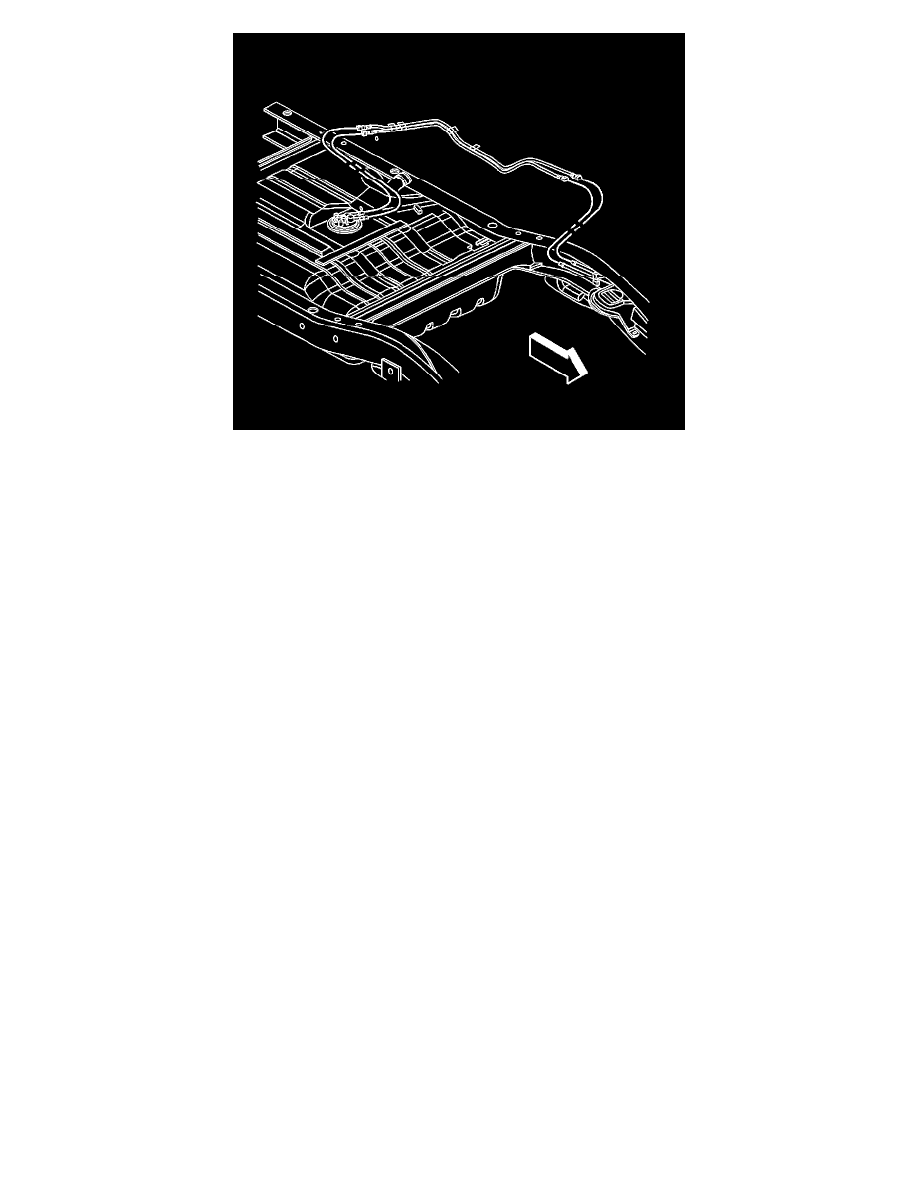
Fuel Hose/Pipes Replacement - Chassis (Cutaway Van - Side Tank)
Fuel Hose/Pipes Replacement - Chassis (Cutaway Van - Side Tank)
Removal Procedure
Warning: Refer to Battery Disconnect Warning (See: Starting and Charging/Battery/Service Precautions).
1. Disconnect the negative battery cable.
2. Relieve the fuel system pressure. Refer to Fuel Pressure Relief (With CH-48027) (See: Fuel Filter/Fuel Pressure Release/Service and Repair/Fuel
Pressure Relief (With CH-48027))Fuel Pressure Relief (Without CH-48027) (See: Fuel Filter/Fuel Pressure Release/Service and Repair/Fuel
Pressure Relief (Without CH-48027)).
3. Drain the fuel tank. Refer to Fuel Tank Draining (with L59) (See: Fuel Tank/Service and Repair)Fuel Tank Draining (without L59) (See: Fuel
Tank/Service and Repair).
4. Remove the fuel tank. Refer to Fuel Tank Replacement (with E26) (See: Fuel Tank/Service and Repair)Fuel Tank Replacement (without E26) (
See: Fuel Tank/Service and Repair).