
Yukon Denali 4WD V8-6.0L Hybrid (2011)
13. Connect the chassis wiring harness electrical connector (1) to the fuel pressure sensor (2).
14. Connect the engine wiring harness clip (4) to the fuel pipe bracket (3).
15. Lower the vehicle.
16. Remove the caps from the fuel rail and EVAP line.
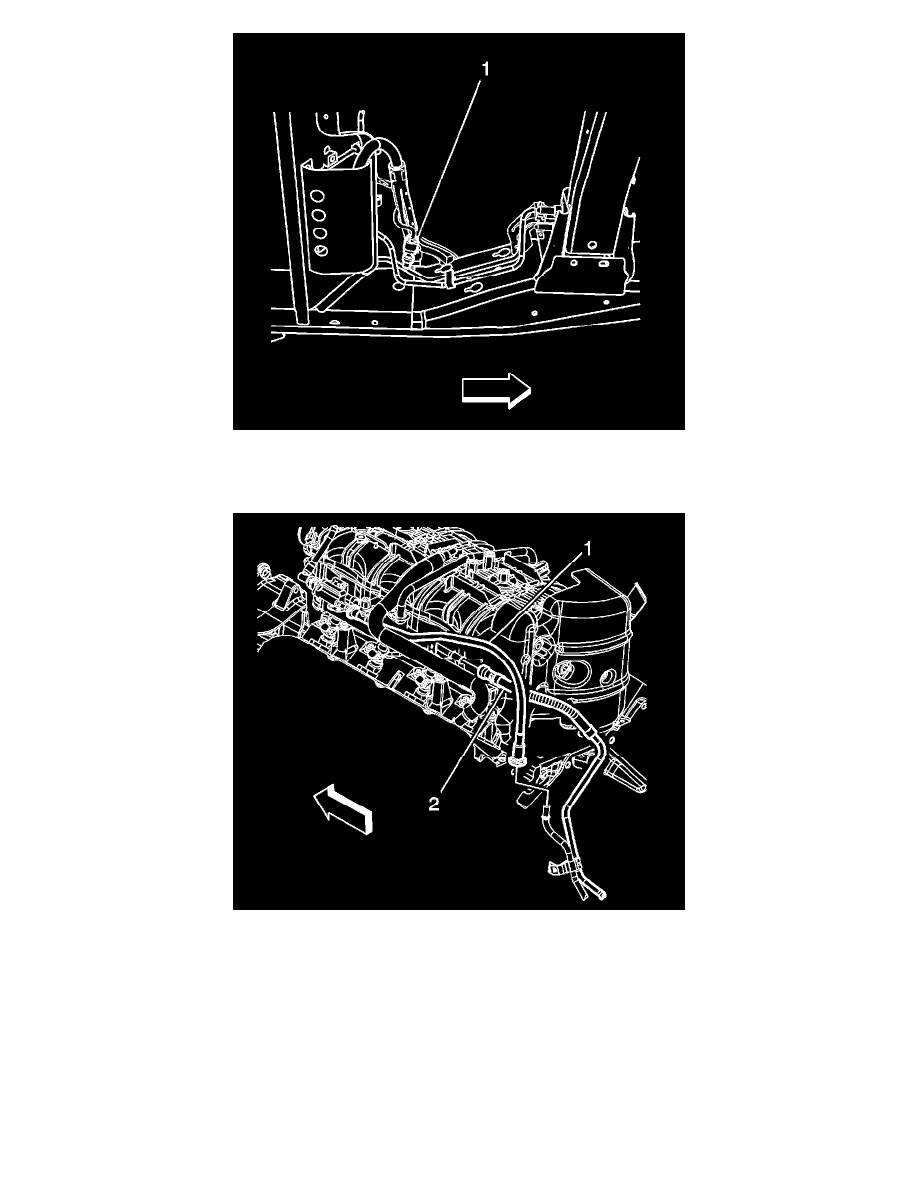
17. Disconnect the EVAP line (1) quick connect fitting from the chassis EVAP line. Refer to Plastic Collar Quick Connect Fitting Service See: Fuel
Delivery and Air Induction/Fuel Line Coupler/Service and Repair/Plastic Collar Quick Connect Fitting Service.
18. Disconnect the fuel feed line quick connect fitting (2) from the fuel rail. Refer to Metal Collar Quick Connect Fitting Service See: Fuel Delivery
and Air Induction/Fuel Line Coupler/Service and Repair/Metal Collar Quick Connect Fitting Service.
19. Install the fuel fill cap.
20. Connect the negative battery cable. Refer to Battery Negative Cable Disconnection and Connection See: Starting and Charging/Battery/Battery
Cable/Negative/Service and Repair/Battery Negative Cable Disconnection and Connection.
21. Use the following procedure in order to inspect for leaks:
1. Turn the ignition ON, with the engine OFF, for 2 seconds.
2. Turn the ignition OFF for 10 seconds.
3. Turn the ignition ON, with the engine OFF.