
S2000 L4-2.2L (2004)
2. Pack the interior and lip of the new boot (A) with fresh grease. Do not contaminate the lower collar of the boot (B) with Grease.
3. Wipe the grease off the tapered section of the pin (C), and pack the base (D) with fresh grease.
4. Install the boot onto the ball joint pin, then squeeze it gently to force out any air. Do not let dirt or other foreign materials get into the boot.
5. For the upper and lower arm ball joint, adjust the special tool with the adjusting bolt (A) until its base is just above the groove around the bottom
of the boot. Then slide the clip over the tool into the position (B) on the boot.
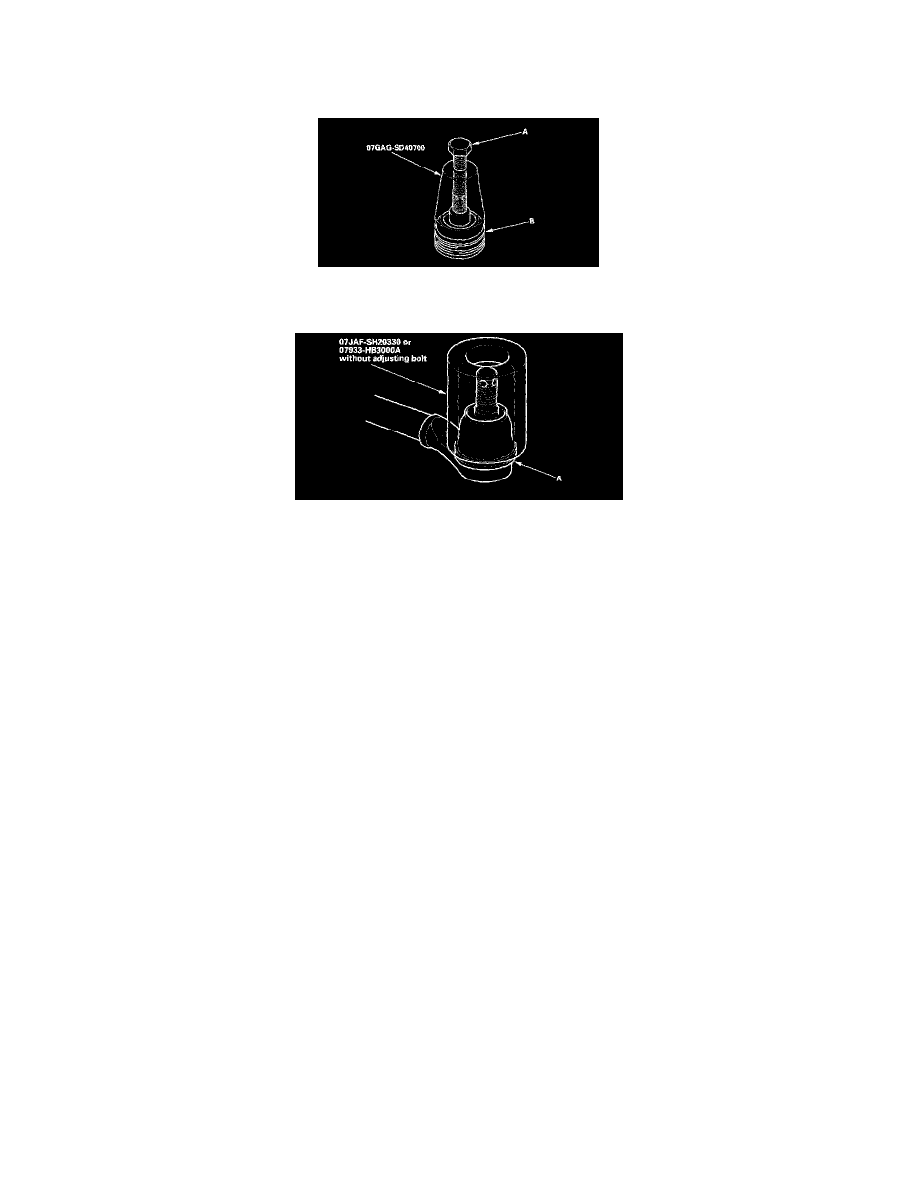
6. For the control arm ball joint, set the boot on the joint pin, and press it with the special tool until there is no gap at the bottom of the boot (A).
7. After installing a boot, wipe any grease off the exposed portion of the ball joint pin.