
Axiom 2WD V6-3.5L (2002)
-
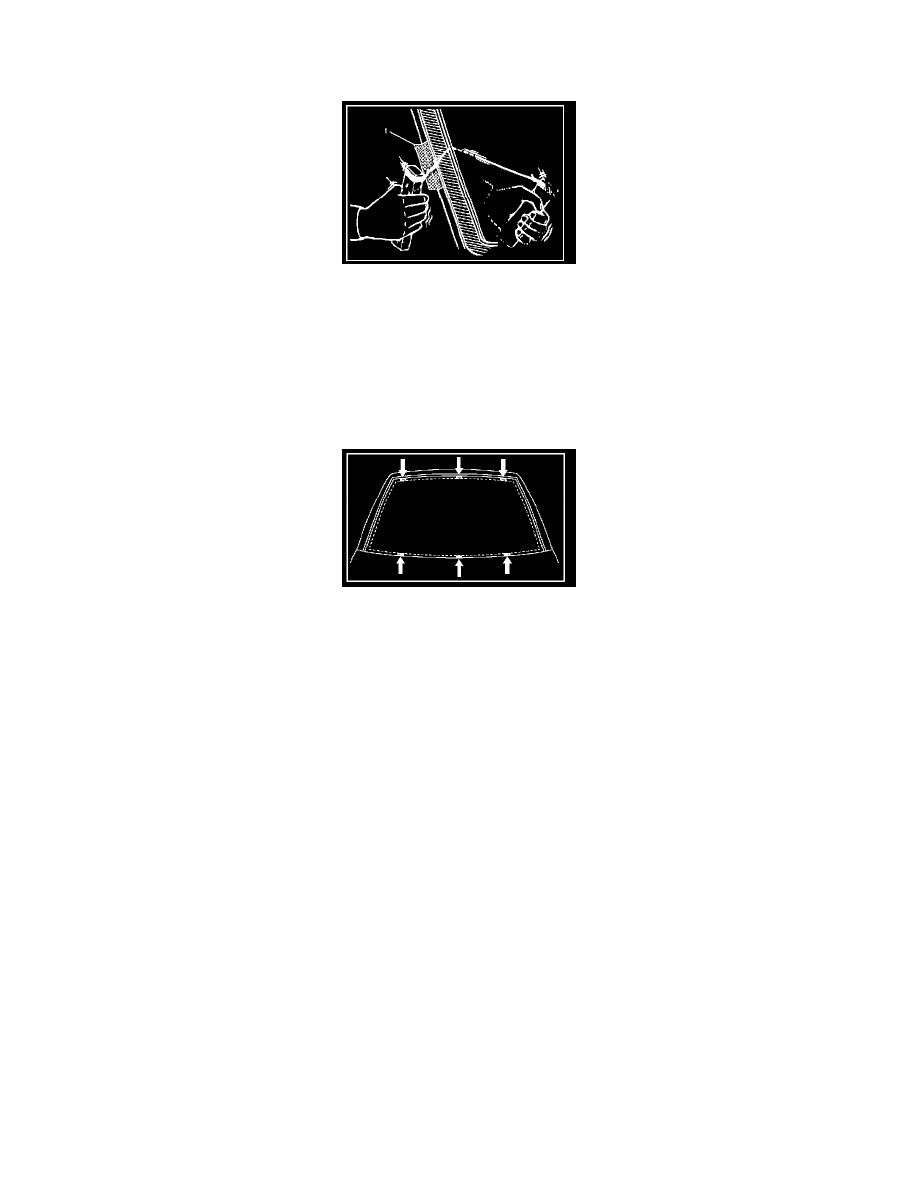
Secure the other end of the piano wire to another piece of wood. With the aid of an assistant, carefully move the piano wire with a sawing
motion to cut through the adhesive caulking material around the entire circumference of the windshield glass.
-
Attach some cloth tape (1) on the body for protecting the painting surface.
-
Clean the remaining adhesive caulking material from the area of the body which holds the windshield.
Installation
To install, follow the removal steps in the reverse order, noting the following points:
1. Clean the bonding surfaces of both the windshield and body panel with a soft rag and white gasoline.
2. Install the spacer.
-
Attach spacers in six locations as shown in the figure.
-
Always use new spacer.
3. Install the windshield upper molding.
-
Peel off the tear-away paper from the windshield upper molding, and start applying it with one end of the glass and cut away the surplus at the
other end of the glass for length adjustment.
-
Always use new upper molding.
4. Temporary install the windshield support.
5. Apply the primer to the windshield and body panel.
-
Apply the primer (3) (Sun star # 435-40 or equivalent) to the windshield side bonding surface as shown in the figure.
-
Apply the primer (Sun star # 435-95 or equivalent) to the body side bonding surface.
NOTE: Apply an adhesive 3 minutes or more but within 24 hours after the application of primer. If more than 24 hours have passed, reapply
primer.
Primer should be handled as following:
1. Use the primer manufactured 3 months or less ago and having been kept in an refrigerator.
2. Wipe off primer-stains on positions other than requires application.
3. Stir the primer for a minute or more before use.