
Hombre S Space Cab 2WD V6-4.3L (2000)
Tailgate Shock / Support: All Technical Service Bulletins
Campaign - Tailgate Cable Warranty Extension
2006 Service Bulletins
TSB SB06-11-S013
Tailgate Support Cable Replacement Special Policy Adjustment
ISSUE DATE: NOVEMBER 2006
Affected Vehicles
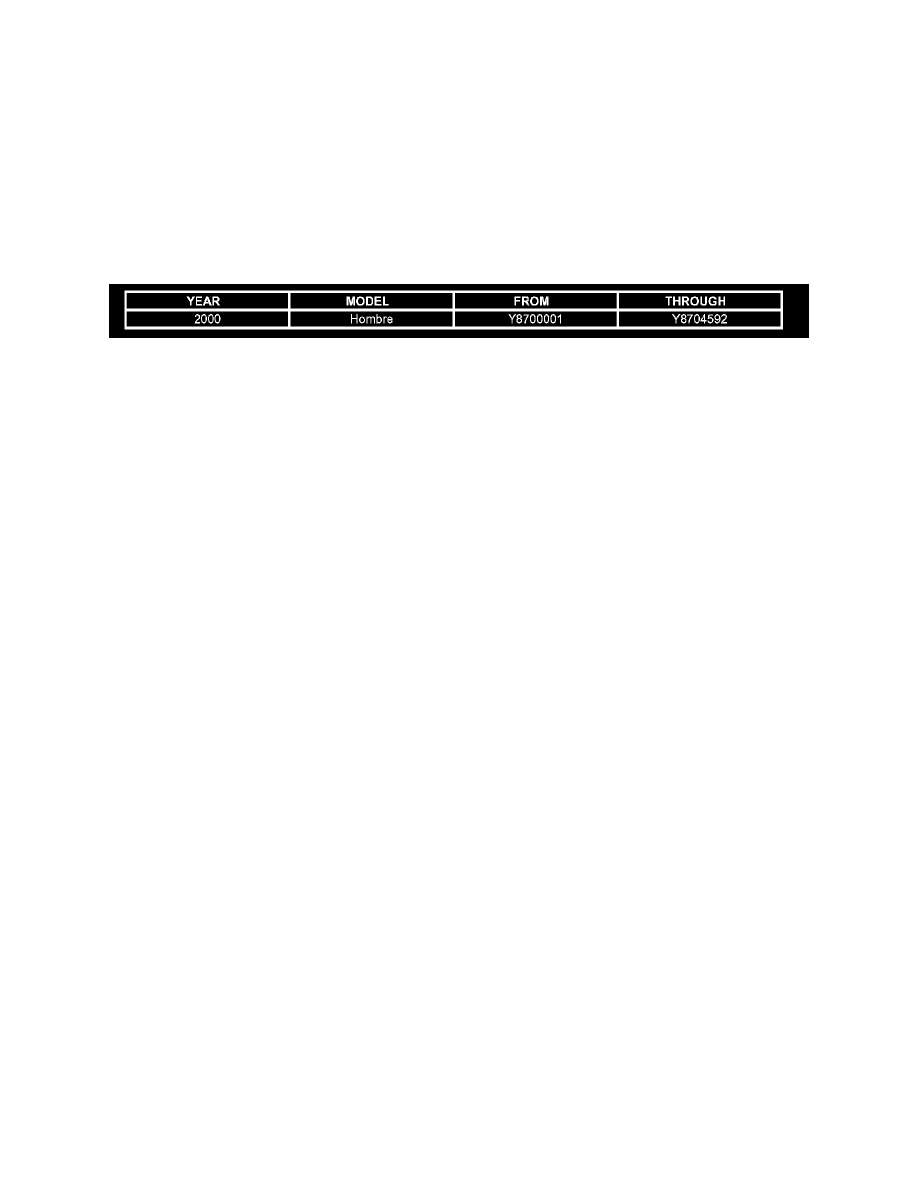
2000 Isuzu Hombre (TH)
Involved are certain 2000 model year Isuzu Hombre (TH) vehicles. Refer to the VIN table below or validate vehicle's VIN through Isuzu
Communication System (ICS) Vehicle Inquiry or website Vehicle Inquiry.
To minimize customer inconvenience, encourage customers to have their cables replaced rather than returning for annual inspections.
If a customer is concerned that the inspection procedure is not an appropriate way to assure the intended performance of the cables, or is unwilling to
perform the required inspection, dealers are instructed to assist the customer by replacing the galvanized support cables with stainless steel support
cables.
Special Policy Adjustment
This special policy covers the condition described below for a period of 12 years from the date the vehicle was originally placed in service, regardless of
mileage. The repairs will be made at no charge to the customer.
For vehicles covered by Vehicle Service Contracts, all eligible claims with repair orders on or after November 13, 2006 are covered by this special
policy and must be submitted using the labor operation codes provided with this bulletin.
Claims with repair orders prior to November 13, 2006 must be submitted to the Service Contract provider.
Service Information
Condition:
Some customers of 2000 Isuzu Hombre vehicles may experience broken galvanized steel tailgate support cables.
Owner Notification
Isuzu Motors America, Inc. will send a letter to owners of affected vehicles notifying them of the terms of this Special Policy (see enclosed copy). The
letters will be mailed out on or about November 13, 2006.
Service Procedure
1.
Open and support the endgate.
2.
Disconnect the endgate cable from the bolt head of the endgate striker bolt.
3.
Insert the gasket removal tool or equivalent (1) behind the center latch assembly fastener.
4.
Drill out the rivet (1) on the latch assembly using a 9.5 mm (3/8 in) drill bit.
5.
Ream the latch assembly hole (2) using a 9.5 mm (3/8 in) drill bit.
6.
Remove the latch assembly fastener (3) from the latch assembly.
7.
Loosen but do not remove the latch assembly fastener (1).
8.
Apply two thin coats of rust penetrating lubricant (corrosion inhibitor) to the area around the latch assembly fastener hole (2).