
VehiCROSS 4WD V6-3.5L (1999)
Notice: Apply alignment marks on the flange at the front propeller shaft both front and rear side.
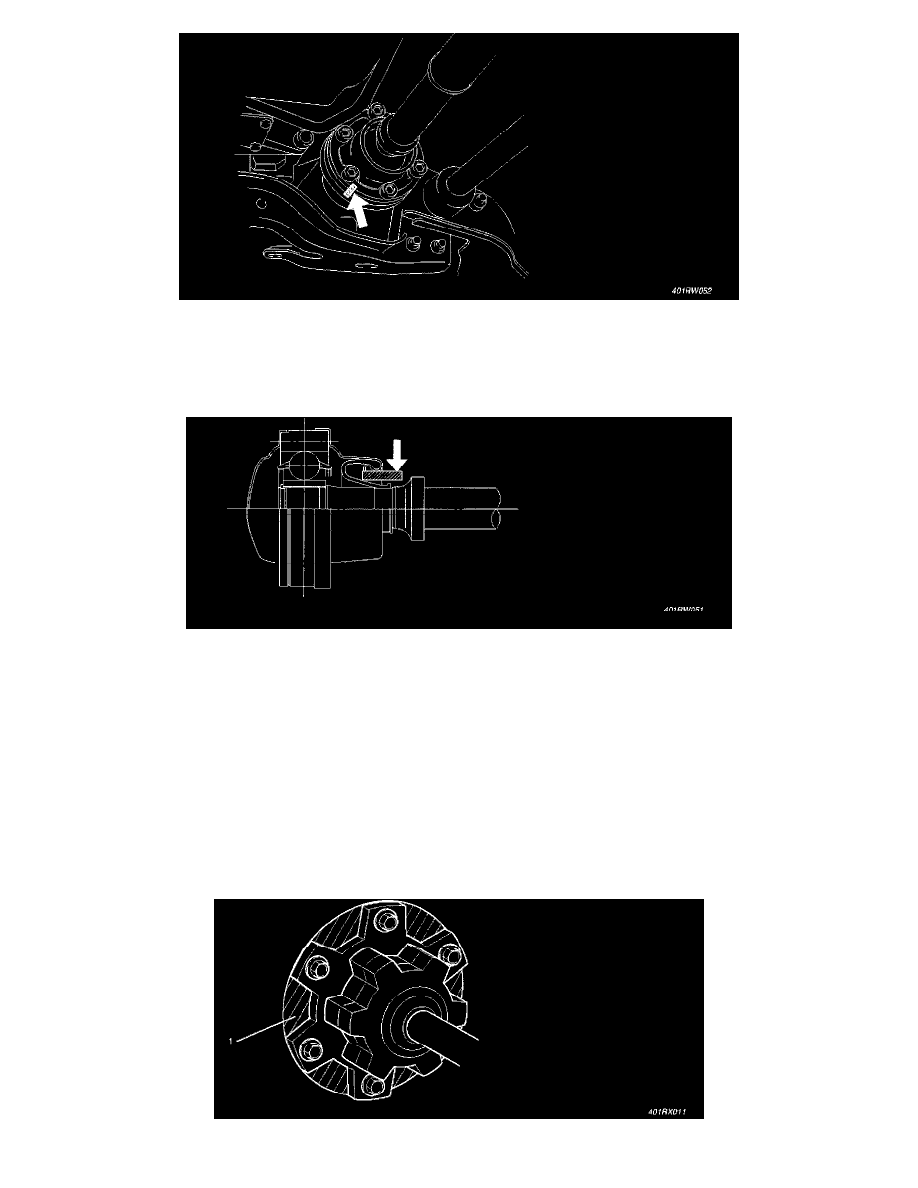
4. Remove bolt and lock washer (Front axle side).
5. Remove bolt and washer (Transfer side).
6. Remove front propeller shaft.
Notice: When removing, installing or caring for front propeller shaft, be sure to wind a piece of cloth around the part of the boot with which
fittings may interfere so that the boot can be protected. The boot may be damaged if bending force is applied to the constant velocity joint of the
shaft.
Installation
Notice: Never install the shaft assembly backwards. Completely remove the black paint from the connecting surface of flange coupling on each end
of propeller shaft. Clean so that no foreign matter will be caught in between.
1. Align the mark which was applied at removal. Install front propeller shaft and tighten the bolts to the specified torque.
Torque:
Front axle side: 43 Nm (32 ft. lbs.)
Transfer side: 63 Nm (46 ft. lbs.)
2. Install the exhaust and transfer protectors.