Rio L4-1.6L (2004)

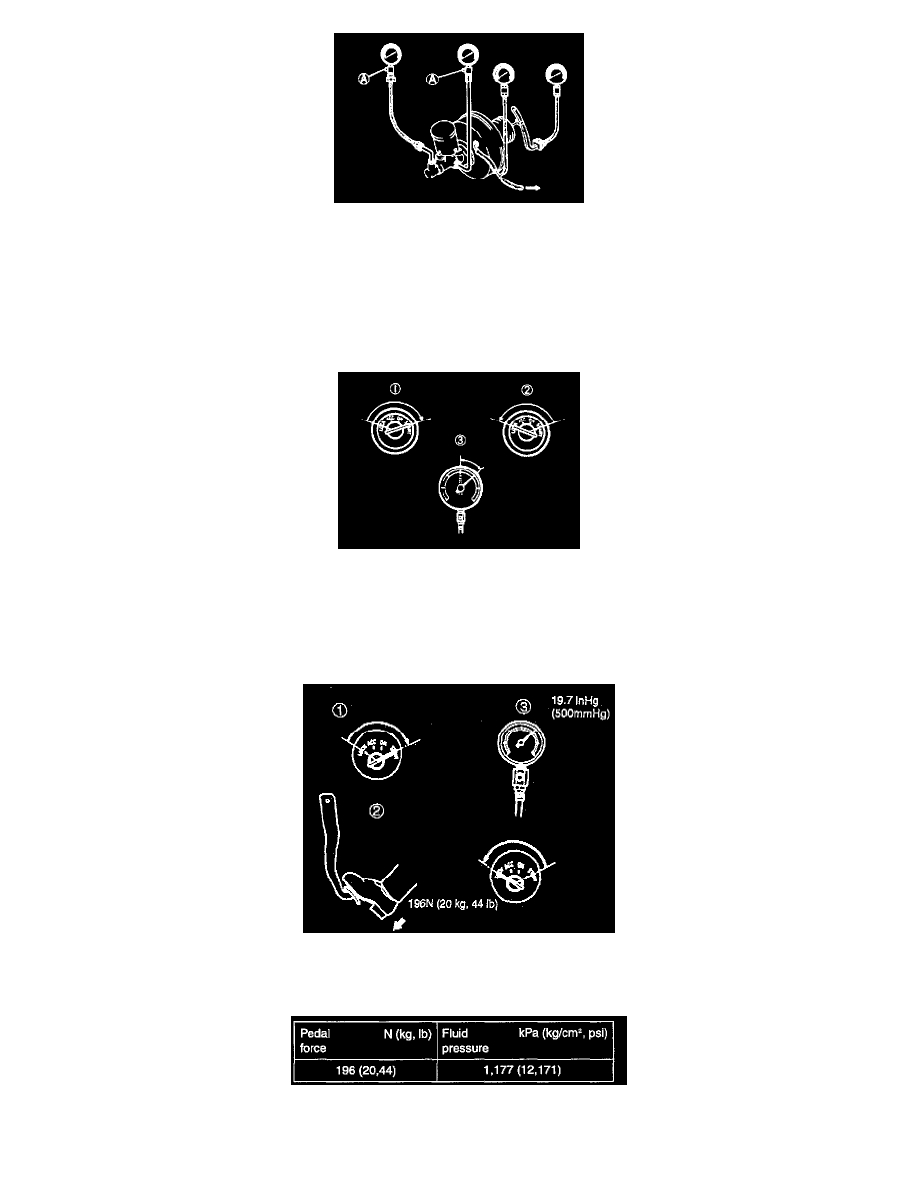
Connect the SST, vacuum gauge A, and pedal depression force gauge B as shown in the figure. After bleeding the air from the SST, conduct the test as
described in the 3 steps below.
NOTE: Use a commercially available vacuum gauge and pedal depression force gauge.
A) CHECKING FOR VACUUM LOSS UNLOADED CONDITION
1. Start the engine.
2. Stop the engine when the vacuum gauge reading reaches 66.7 kPa (500 mmHg, 19.7 inHg).
3. Observe the vacuum gauge for 15 seconds. If the gauge shows 63.3 - 66.7 kPa (475 - 500 mmHg, 18.7 - 19.7 inHg), the unit is operating.
LOADED CONDITION
1. Start the engine.
2. Depress the brake pedal with a force of 196 N (20 kg, 44 lb).
3. With the brake pedal depressed, stop the engine when the vacuum gauge reading reaches 66.7 kPa (500 mmHg, 19.7 inHg).
4. Observe the vacuum gauge for 15 seconds. If the gauge shows 63.3 - 66.7 kPa (475 - 500 mmHg, 18.7 - 19.7 inHg), the unit is operating.
B) CHECKING FOR HYDRAULIC PRESSURE
