
Sportage 4WD 4Dr L4-2.0L (2000)
32.
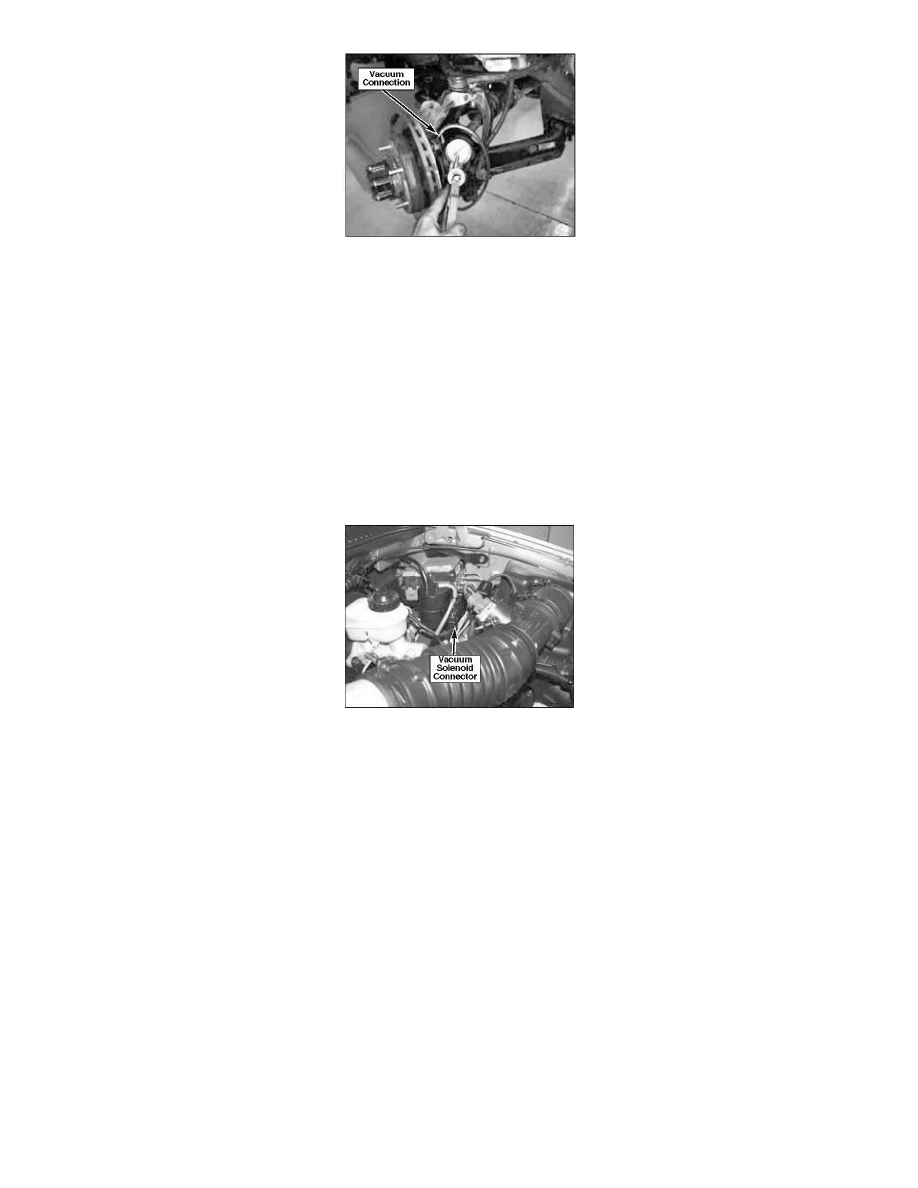
Connect a hand held vacuum pump to vacuum fitting on knuckle and check for vacuum leakage. Hub should hold a vacuum of 2Oin Hg for 10 - 20
seconds. If it does not, check for seal damage or mis-installation and excessive wheel bearing play.
33.
Check vacuum hoses, steel lines, vacuum canister and vacuum solenoid for restrictions, cracks, and contamination or rust. Clear with compressed
air if any debris or restrictions are found. Replace any unserviceable parts.
34.
Connect vacuum hose to fitting on knuckle.
35.
Install brake rotor and two retaining screws.
36.
Install brake caliper/anchor assembly and tighten the two mounting bolts to 72 lb - ft.
37.
Install wheel/tire assembly and tighten lug nuts to 74 lb - ft.
38.
Repeat procedure for other side of vehicle.
39.
Confirm that vacuum solenoid harness connector is securely installed on solenoid.
* NOTICE
This connector may have been disconnected on vehicles modified for use with earlier style locking hubs.
40.
Test vehicle and verify 4 wheel drive operation.